BEST GREAT OCEAN ROAD (& BEYOND) PHOTO SPOTS
Search for Australia’s Top 10 Things to Do and Driving the Great Ocean Road will undoubtedly be in that list. For those who love to drive, and who love coastal seascapes the Great Ocean Road and beyond is an absolute killer for great photography.
You can make your trip as long or as short as you like, spanning from one day with a couple of targets in mind, or a multi-day epic as you set out to discover the gems of this region. This is a selection of spots in the area, please check back in as I add more over time. Some of the spots below are also only accessible during low tide, so always pay attention to the safety notices and don’t leave this to chance.
I usually base myself in Port Campbell, only a few minutes down the road from the 12 Apostles. The Port Campbell Southern Ocean Motor Inn one night, which is right in the heard of Port Campbell, and a perfectly acceptable motel. It's clean and reasonably priced, and right over the road from the beach. On busy weekends, the area can tend to book out completely. A good alternate option is the Sow and Pigletts Hostel which is also right in the heart of Port Campbell. The hostel is also an award winning brewery, they serve home brewed beer and a selection of pizzas. It's nice and clean (single rooms available), perfect for somewhere to sleep between early mornings and late nights out shooting. My last trip to this area was 2021 just coming out of COVID, there are some great new viewing platforms that I can’t wait to go and see.
All images are available for print purchase, or licensing - please get in touch to start a conversation.
(B) Teddy’s Lookout (Lorne)
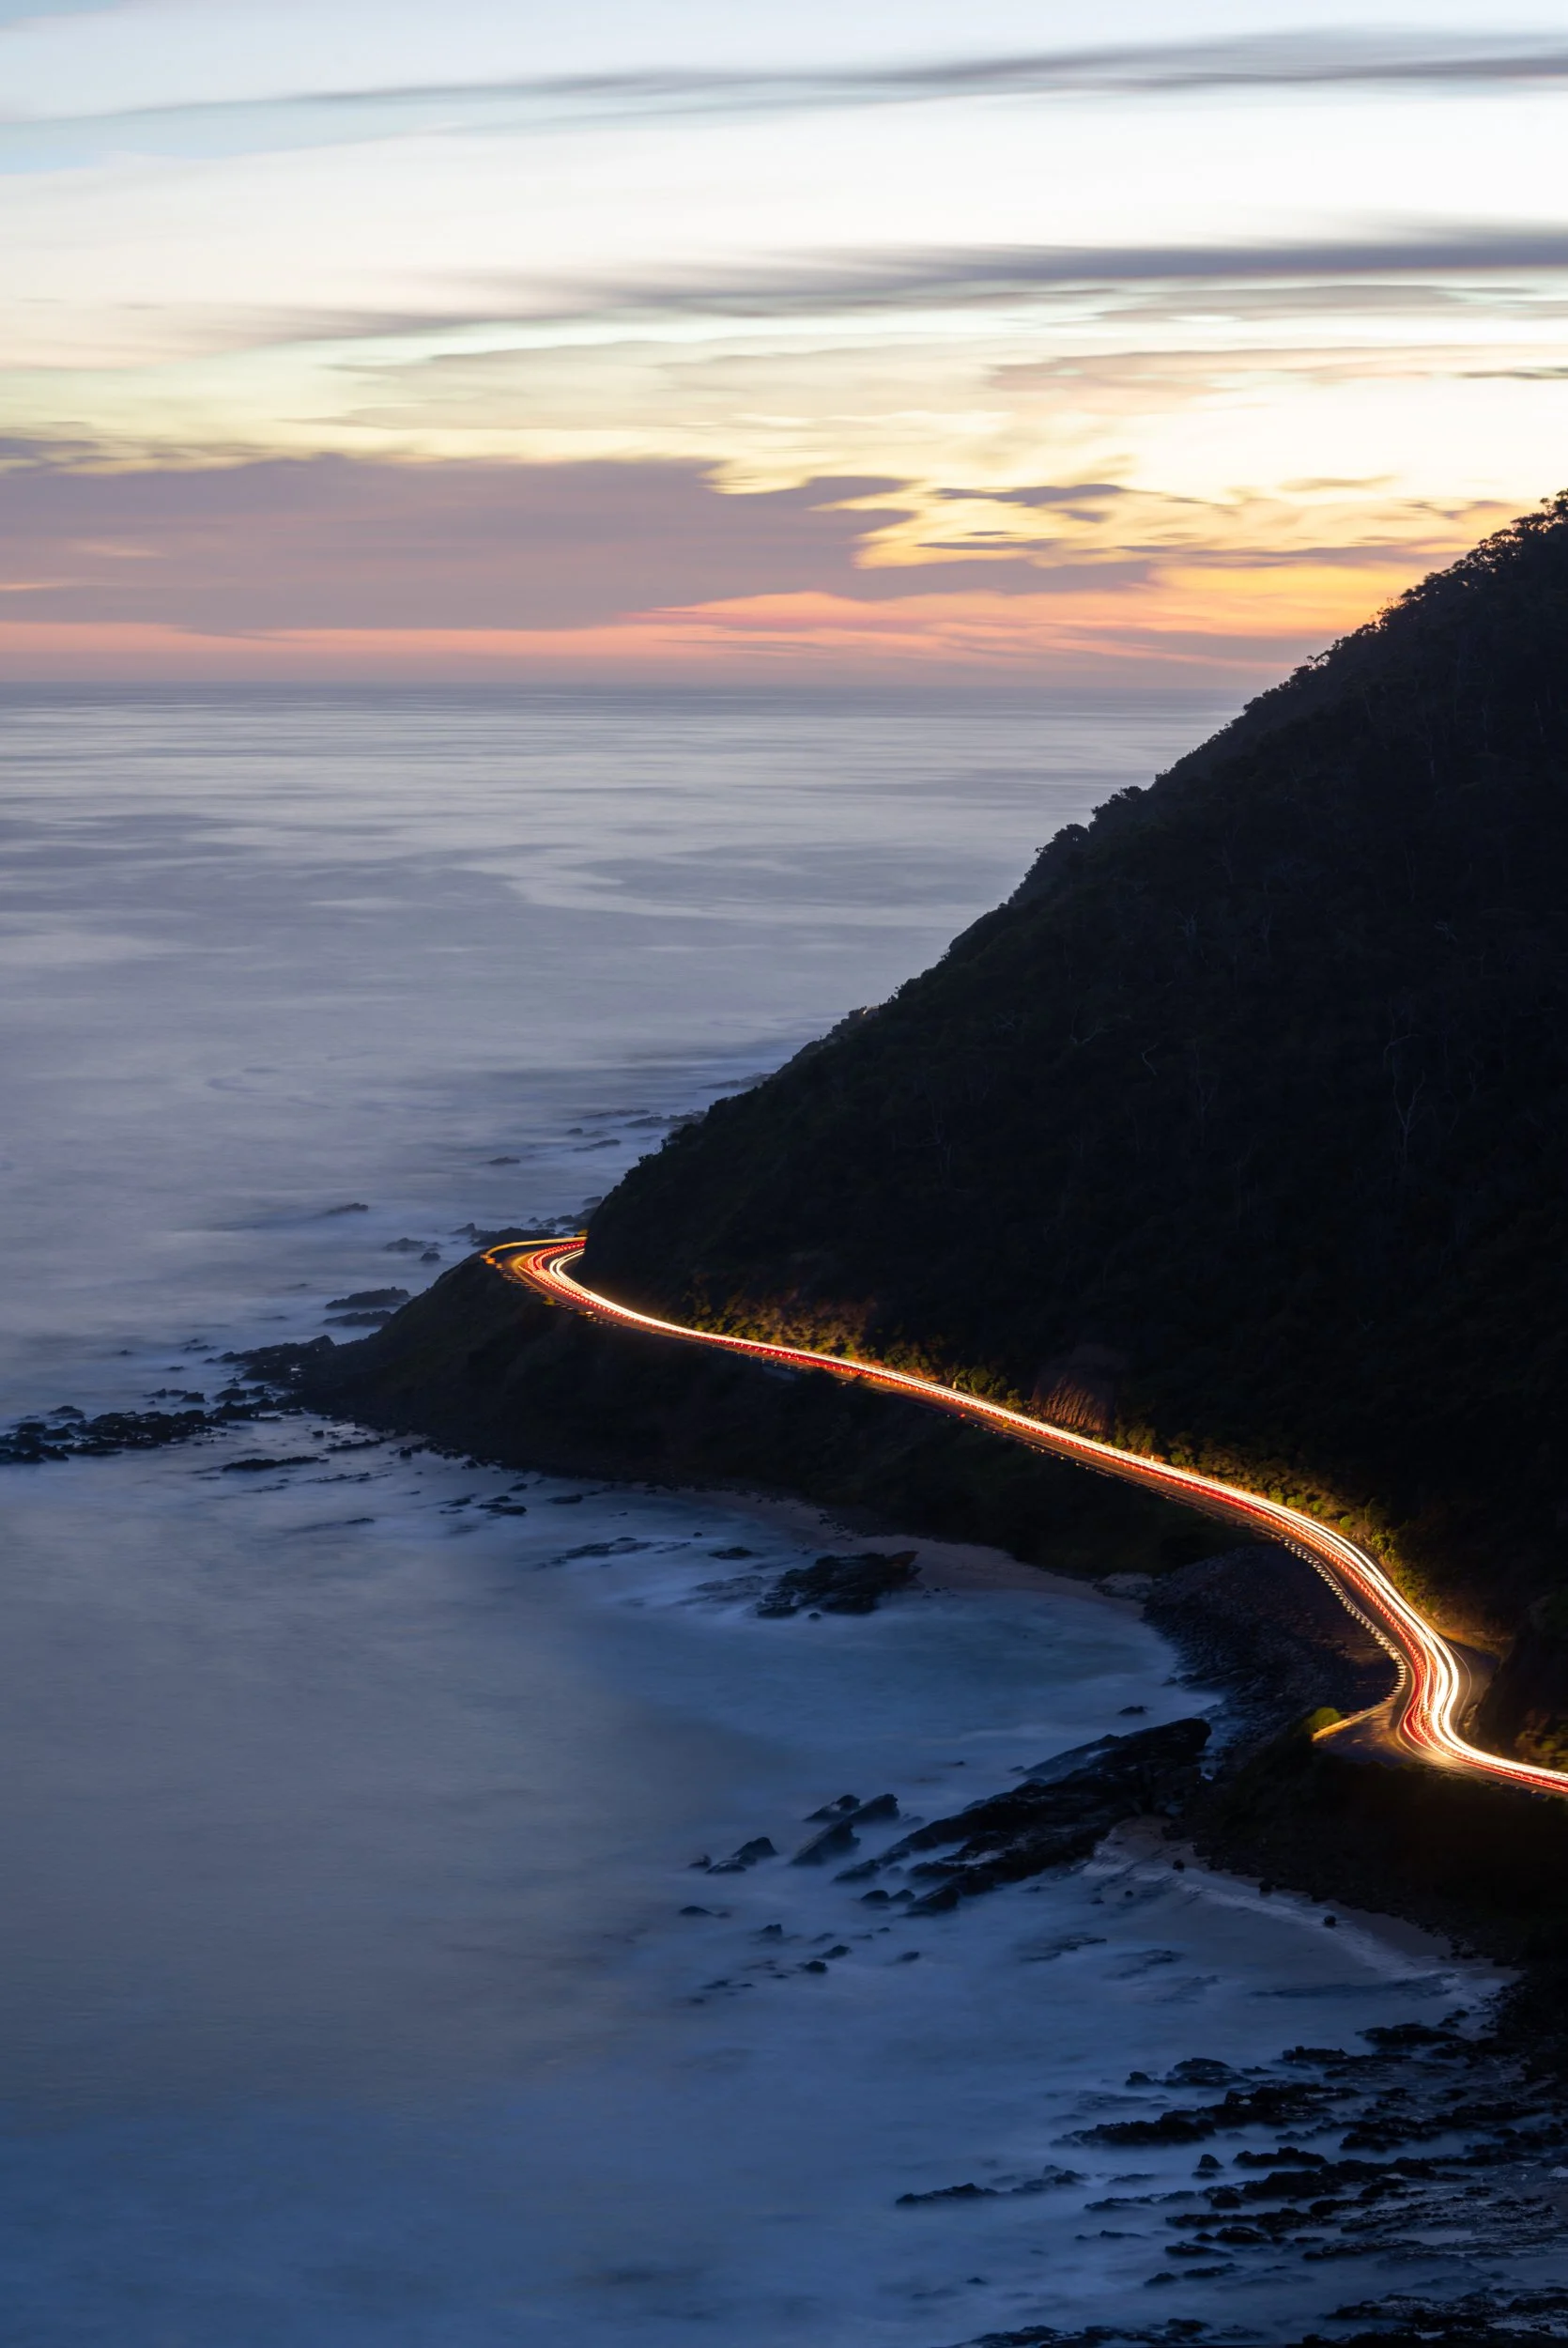
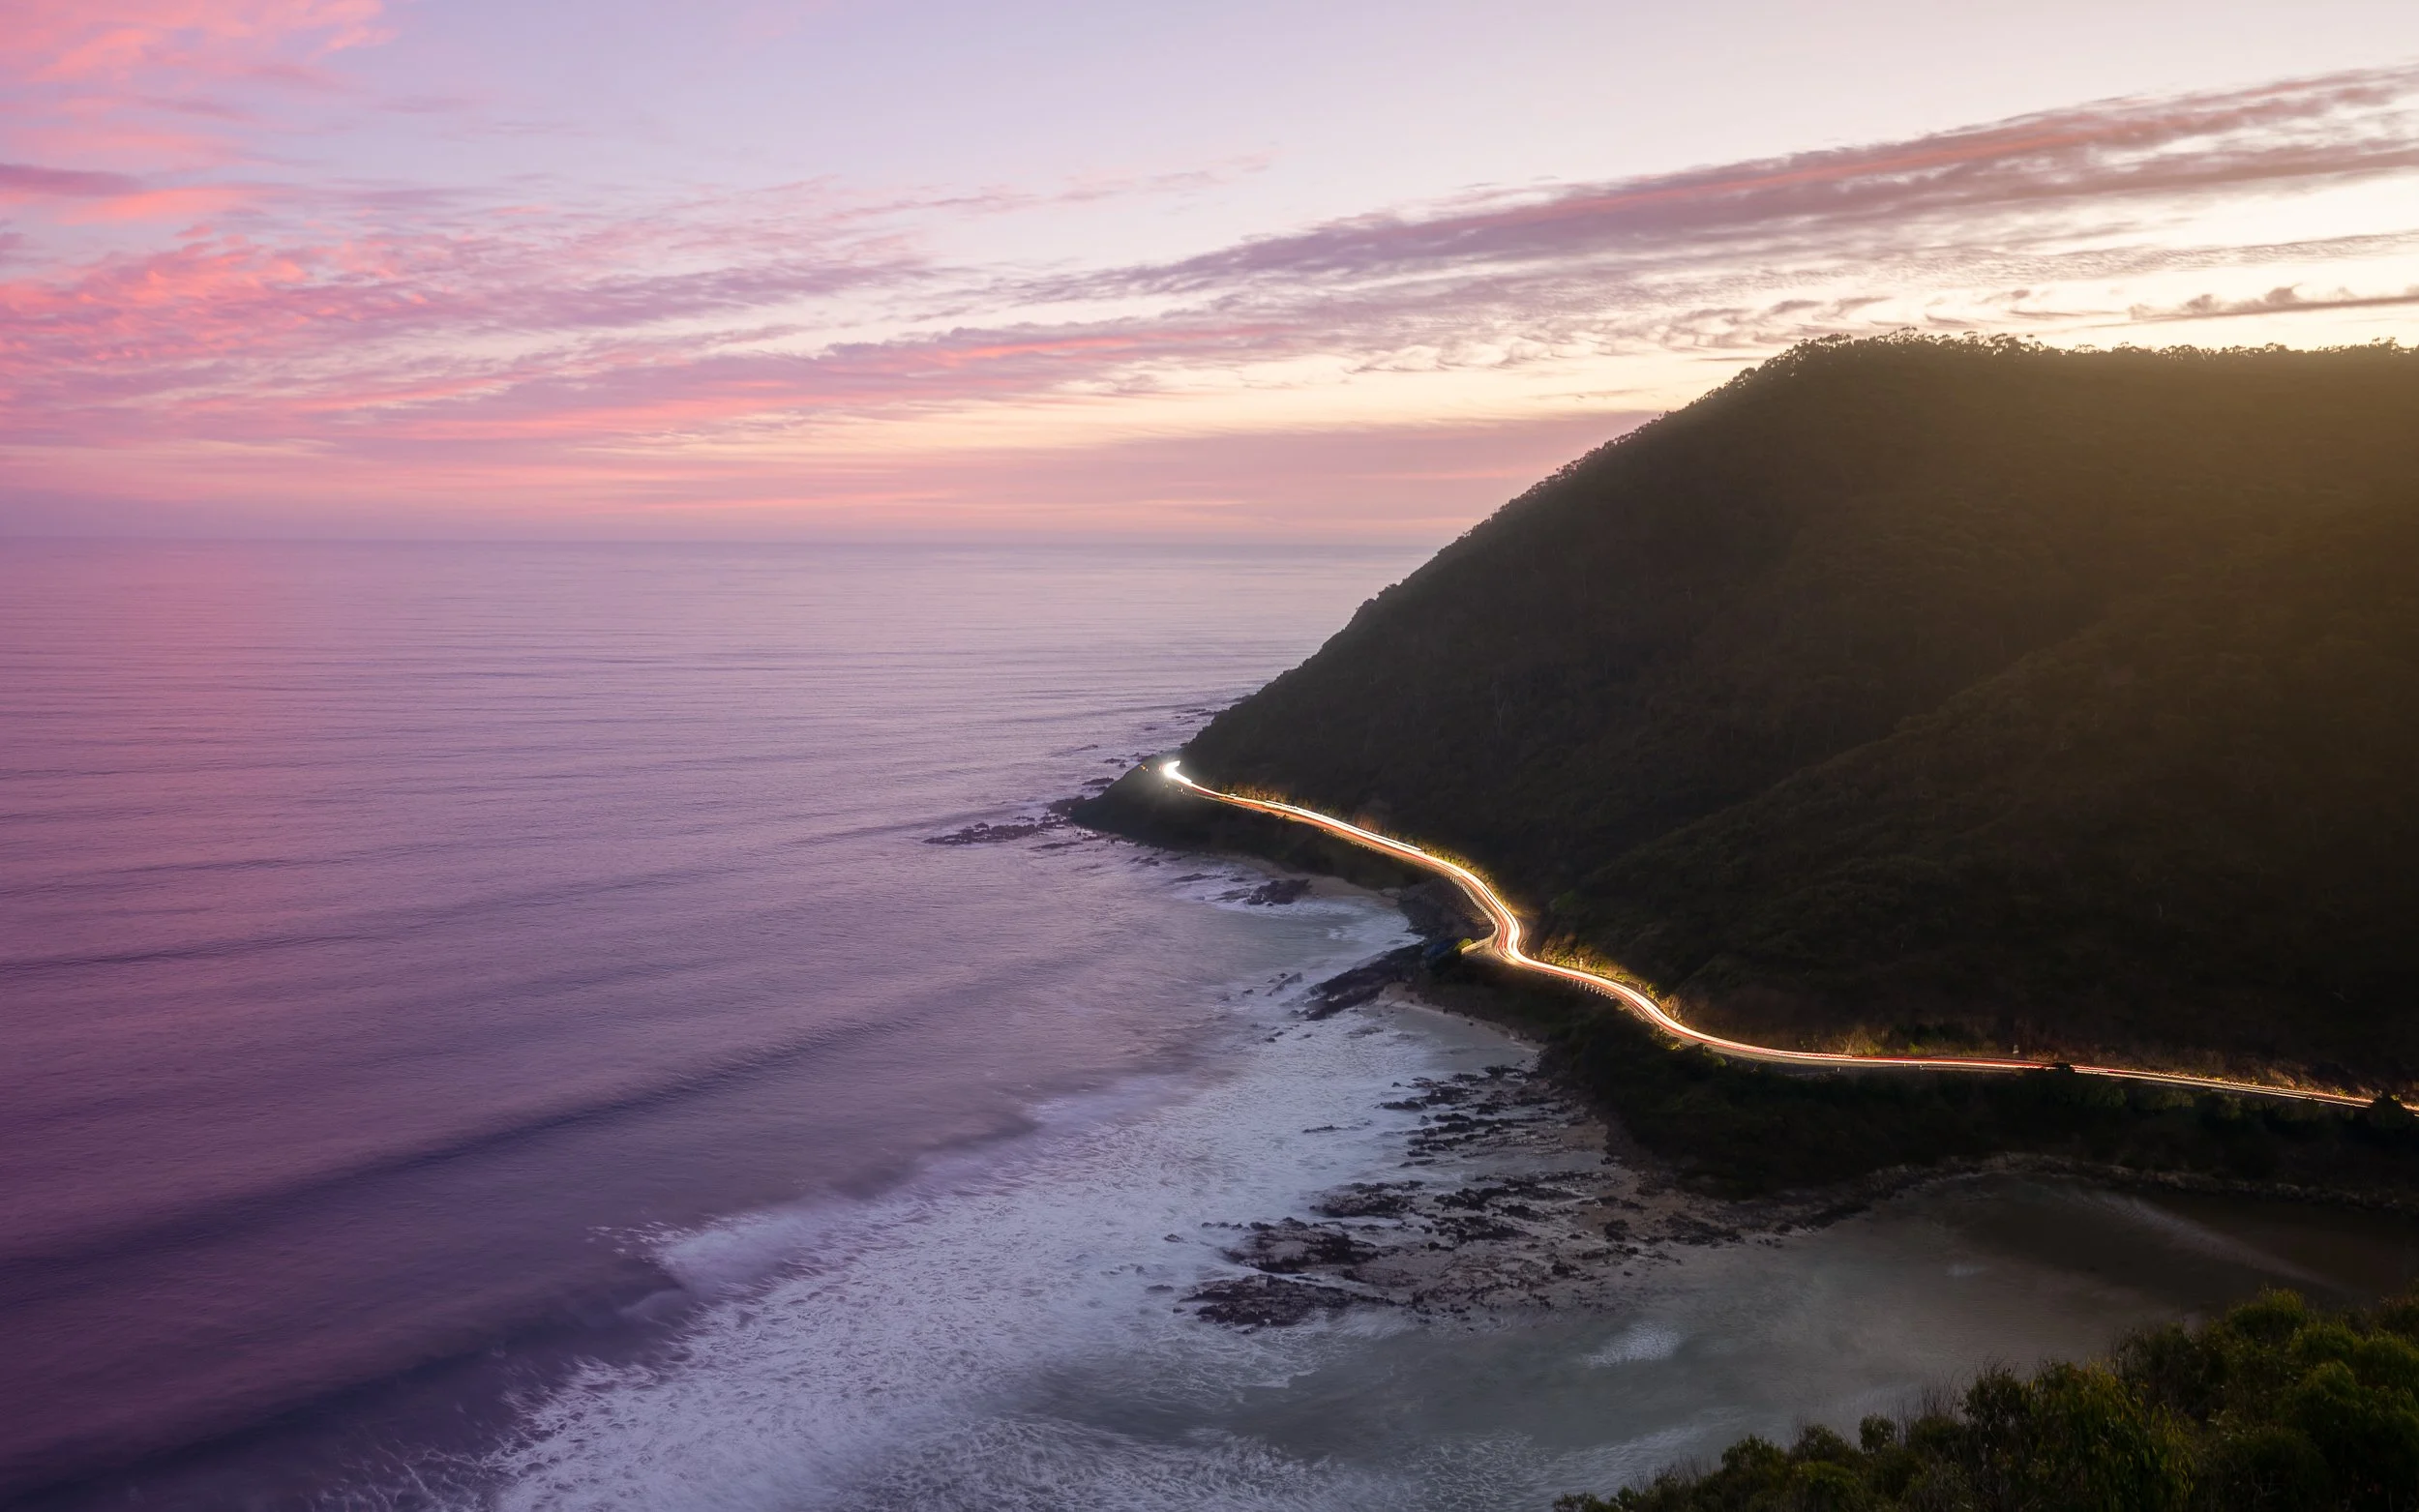
Teddy’s Lookout in Lorne is an easy drive and offers classic Great Ocean Road views looking west over the ocean, forested hills, and the road snaking around the headland. Sunset lines up perfectly here, but it’s a popular spot, so expect company — plenty of people come up with snacks or a picnic to watch the light fade.
My favourite images are taken after sunset, shooting car light trails as they wind in and out of Lorne. The mix of land, sea, and a glowing ribbon of light just works. Wait until the light really drops, then stretch your shutter to around 30 seconds and aim to catch a car moving through the frame. I don’t find ND filters very useful at dusk — instead, try shooting a sequence: grab the landscape at sunset, then the light trails once it’s dark, and blend them later. One thing to watch for is movement on the platform — footsteps can introduce subtle blur, even on a solid tripod.
(C) The Otways
The Great Otway National Park is a stunning part of Victoria that I haven’t yet spent a huge amount of time in. The Park stretches from the coast through to the hinterland and has a huge amount of natural wonders to see. There are countless gorgeous waterfalls dotted throughout the lush forest. I’ll add more to this section in future, particularly adding more of the waterfalls in the area.
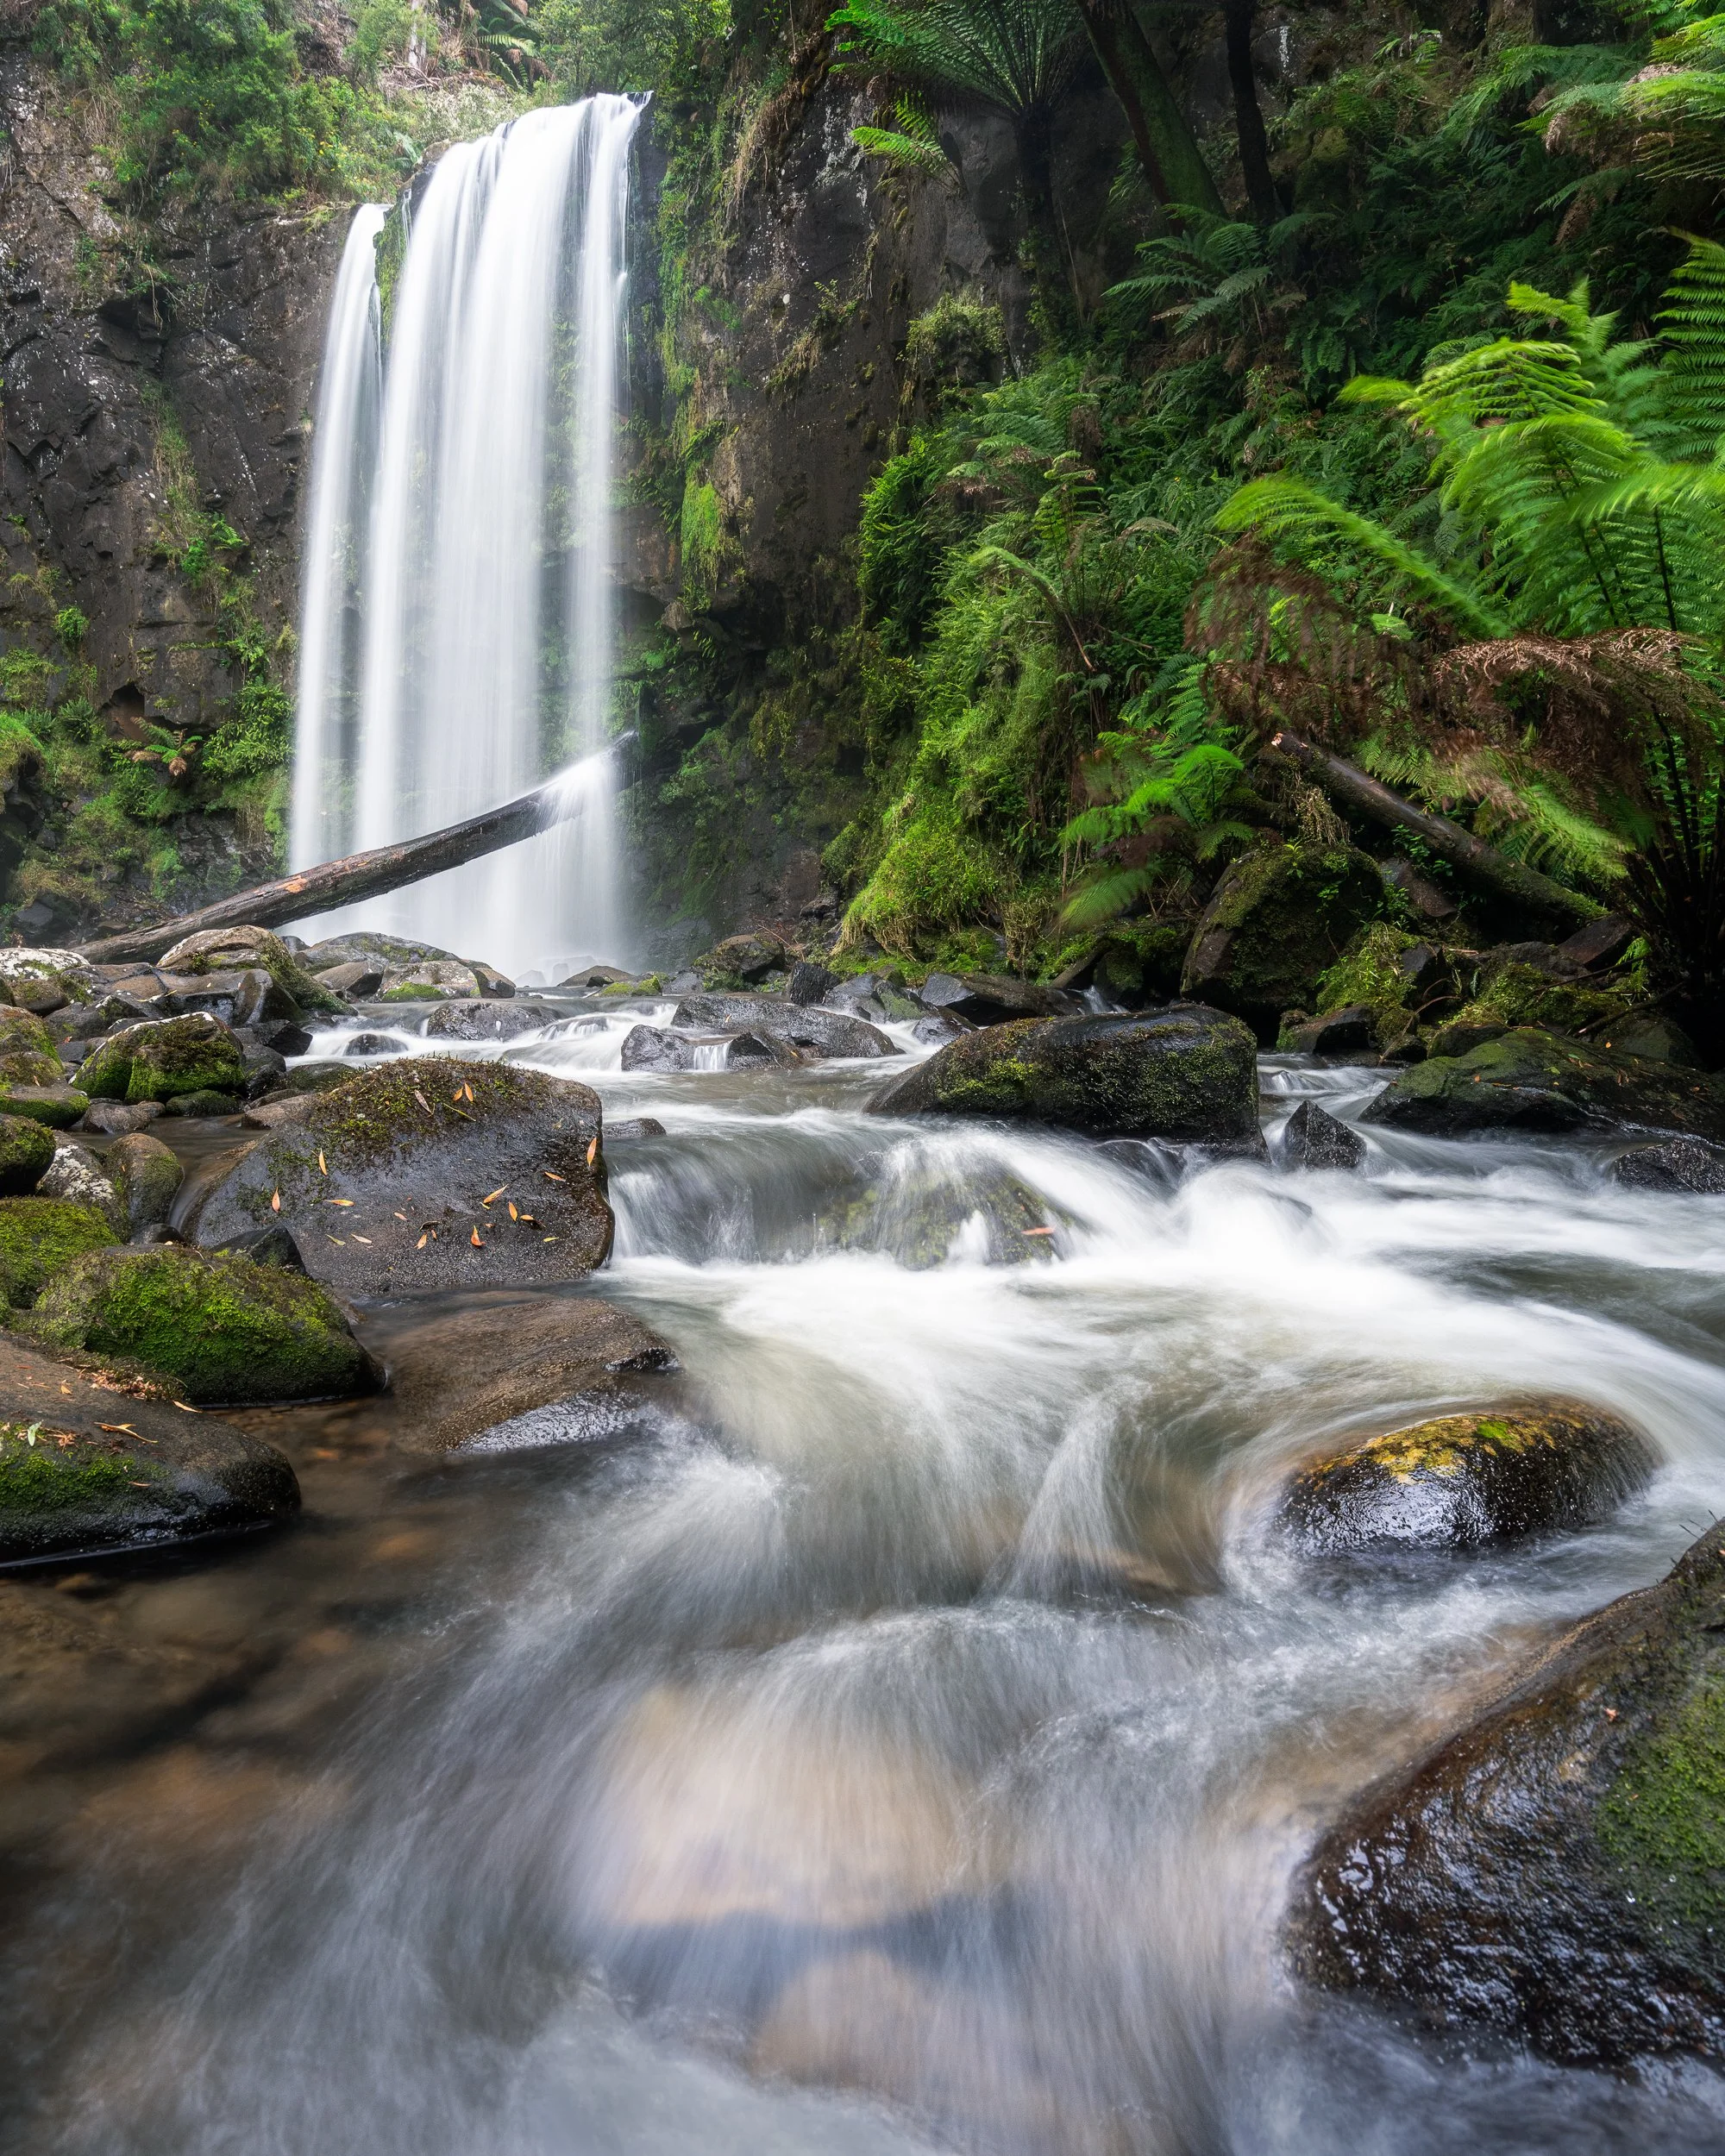
Hopetoun Falls
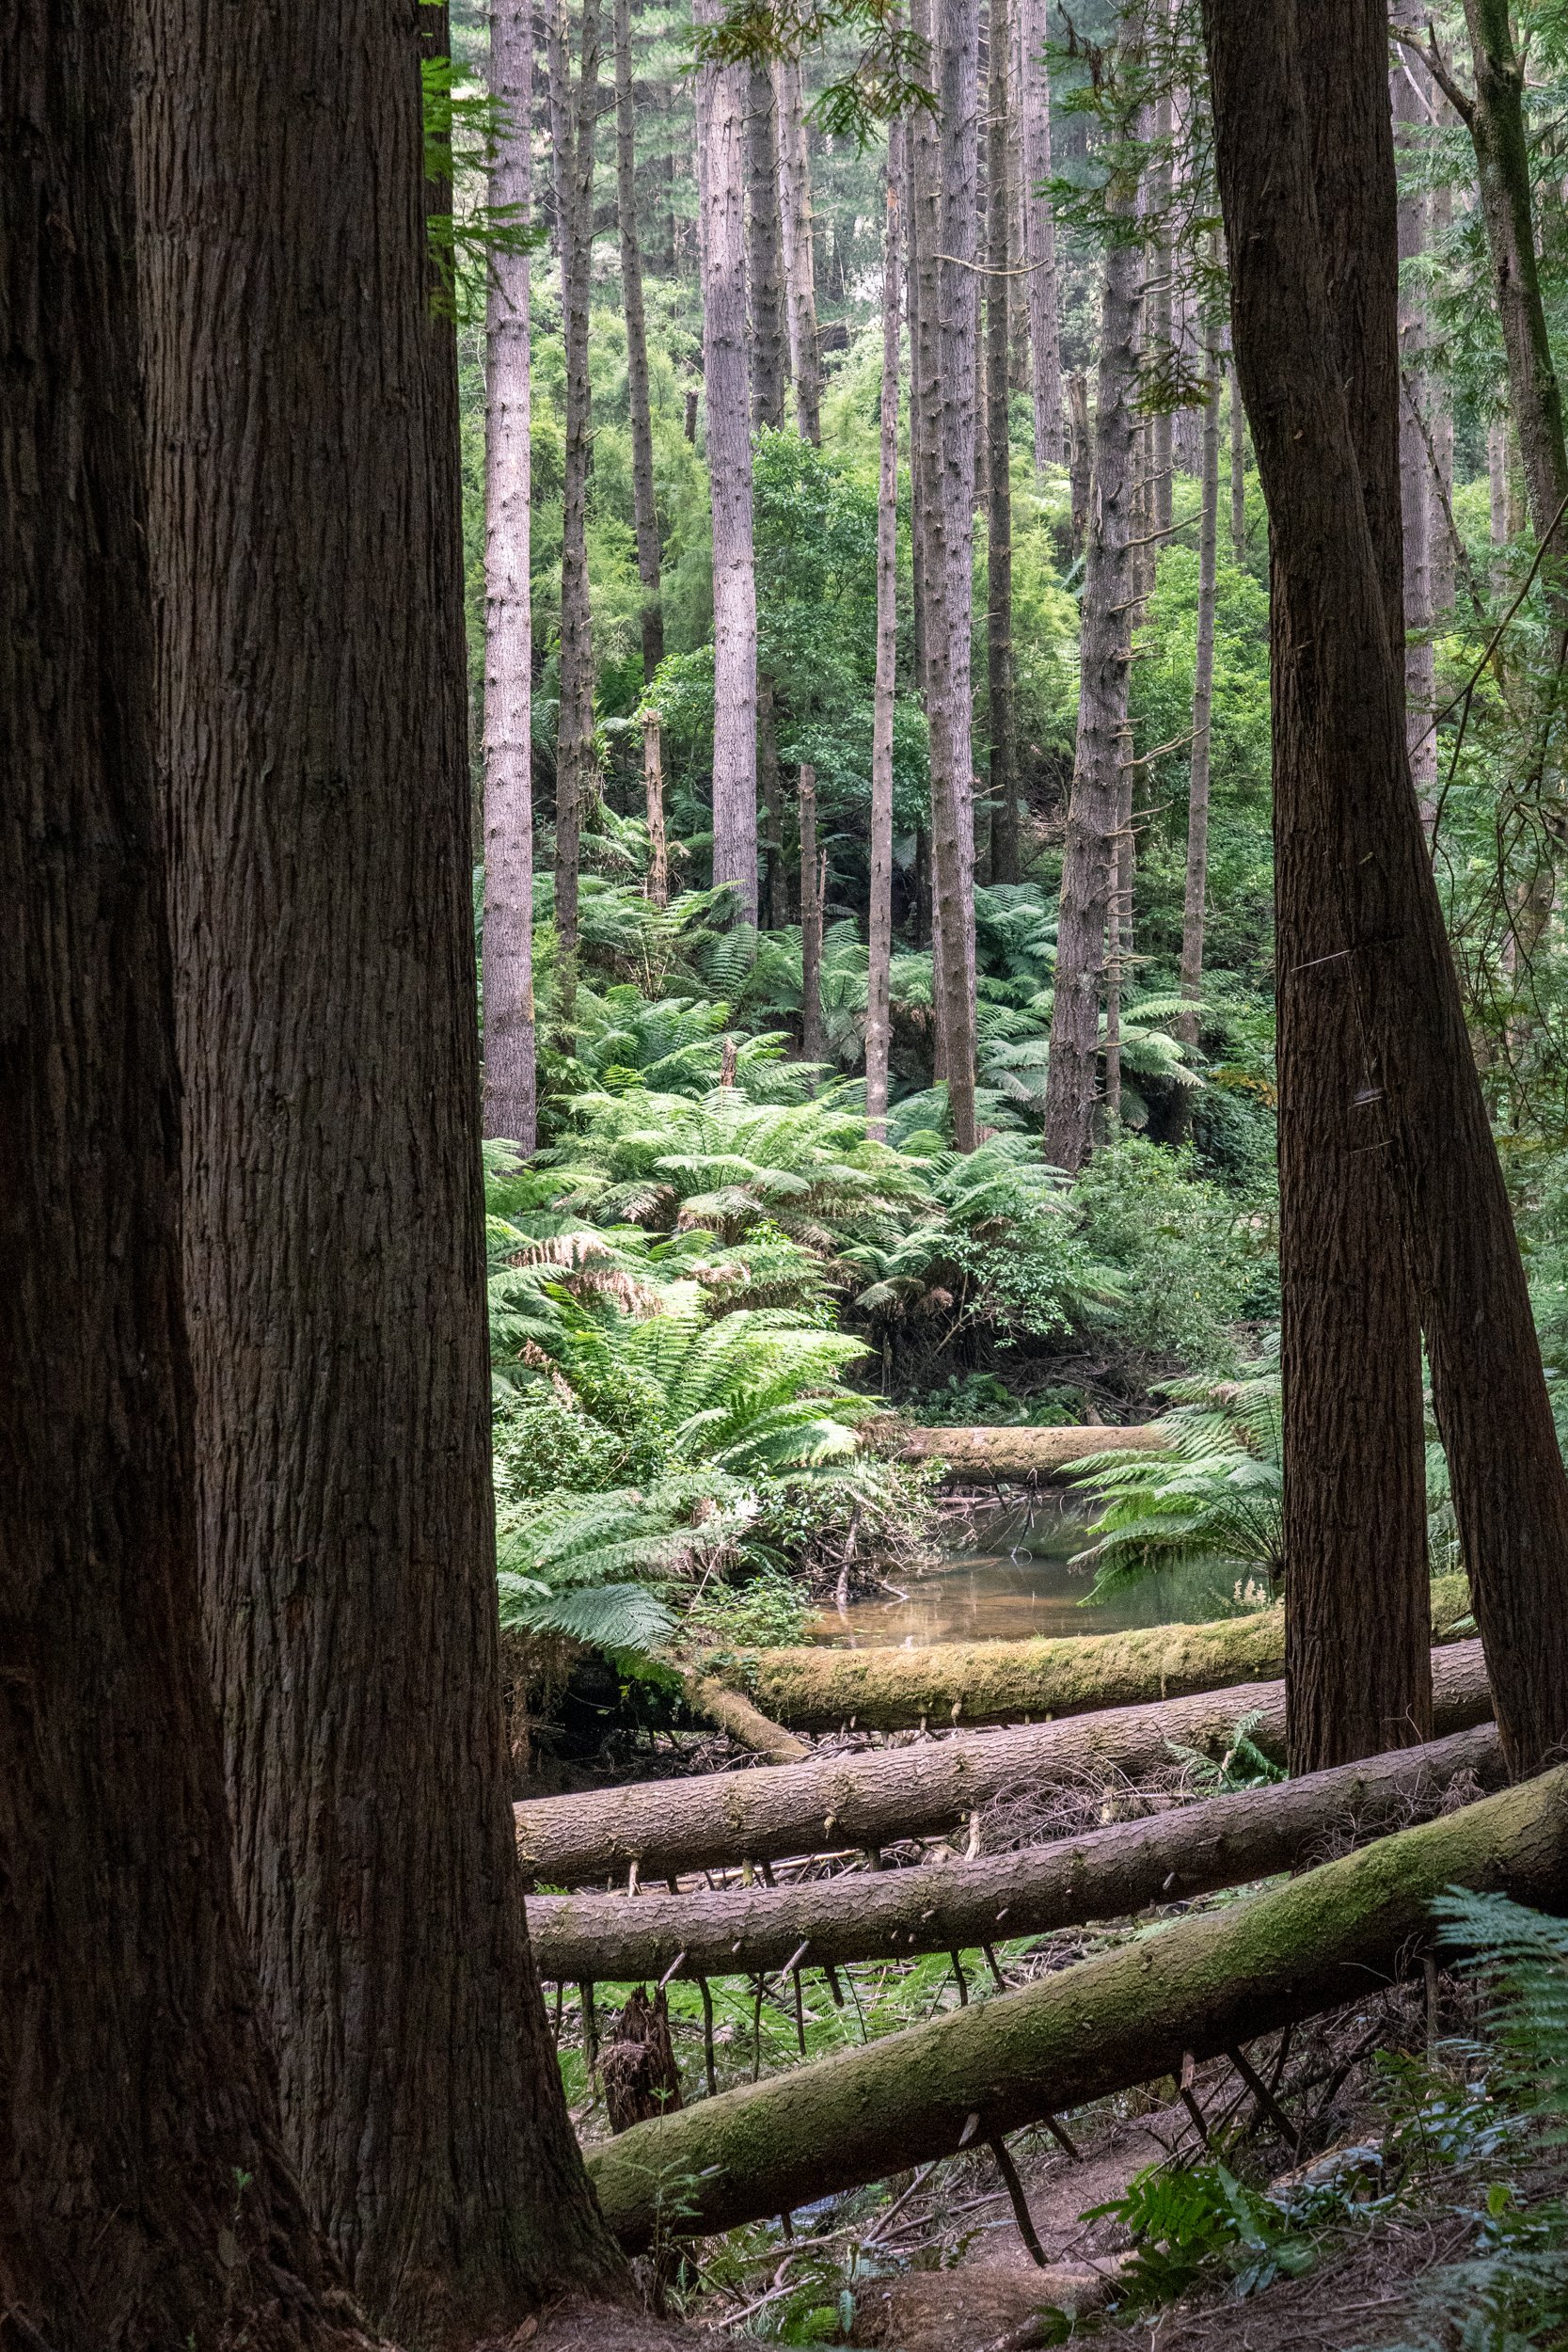
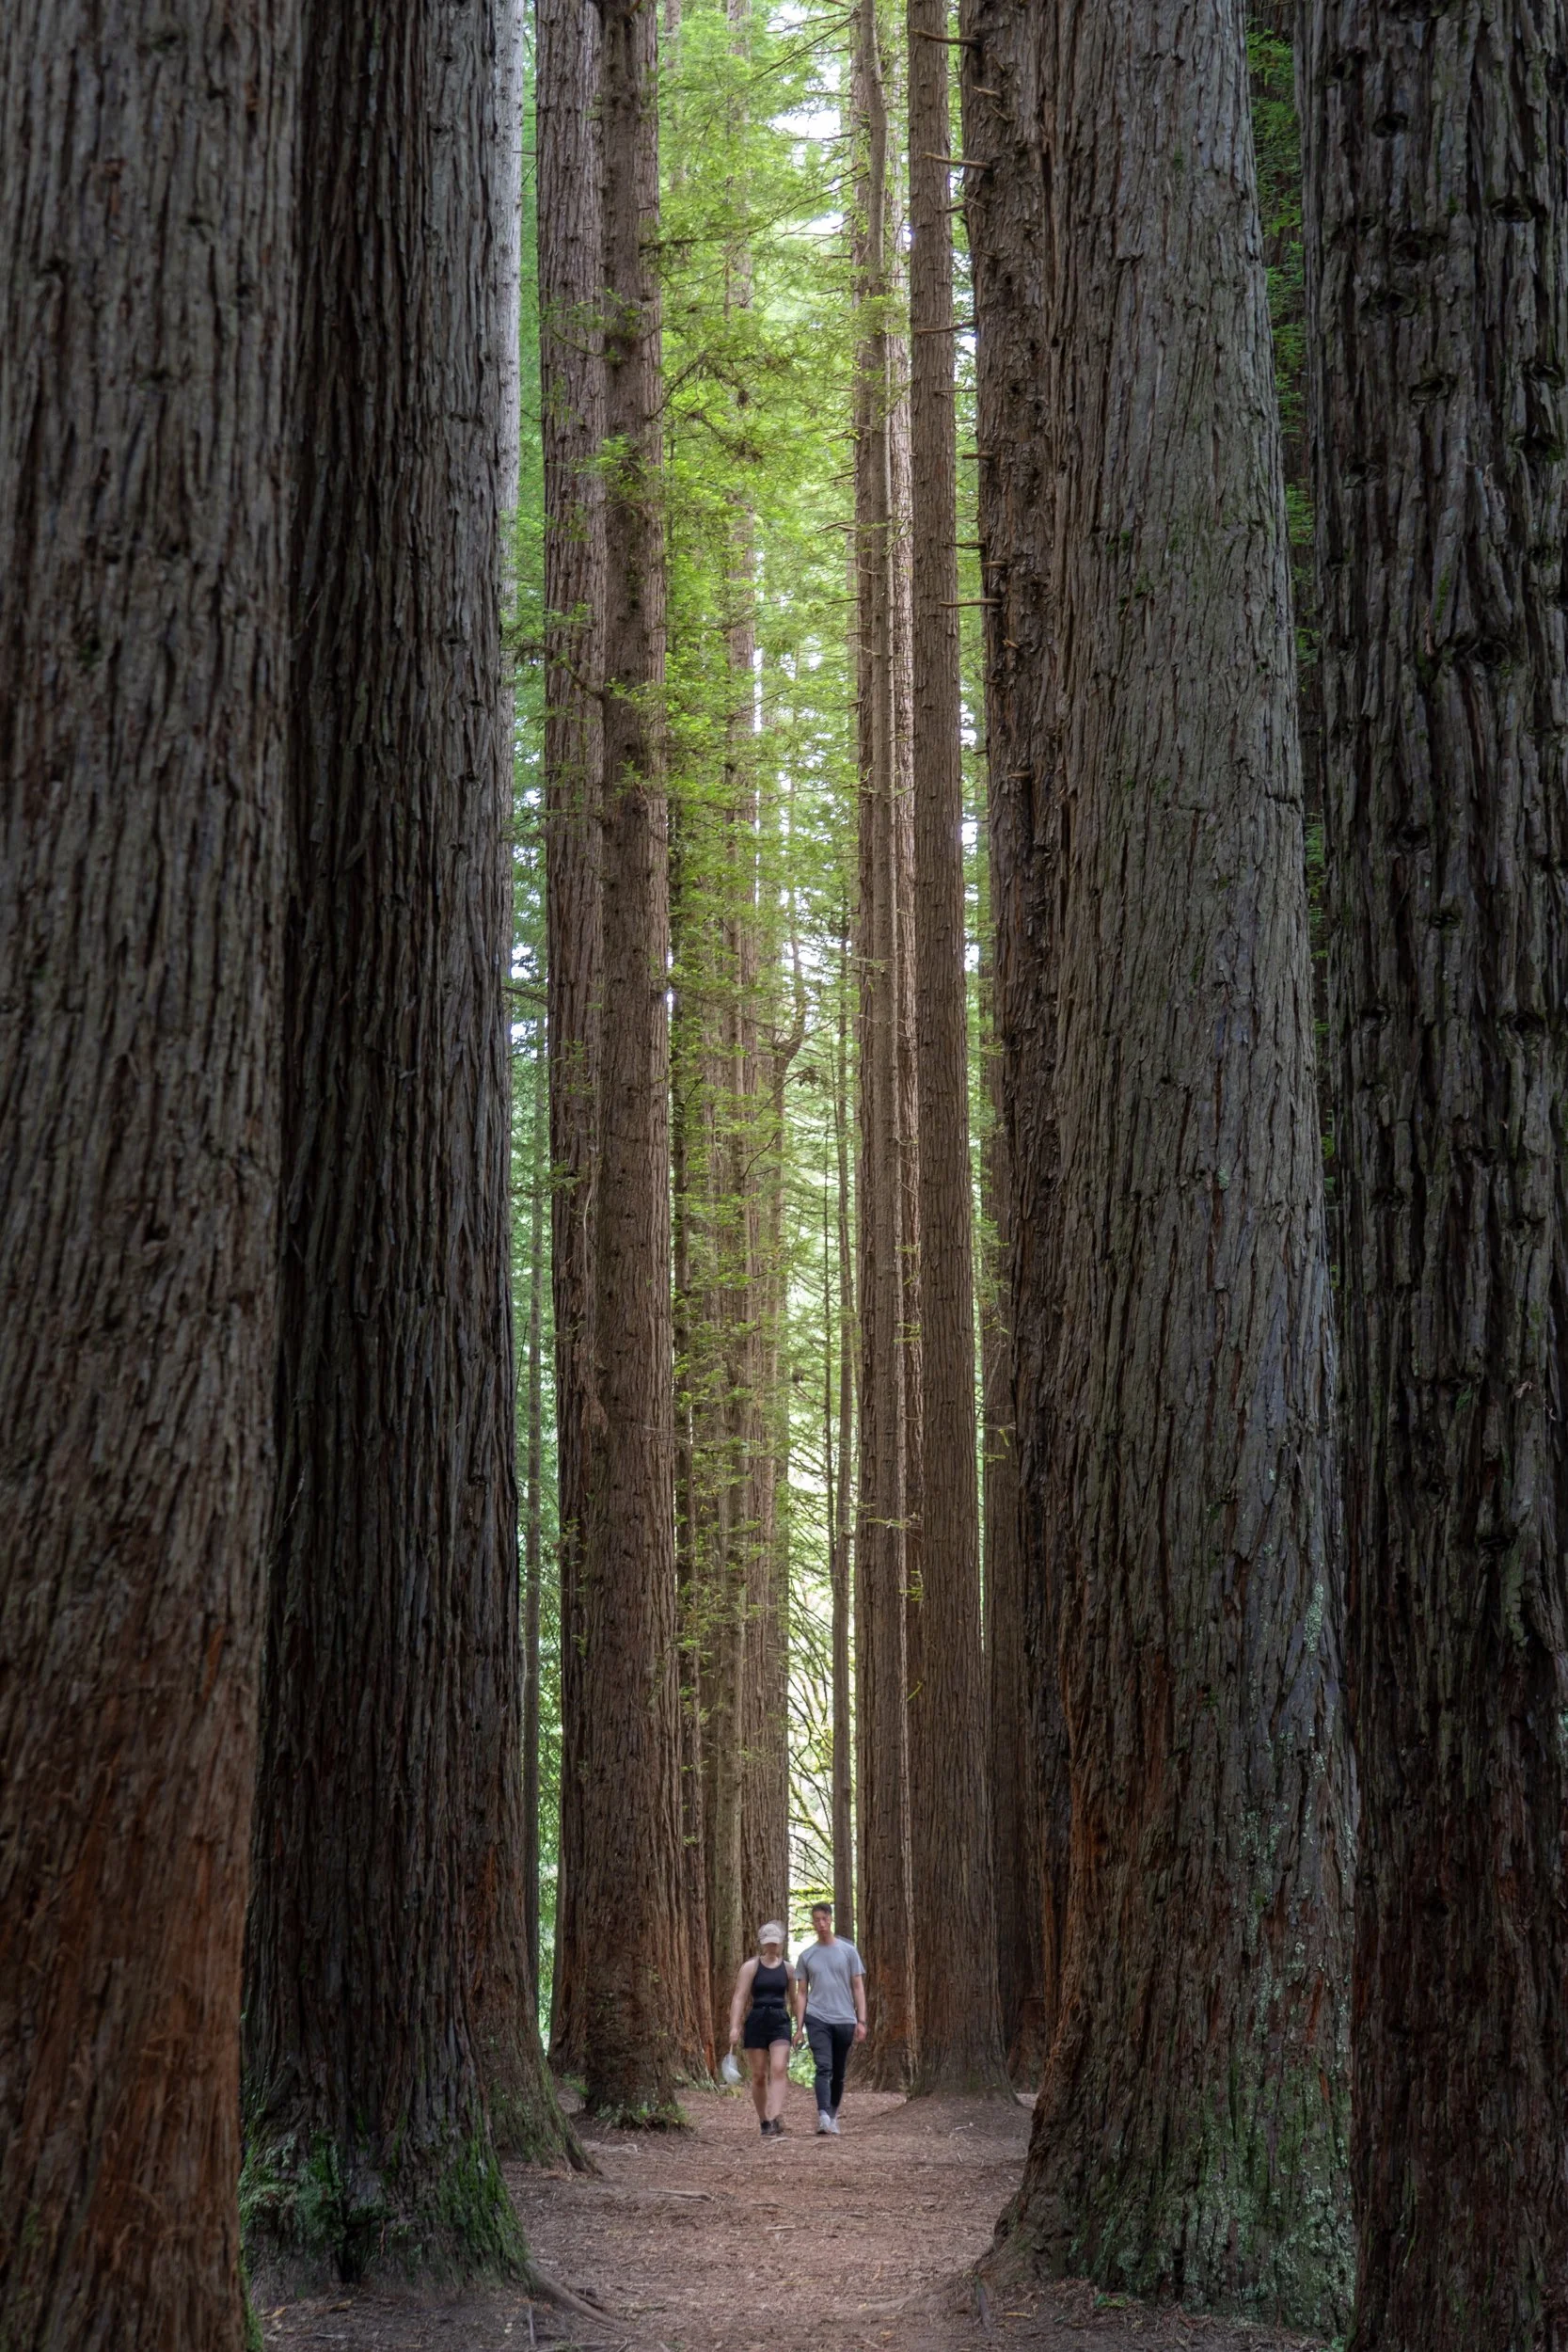
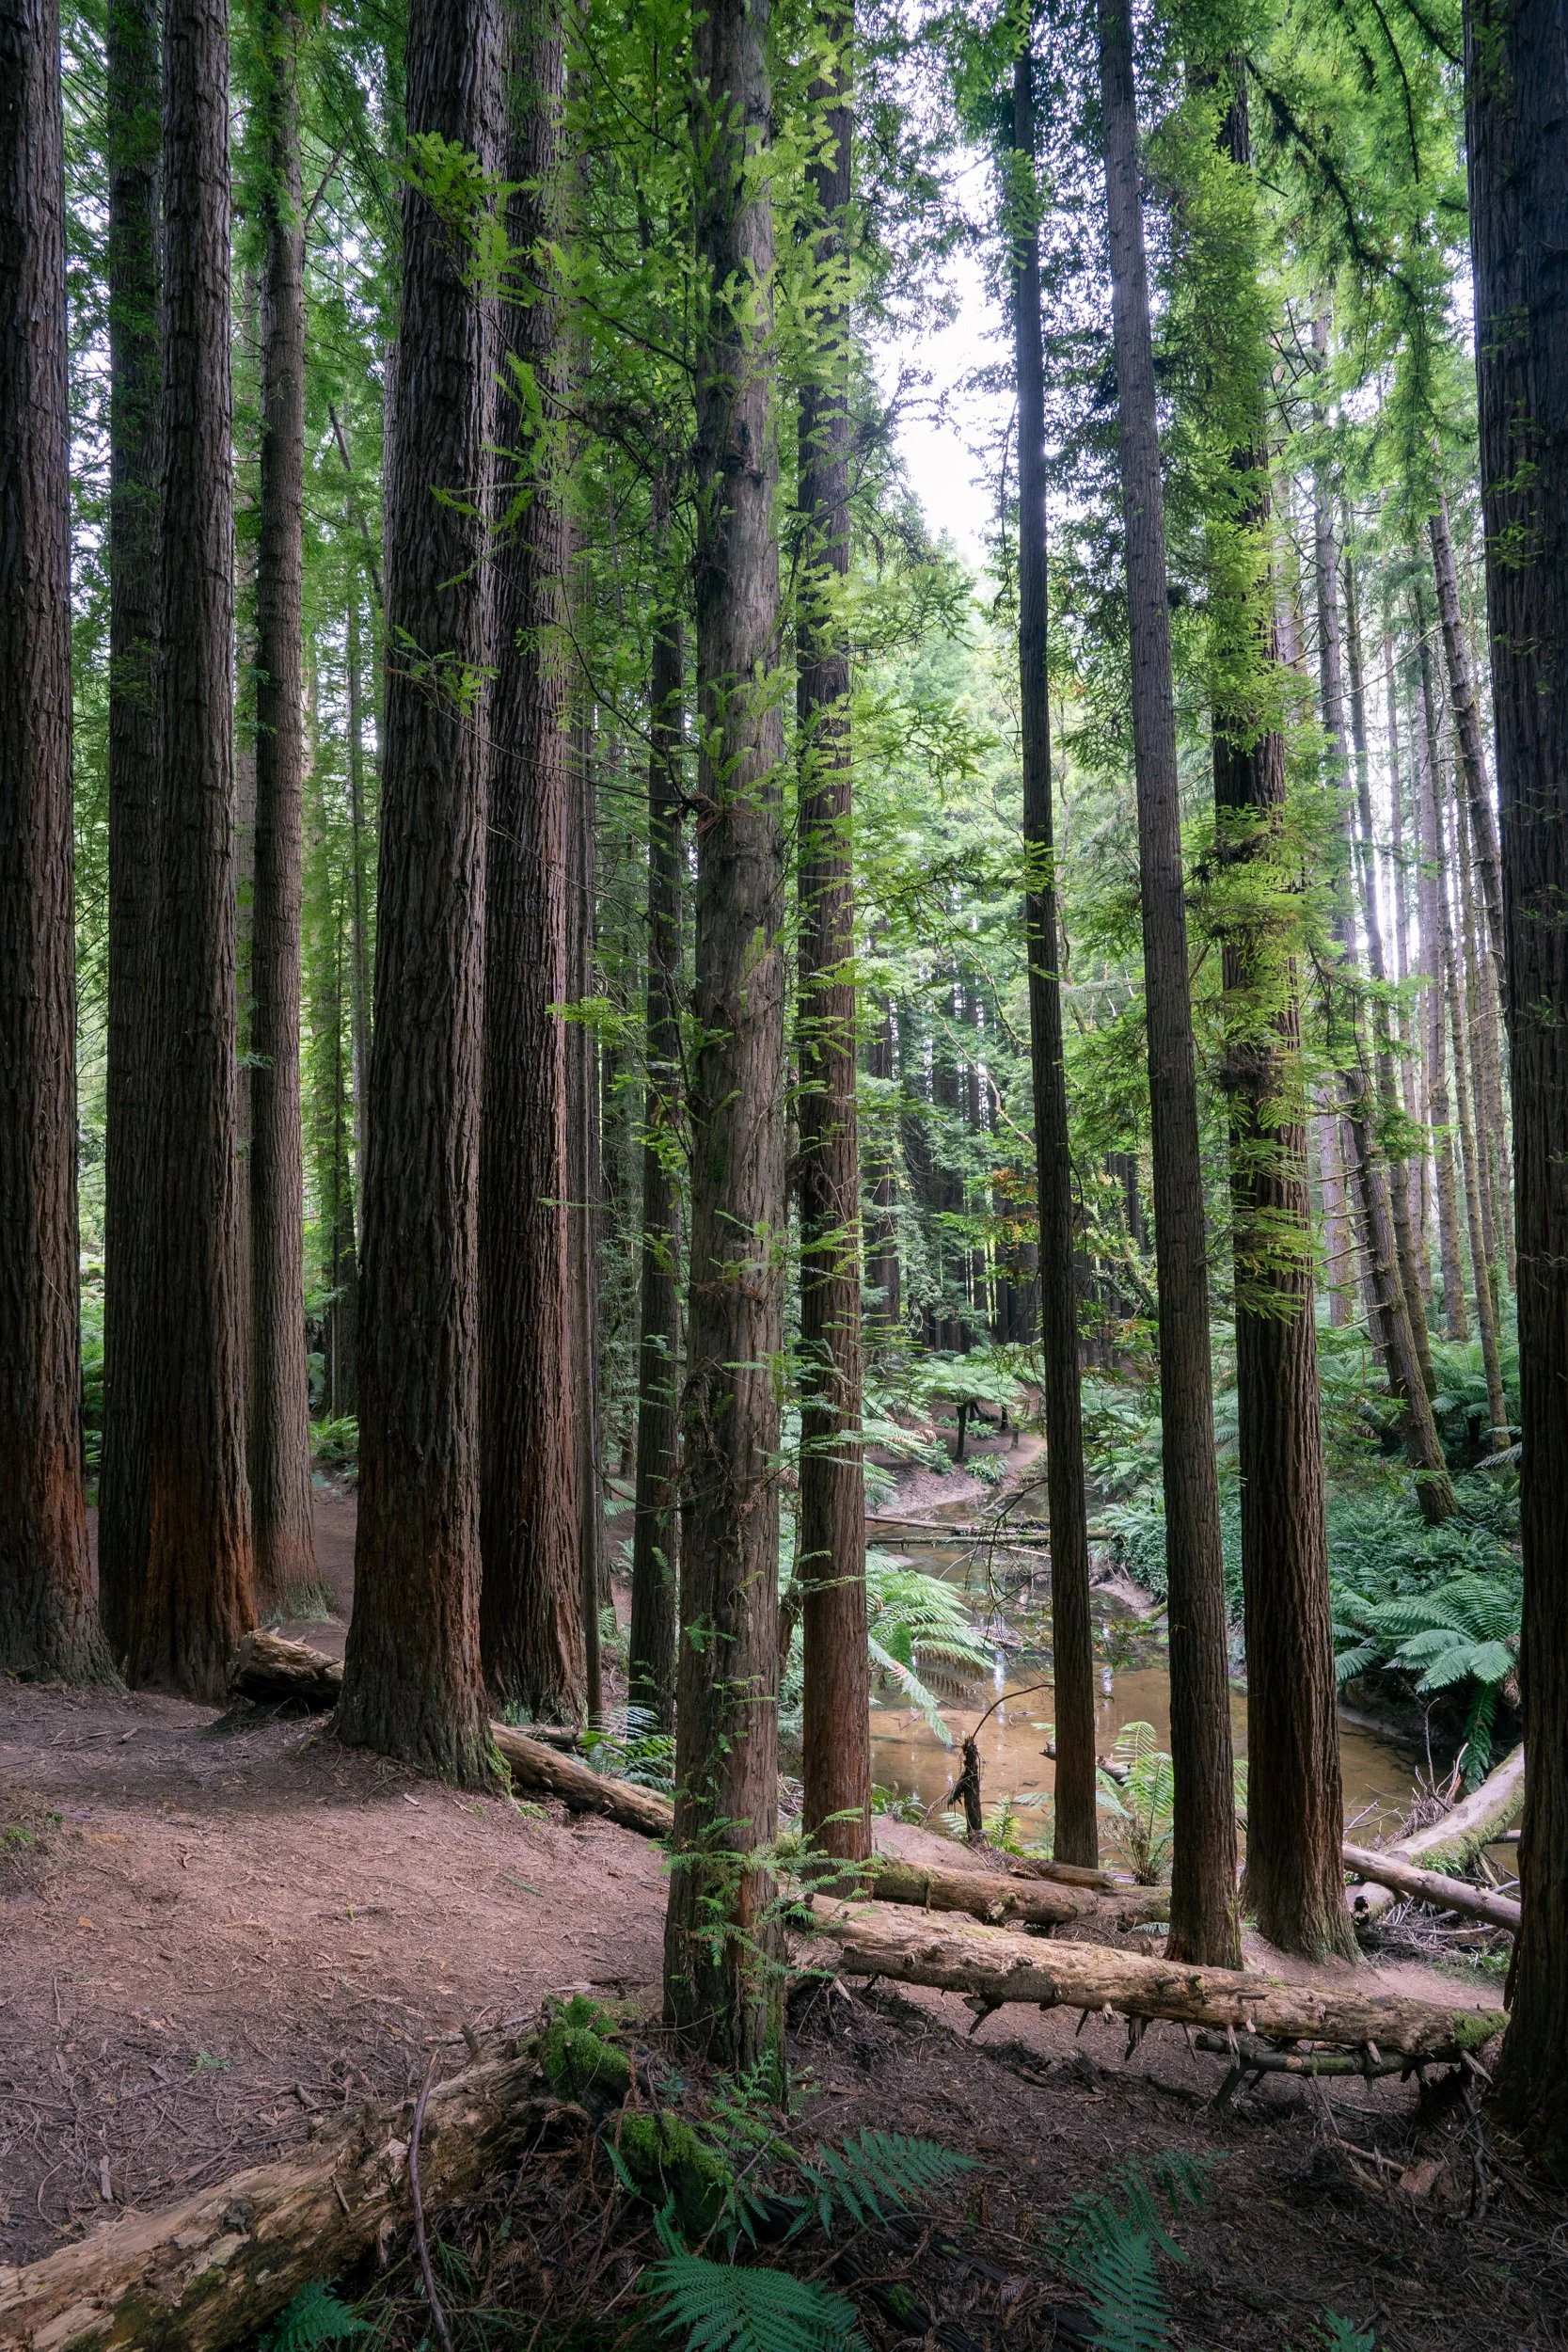
The Redwoods
Wreck Beach
Probably the most famous waterfall in Victoria and an incredible popular site is Hopetoun Falls. Like all of the major sites in this area get there EARLY. On my trip I was there around 8am, and could park in the 8-10 car car park. On my way out cars lined the road for around a km, and cars who somehow thought that THEY had some special power to find a park in the car park were having to reverse backwards down what was now a one lane road with parked cars lining the side.
Once you get down to the base of the valley you will find a viewing platform with a great view of the falls. Around half of the visitors then climb down off the platform and head over to the falls, whether to capture images, pose for selfies, or jump in the water!
Again, this is a spot that’s been seen a thousand times, so try to find your own unique take, either by getting down low and using the path of the water around rocks in your foreground, or using a long lens and shoot through the trees to the falls itself. There are also some unique composition opportunities down stream behind the viewing platform, again a longer lens would be best here.
Just around the corner from Hopetoun Falls is the Californian Redwoods. These were planted in 1936 for experimental purposes, and have grown like crazy ever since. There is no undergrowth, and it’s a really atmospheric walk through the towering trees, with a stream on one side, and lush forest surrounding them. This is another really popular site, with an open grassy area for picnics. I don’t find this site particularly interesting for my style of photography, but there are lots of opportunities to create some great images. Particularly if you want to work with models, light painting or use some coloured lights as the light drops to create some eerie drama. I do quite like the redwoods butting onto the stream, it’s really pretty, but I haven’t been here with the right light to make a great photograph.
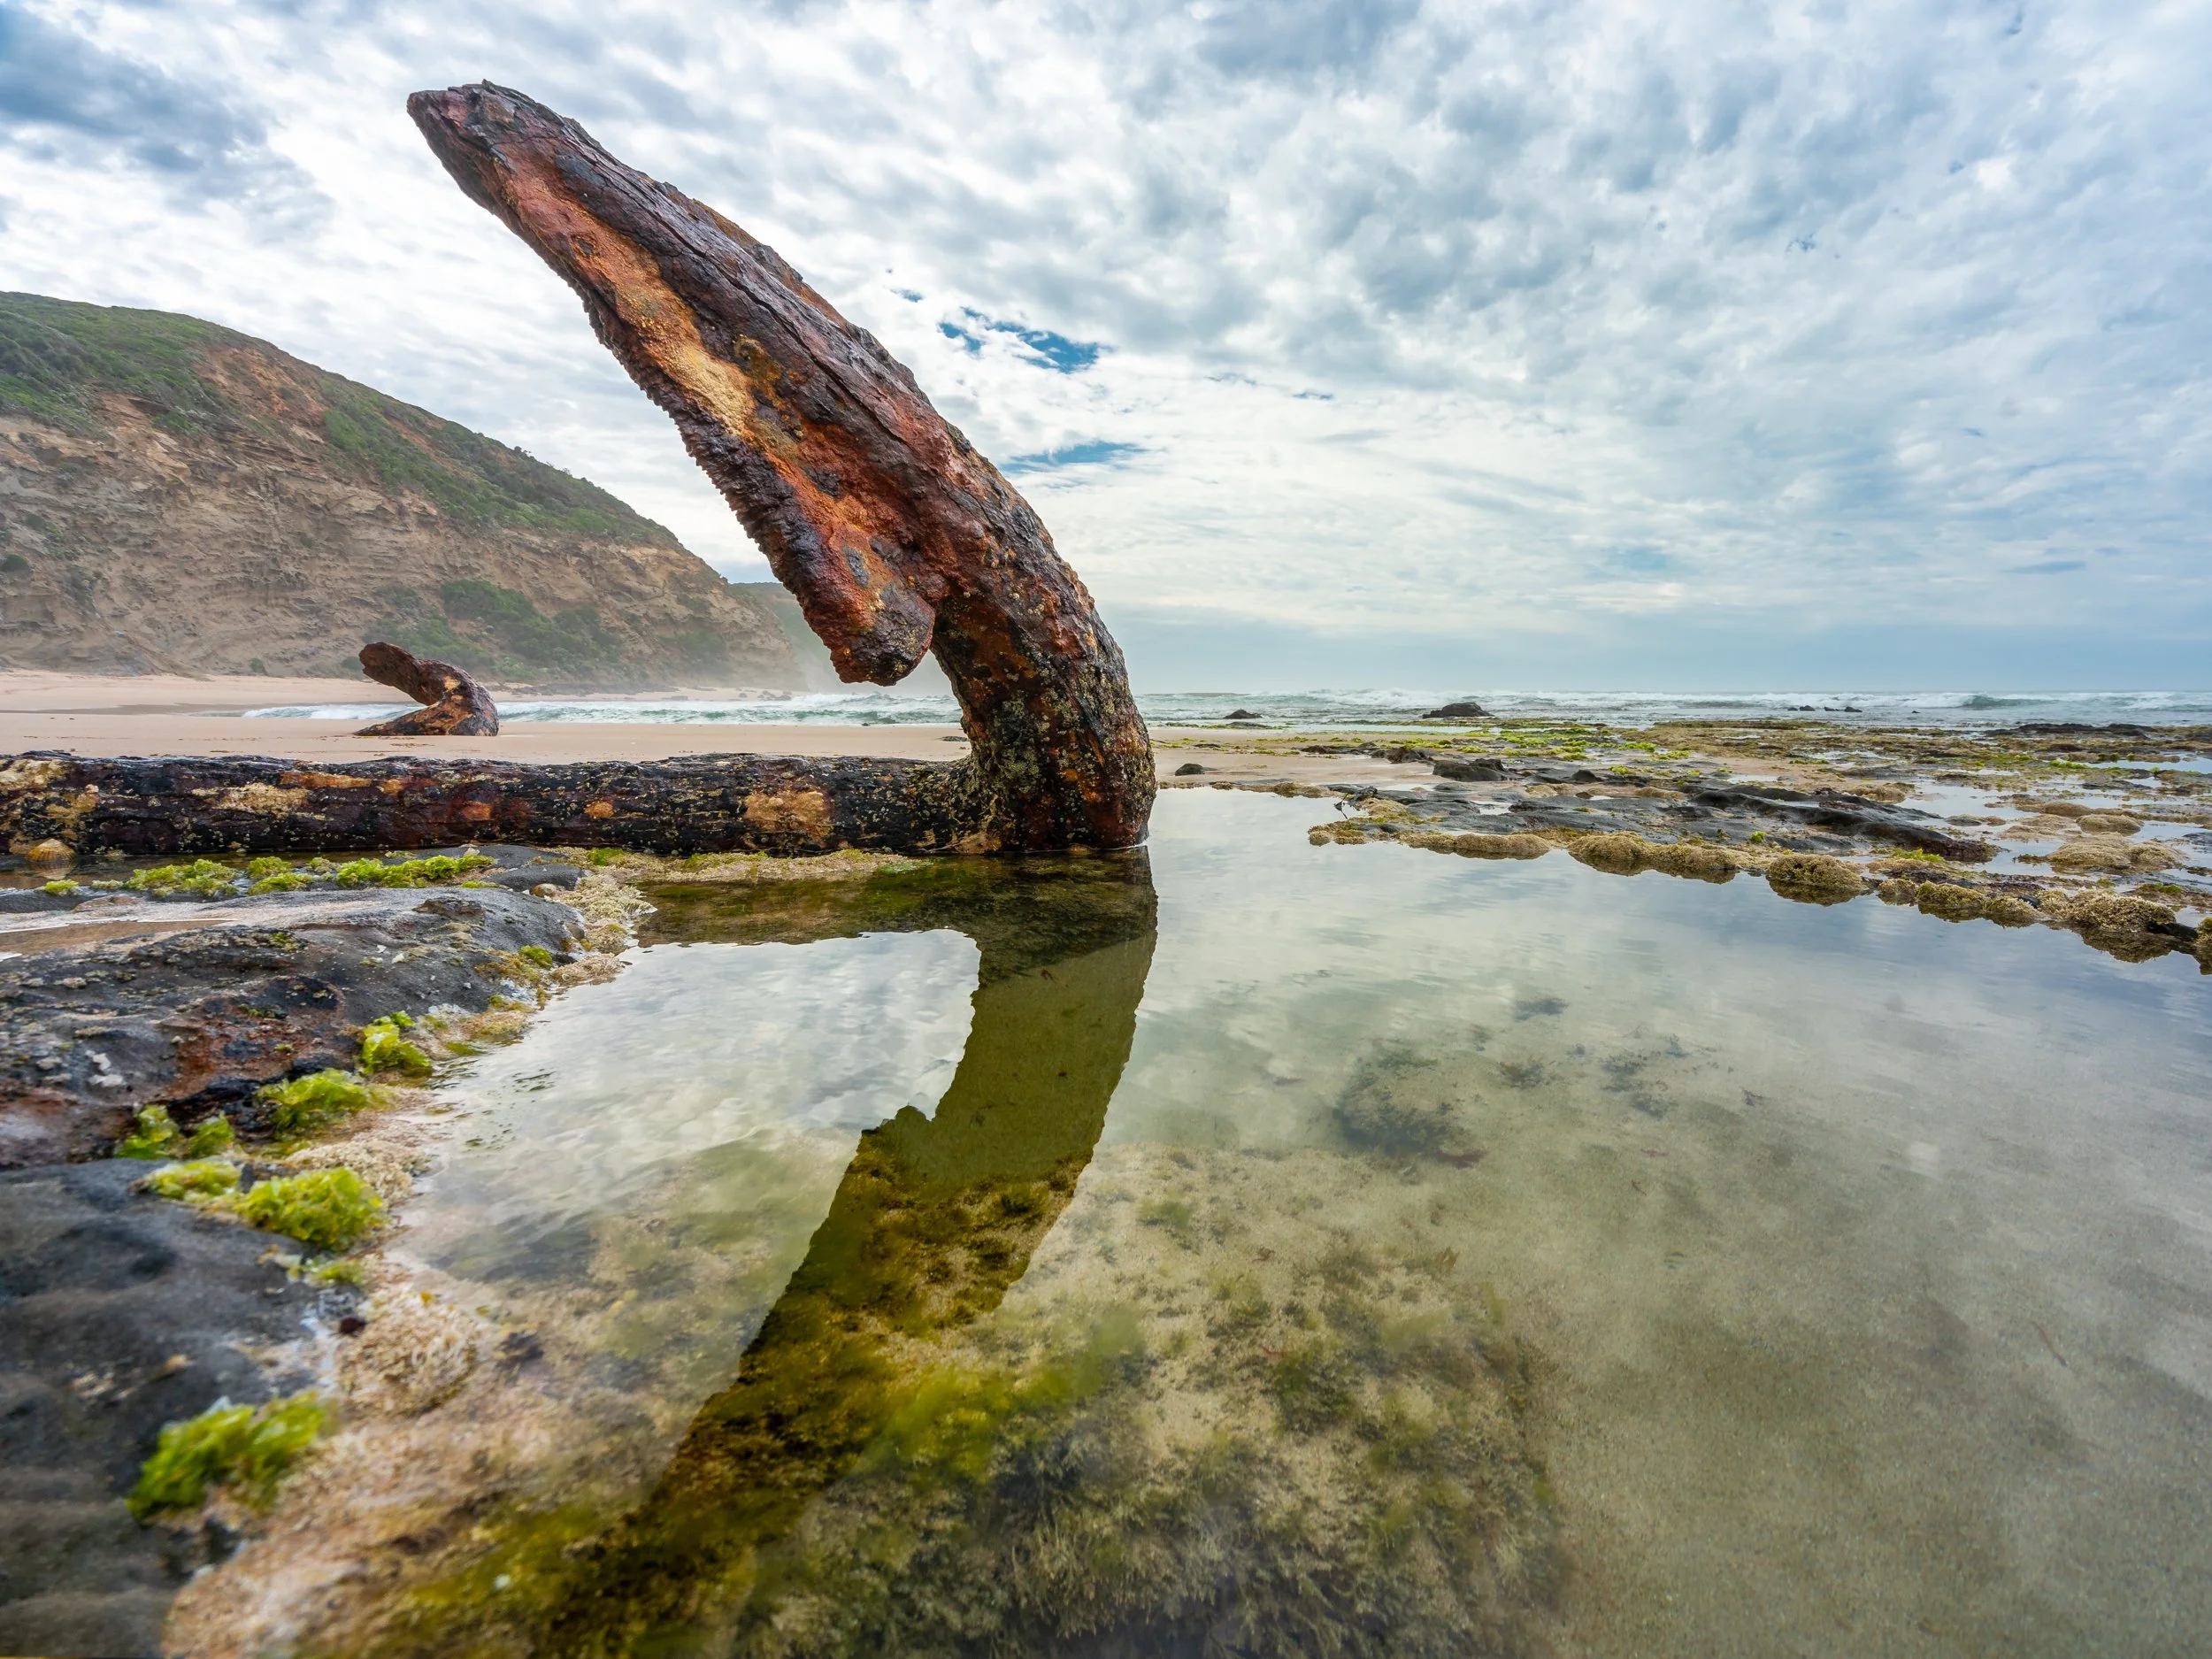
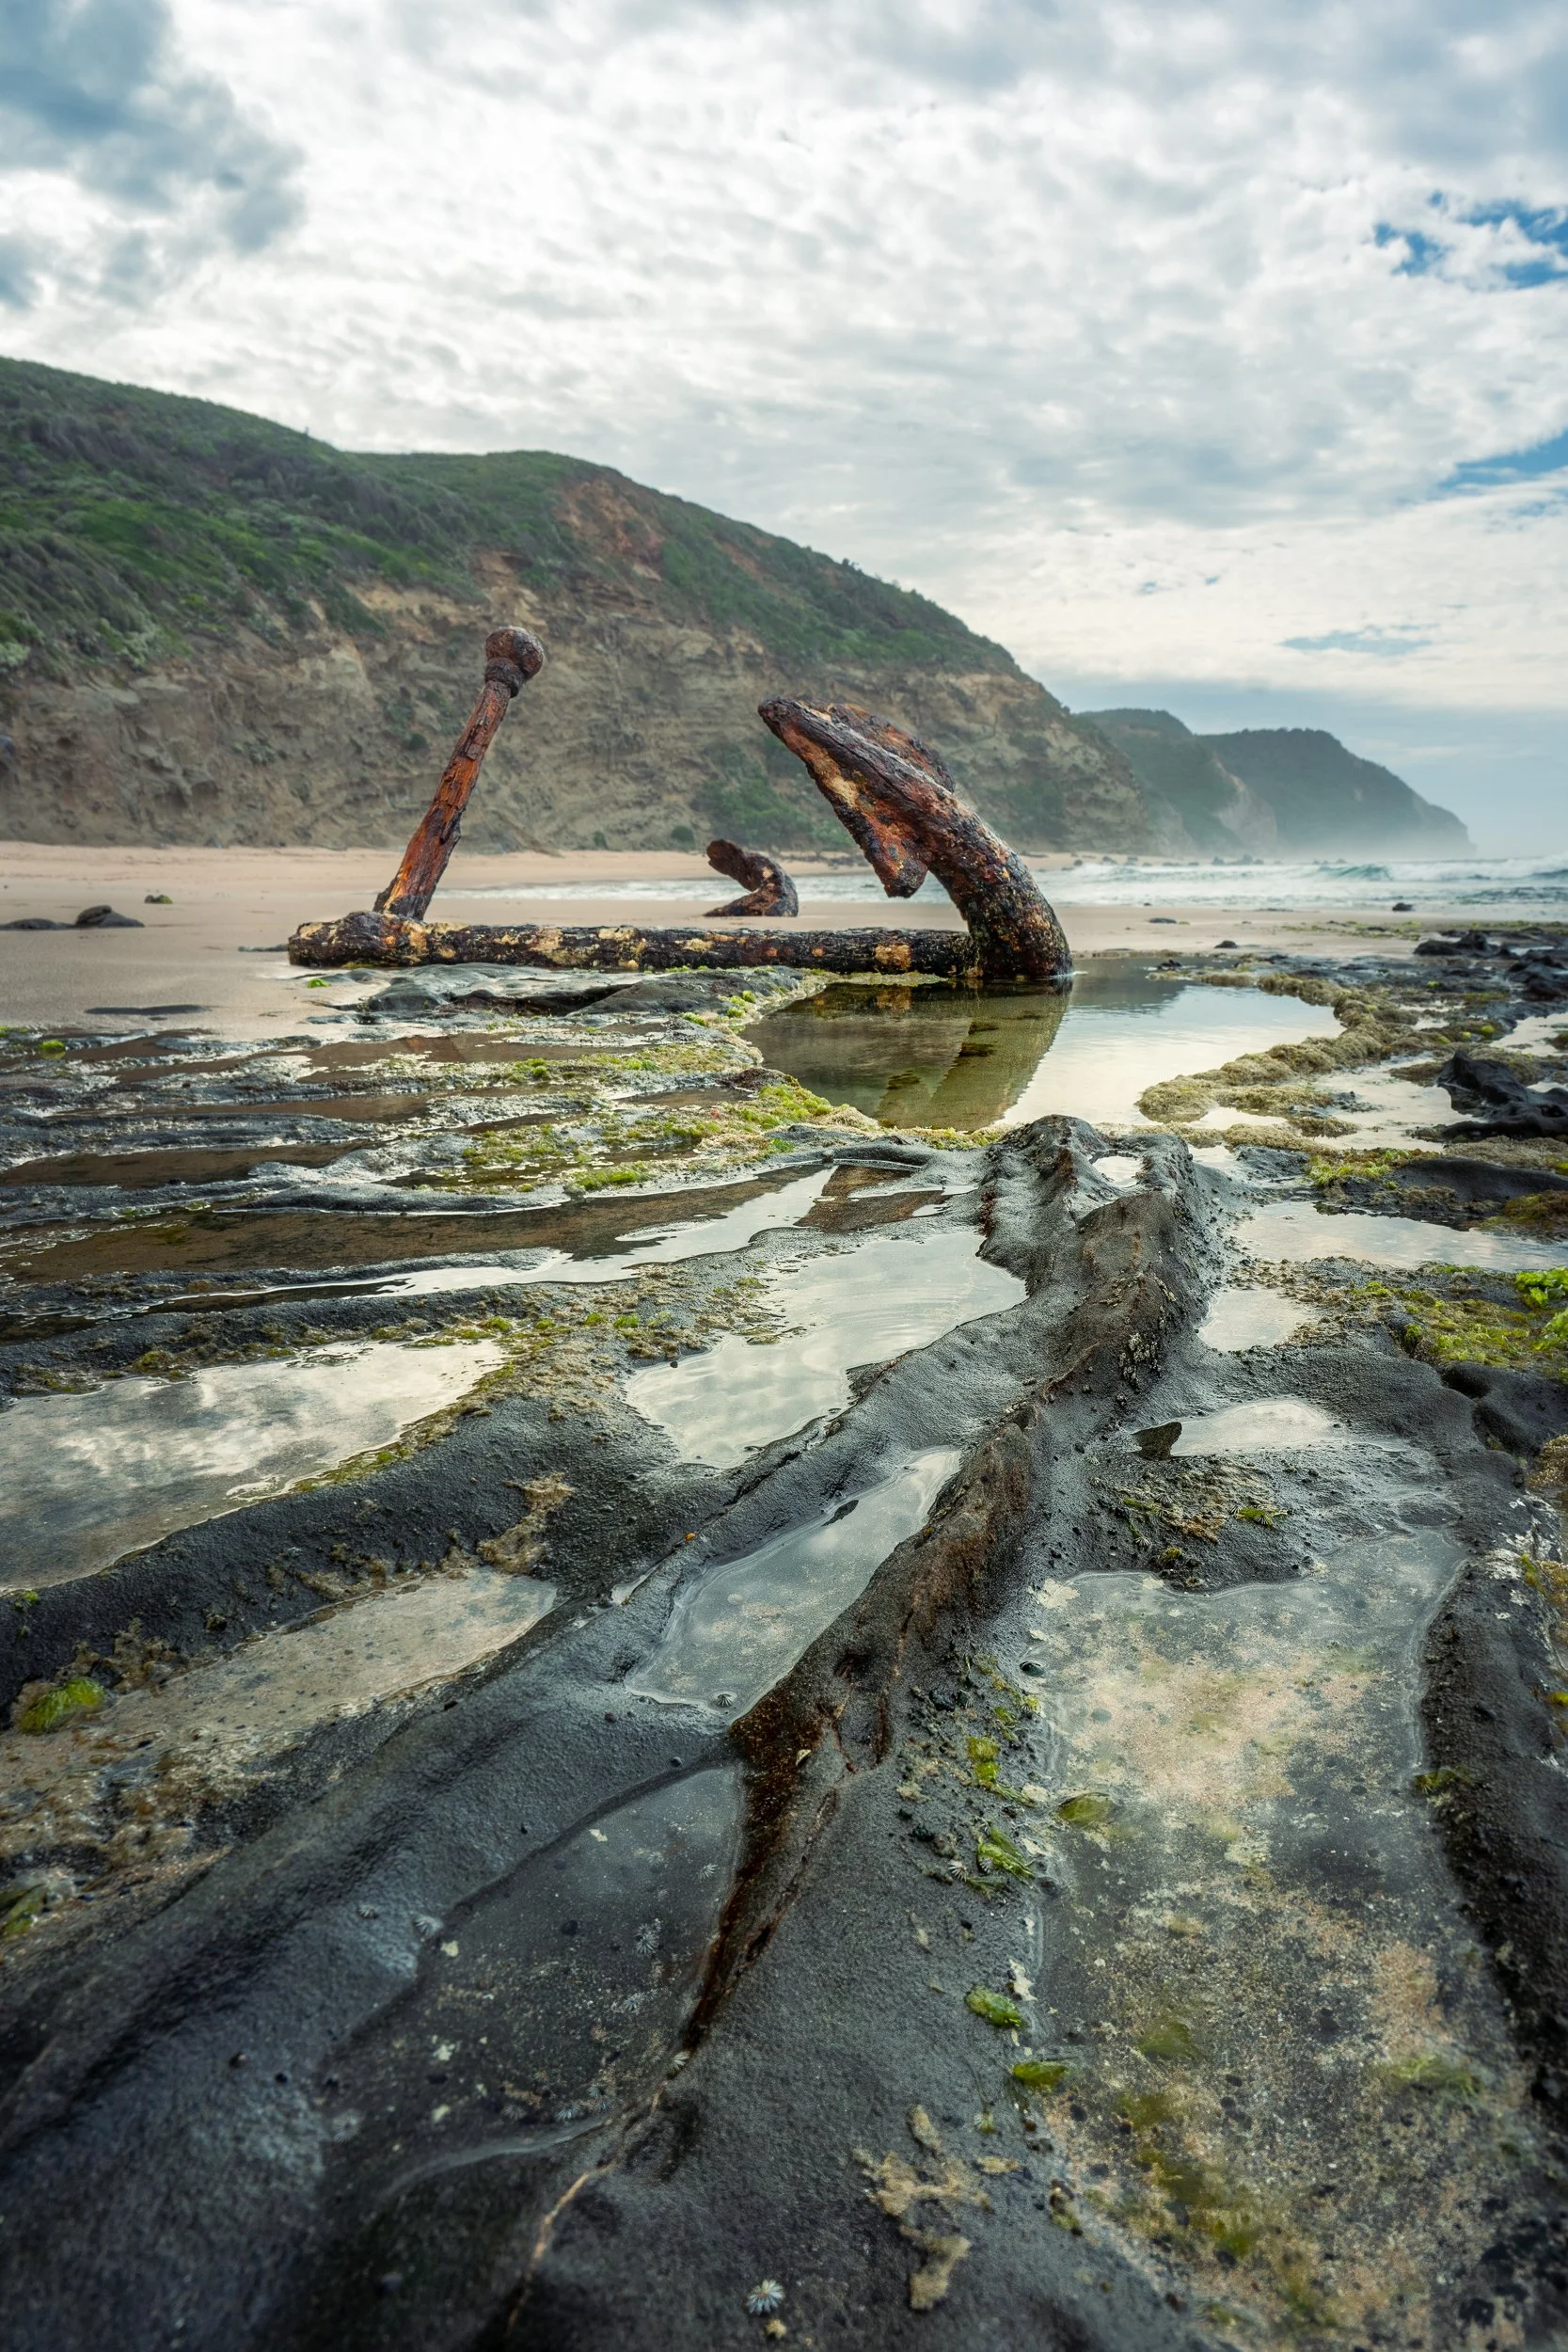
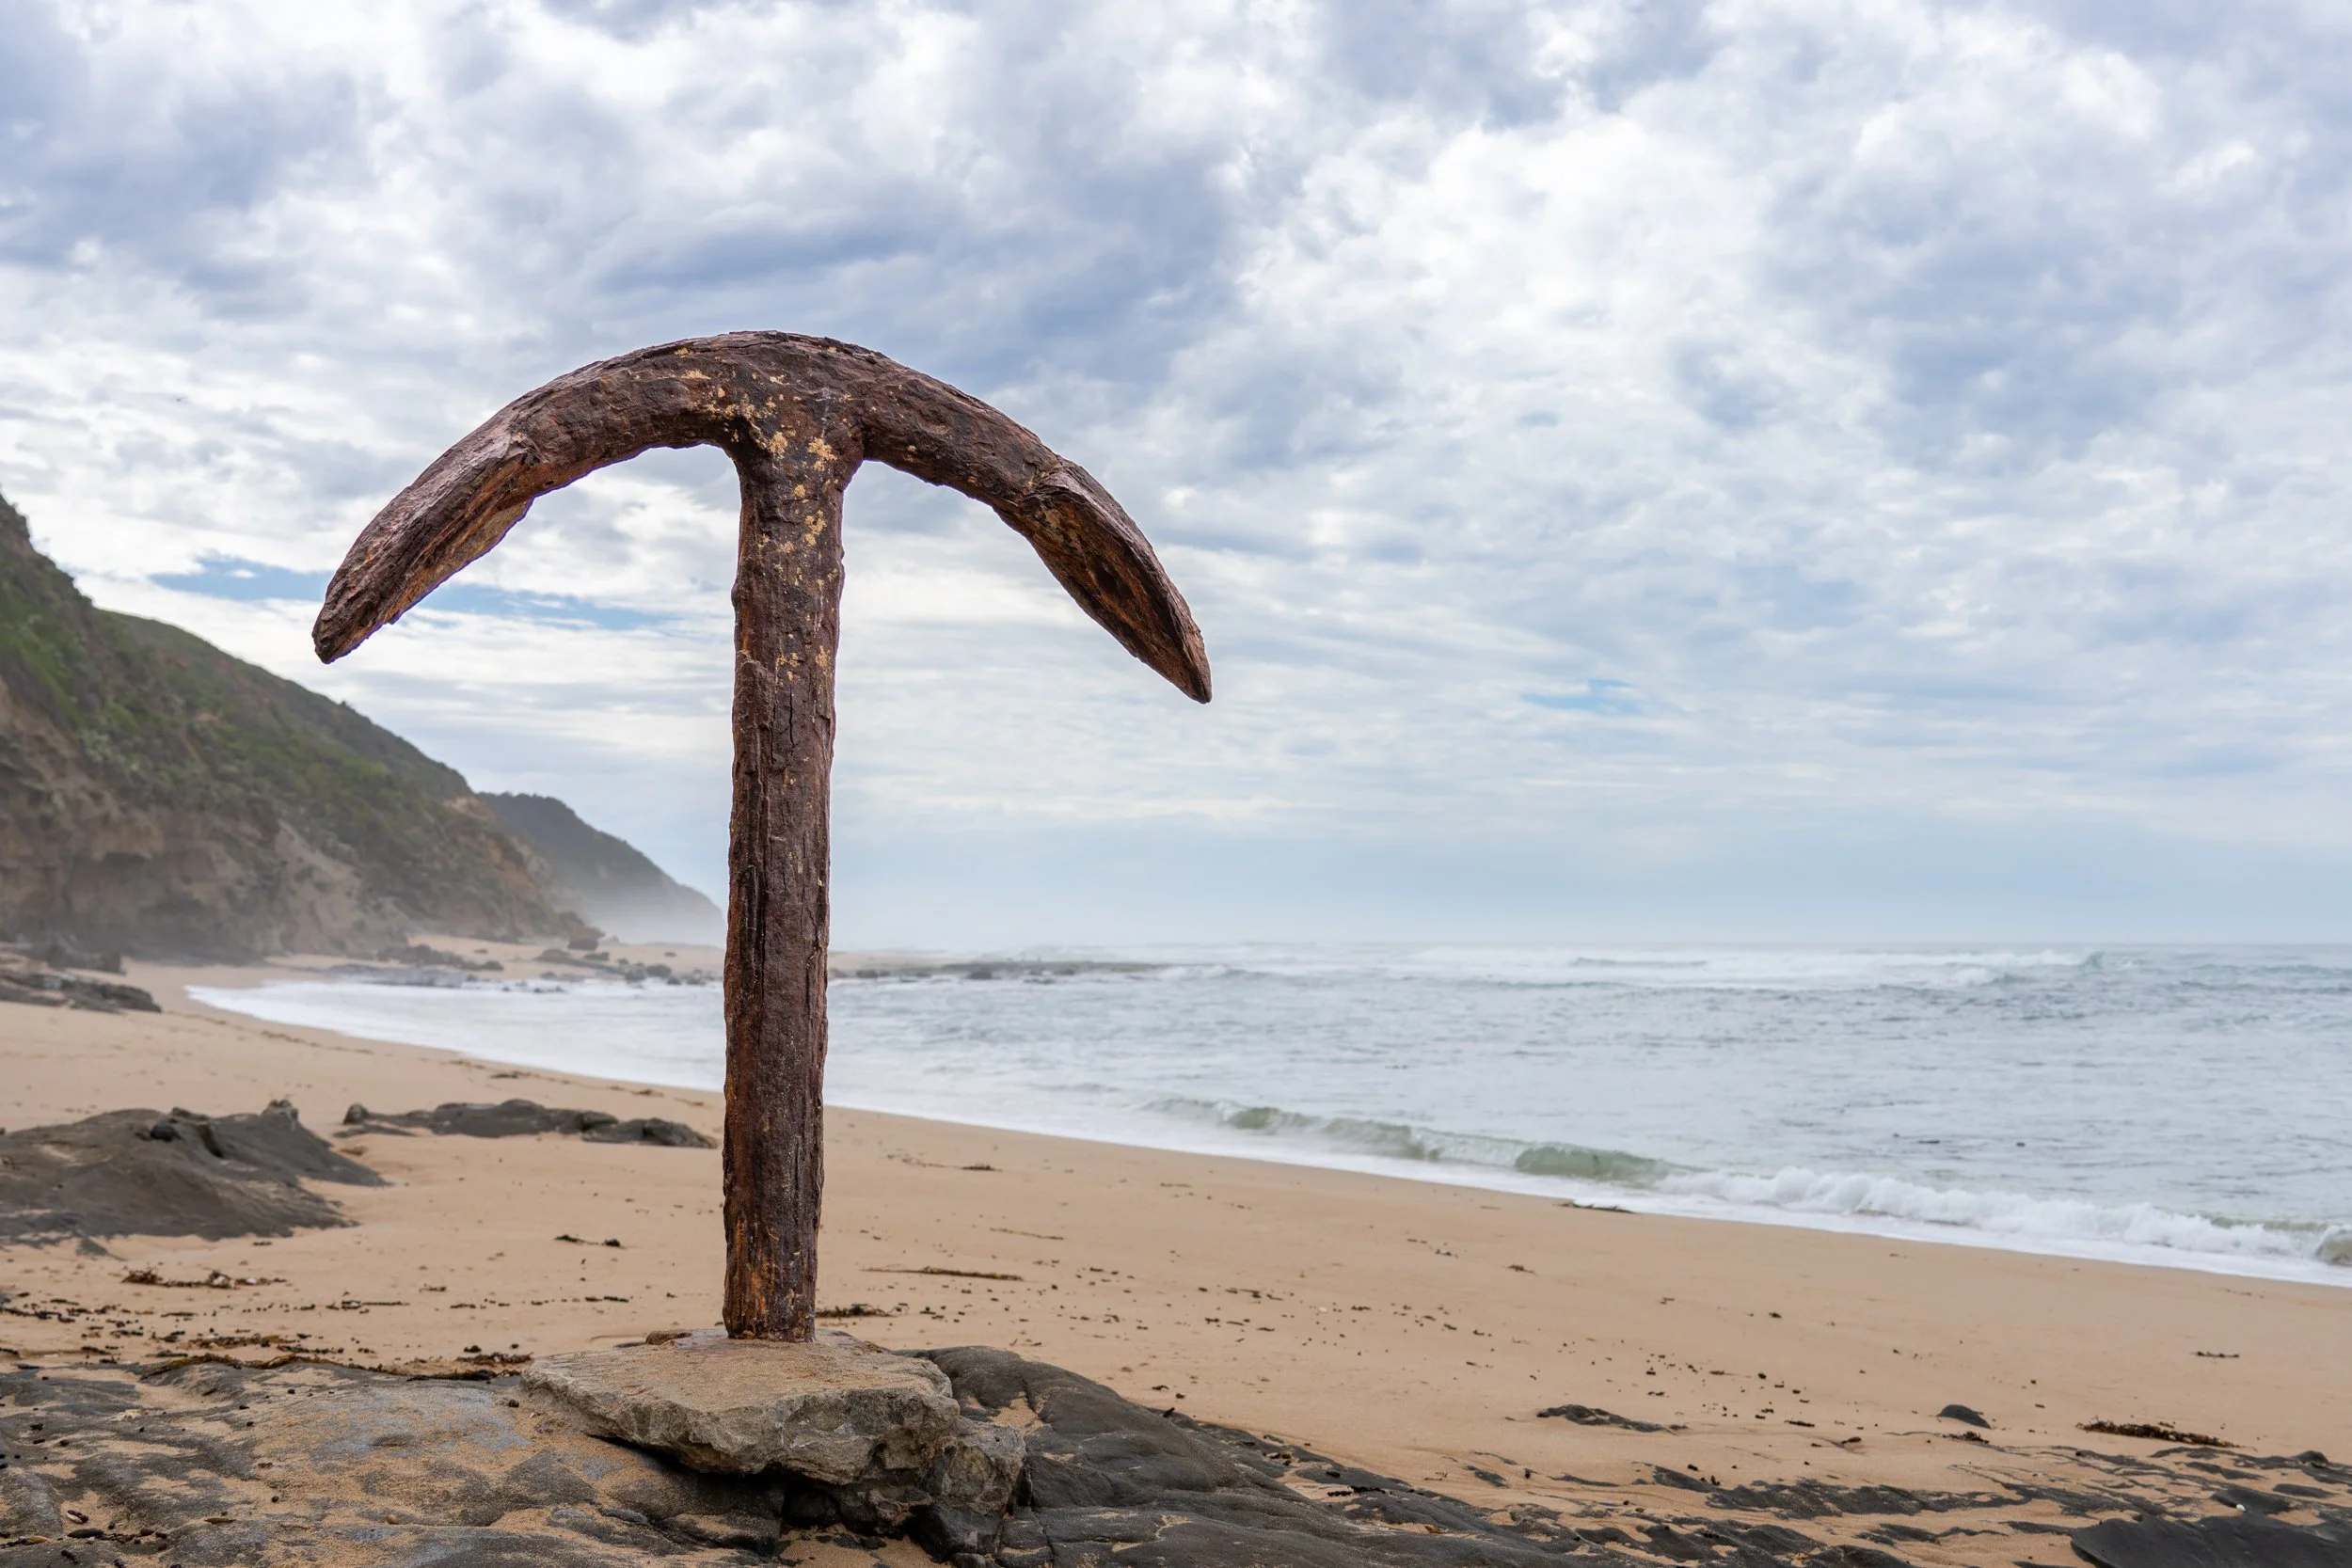
Wreck Beach is down in the south west corner of the Otways, near Gellibrand Lower. This is a really interesting beach that features the anchors from the shipwreck of the Marie Gabrielle and the Fiji. Depending on the condition of the beach, you may also see some of the rusted machinery peeking out of the sand, or full exposed. It seems like the anchors are embedded in the rockpools in the beach, and they make such a great subject to photograph.
It’s a reasonable drive to get to, manageable in any car. Once you get to the car park, there’s a 350 step climb down to the beach. Turn to your right and keep walking until you see the first anchor sticking out of the beach, that’s the Marie Gabrielle (best one), and then a bit further on you’ll see the Fiji (not as good).
The beach is only accessible at low tide, which is what you want, so you can photograph the anchors in combination with the rockpools. At high tide you won’t see much at all, and it may not be safe if there is a large swell.
I really recommend some insect repellent, as there were SOOO many March Flies on the beach, all intent on extracting a bloody meal from my legs. When they bite through skin they hurt. So annoying!
(C/D) The 12 Apostles
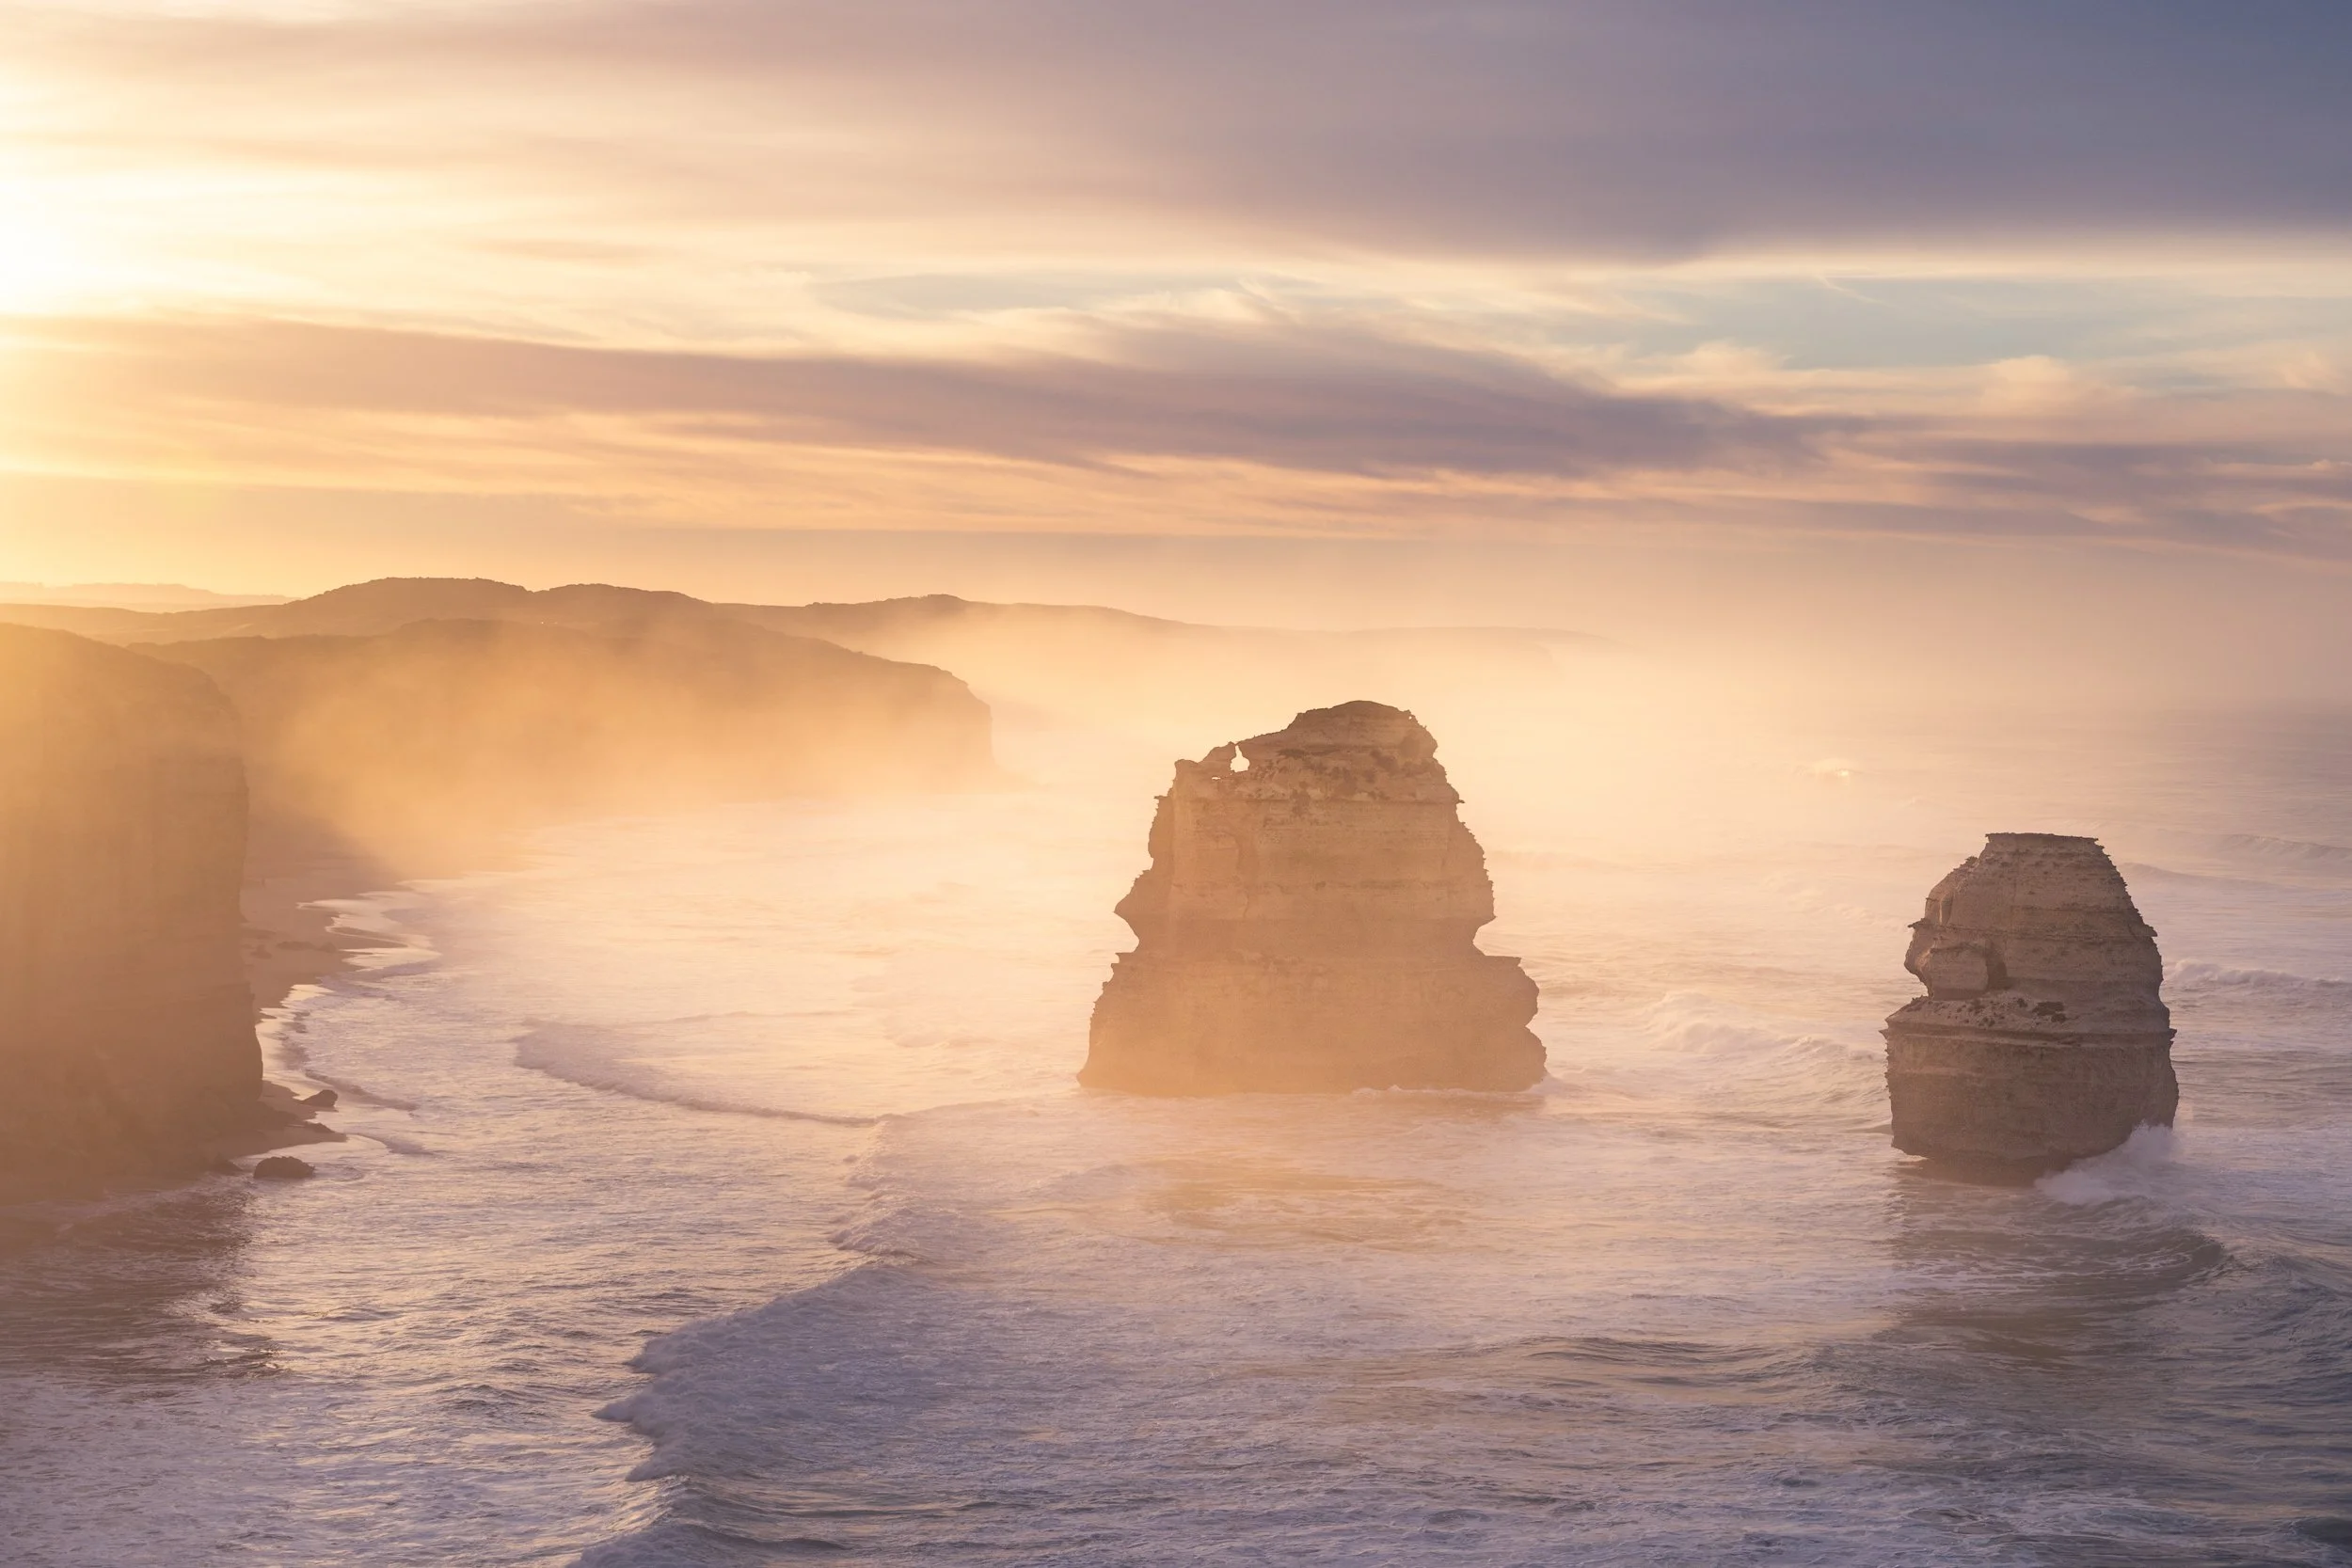
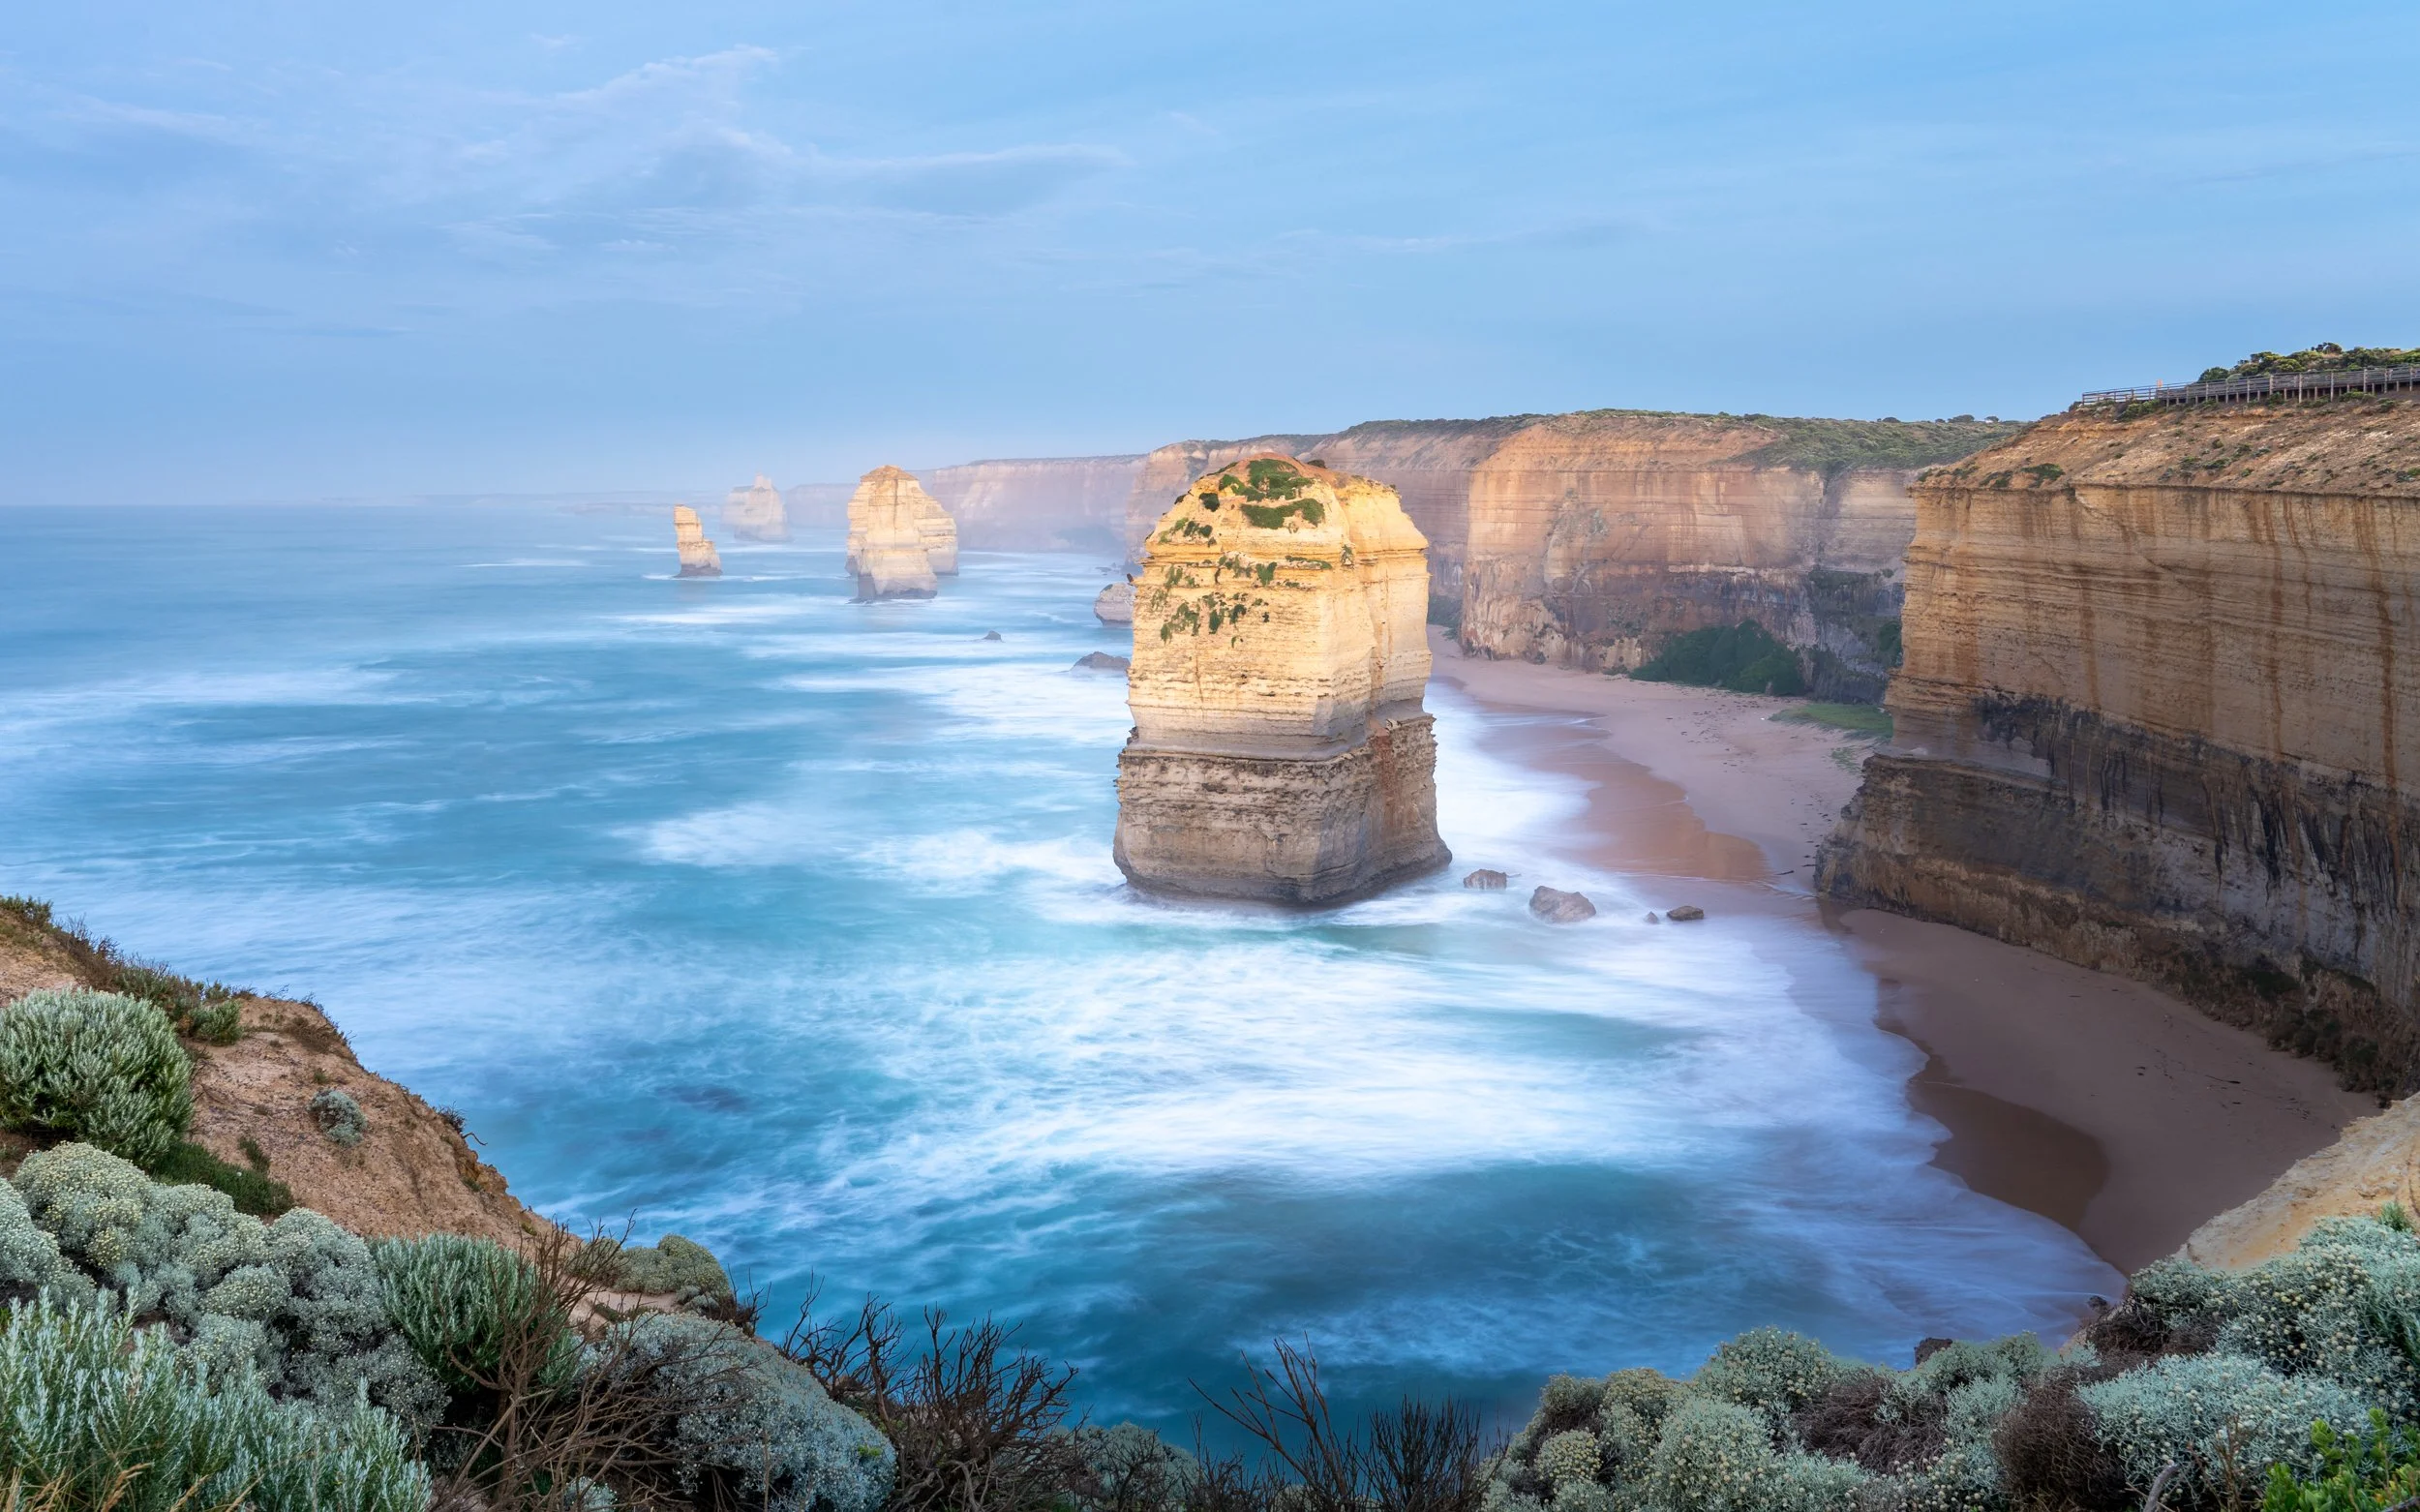
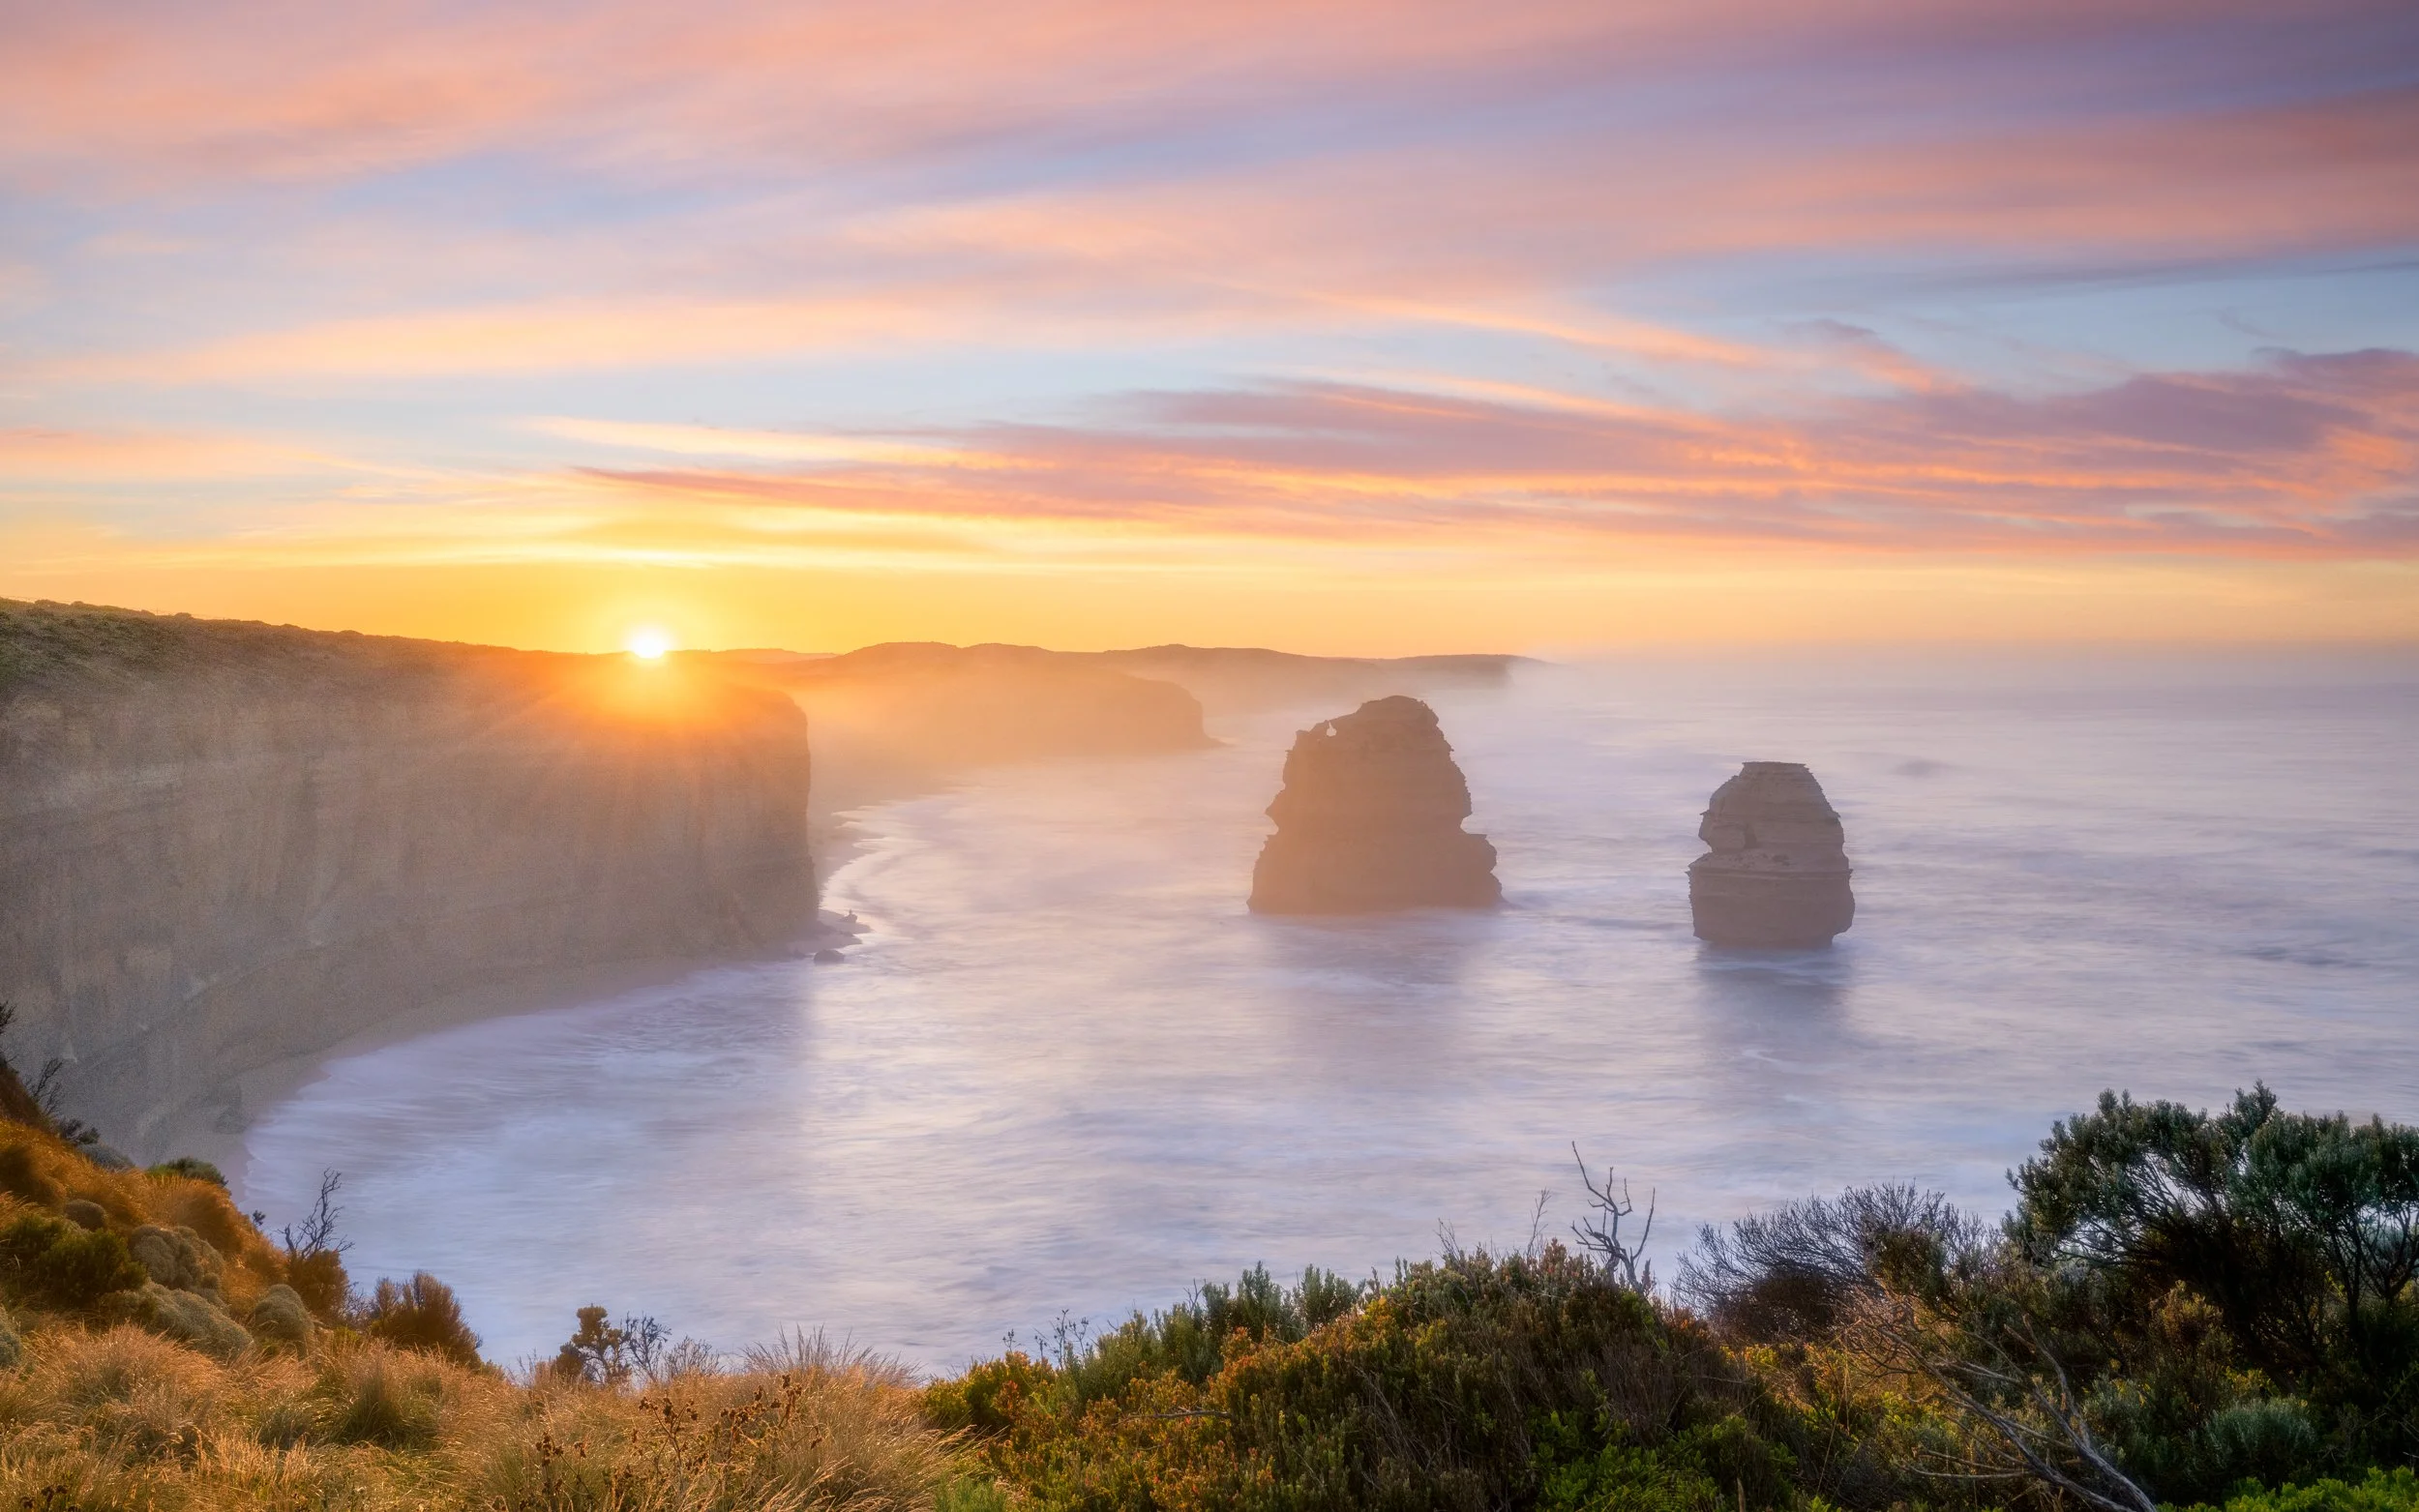
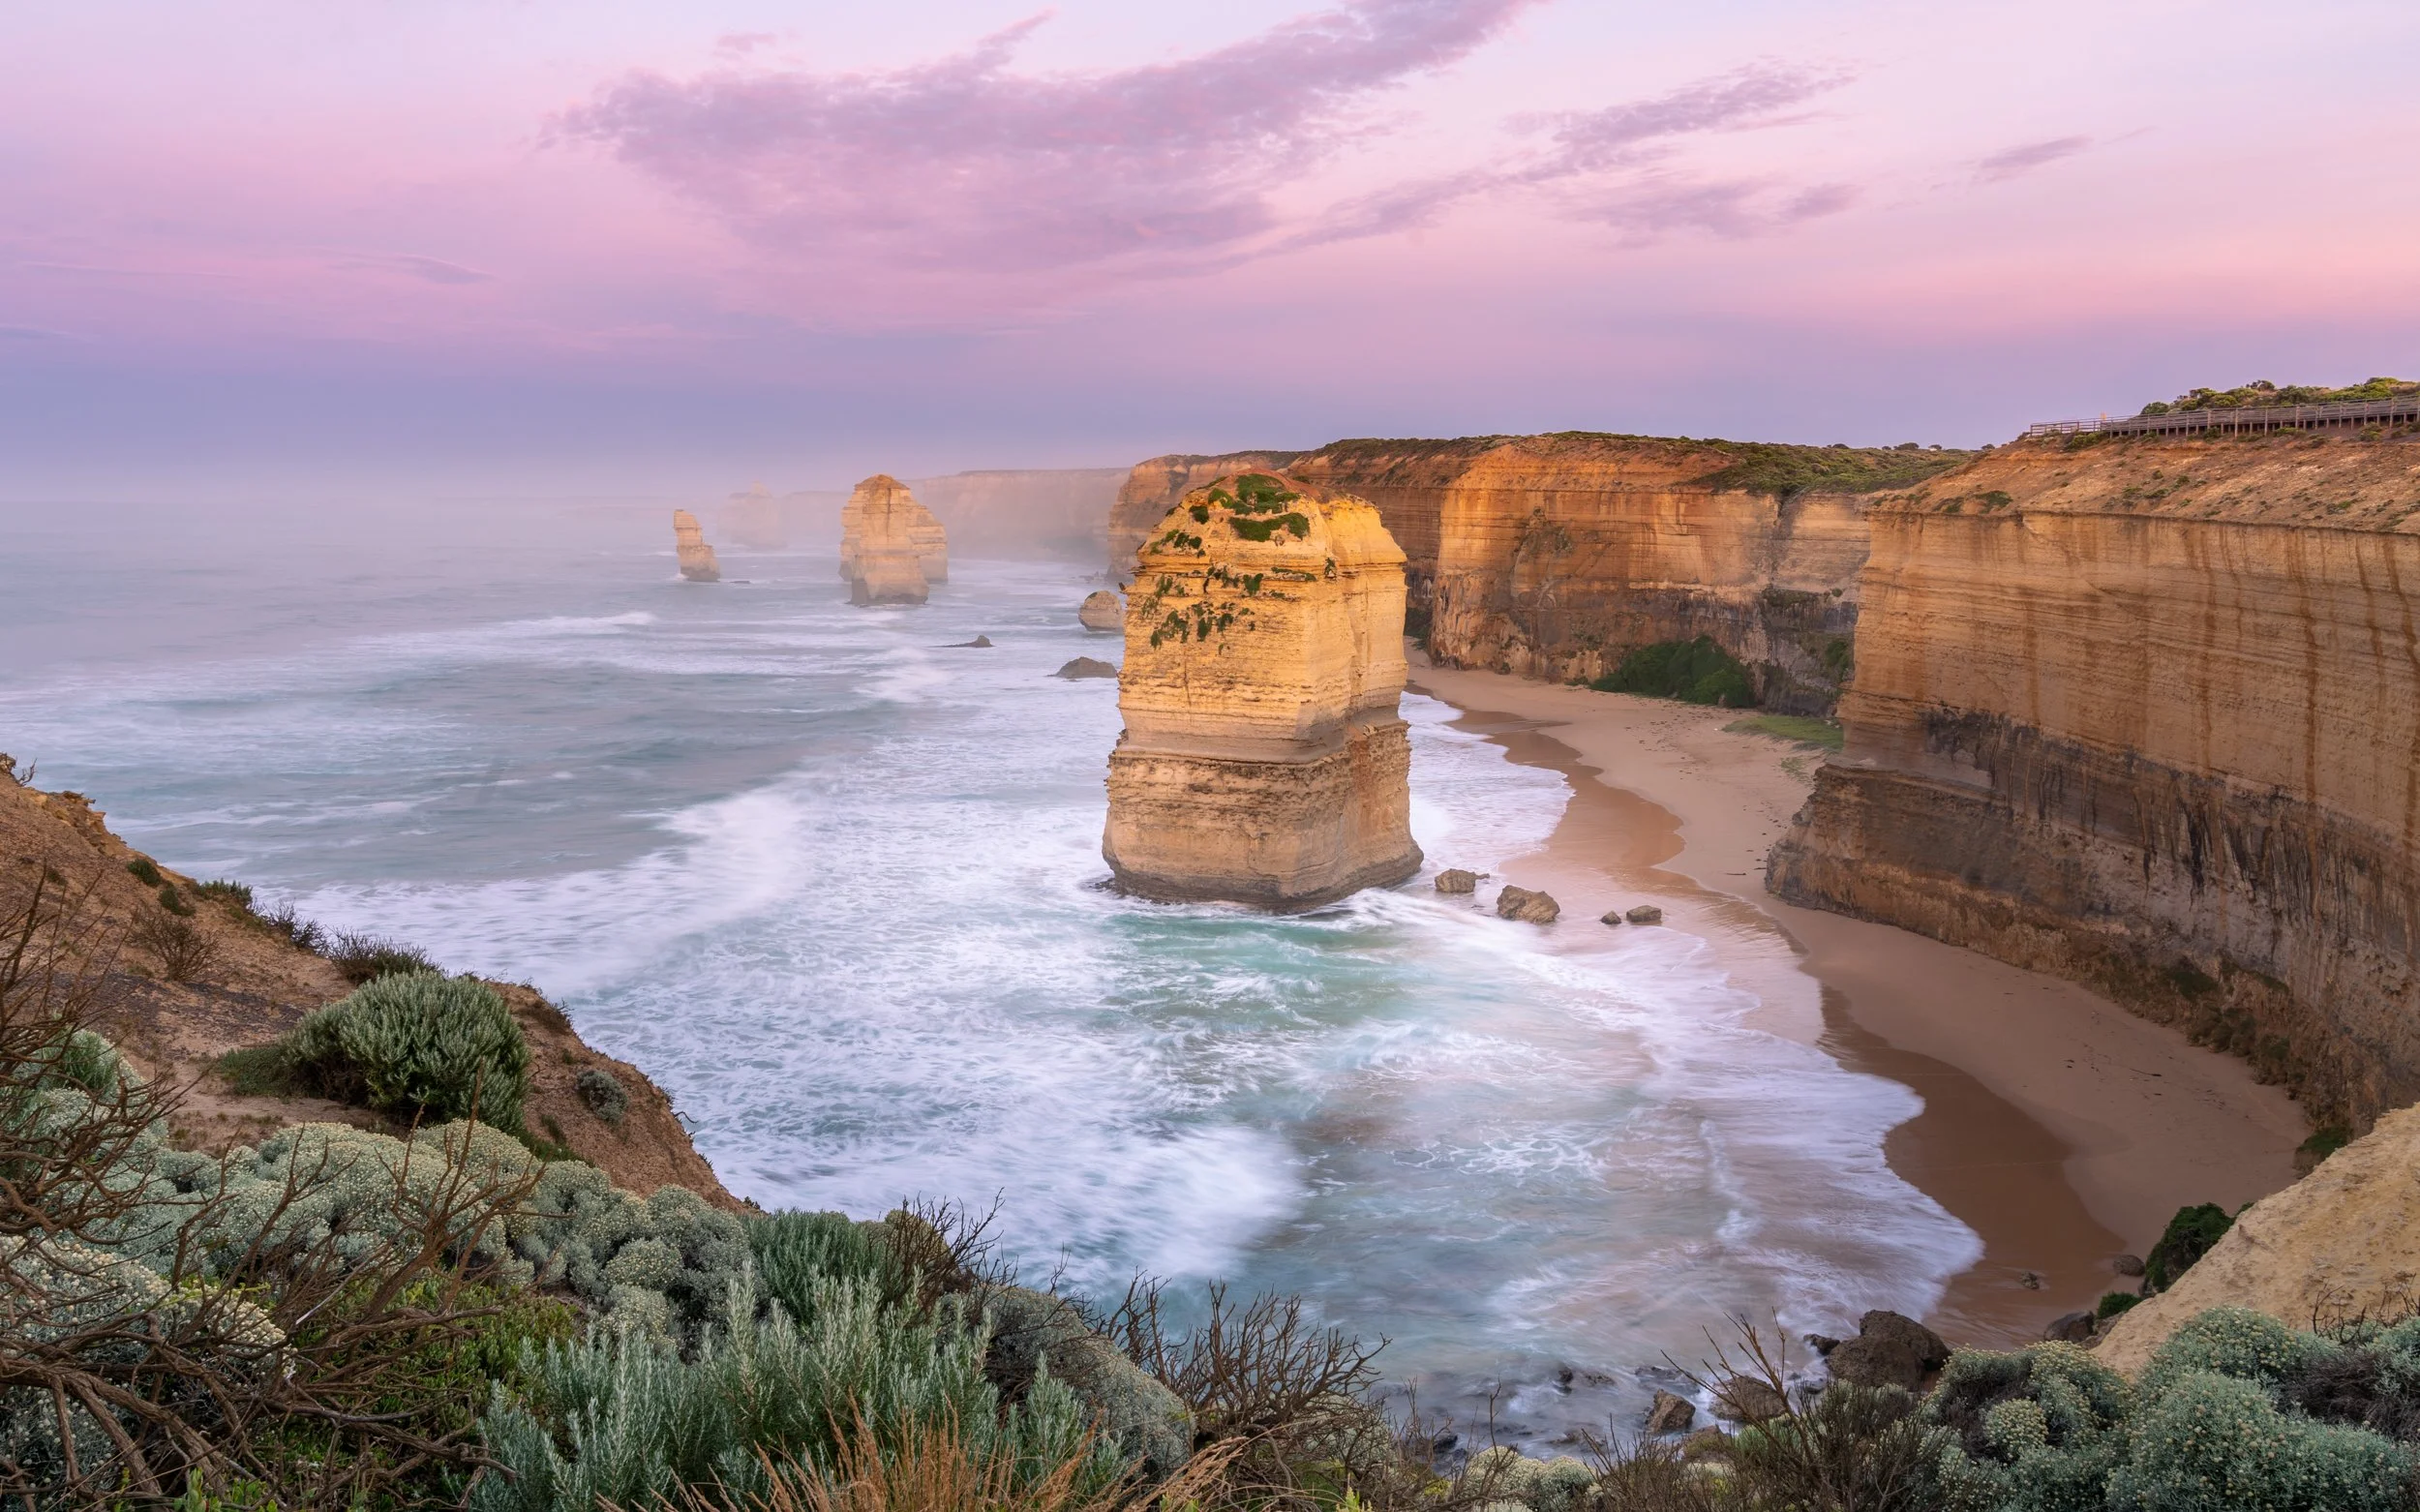
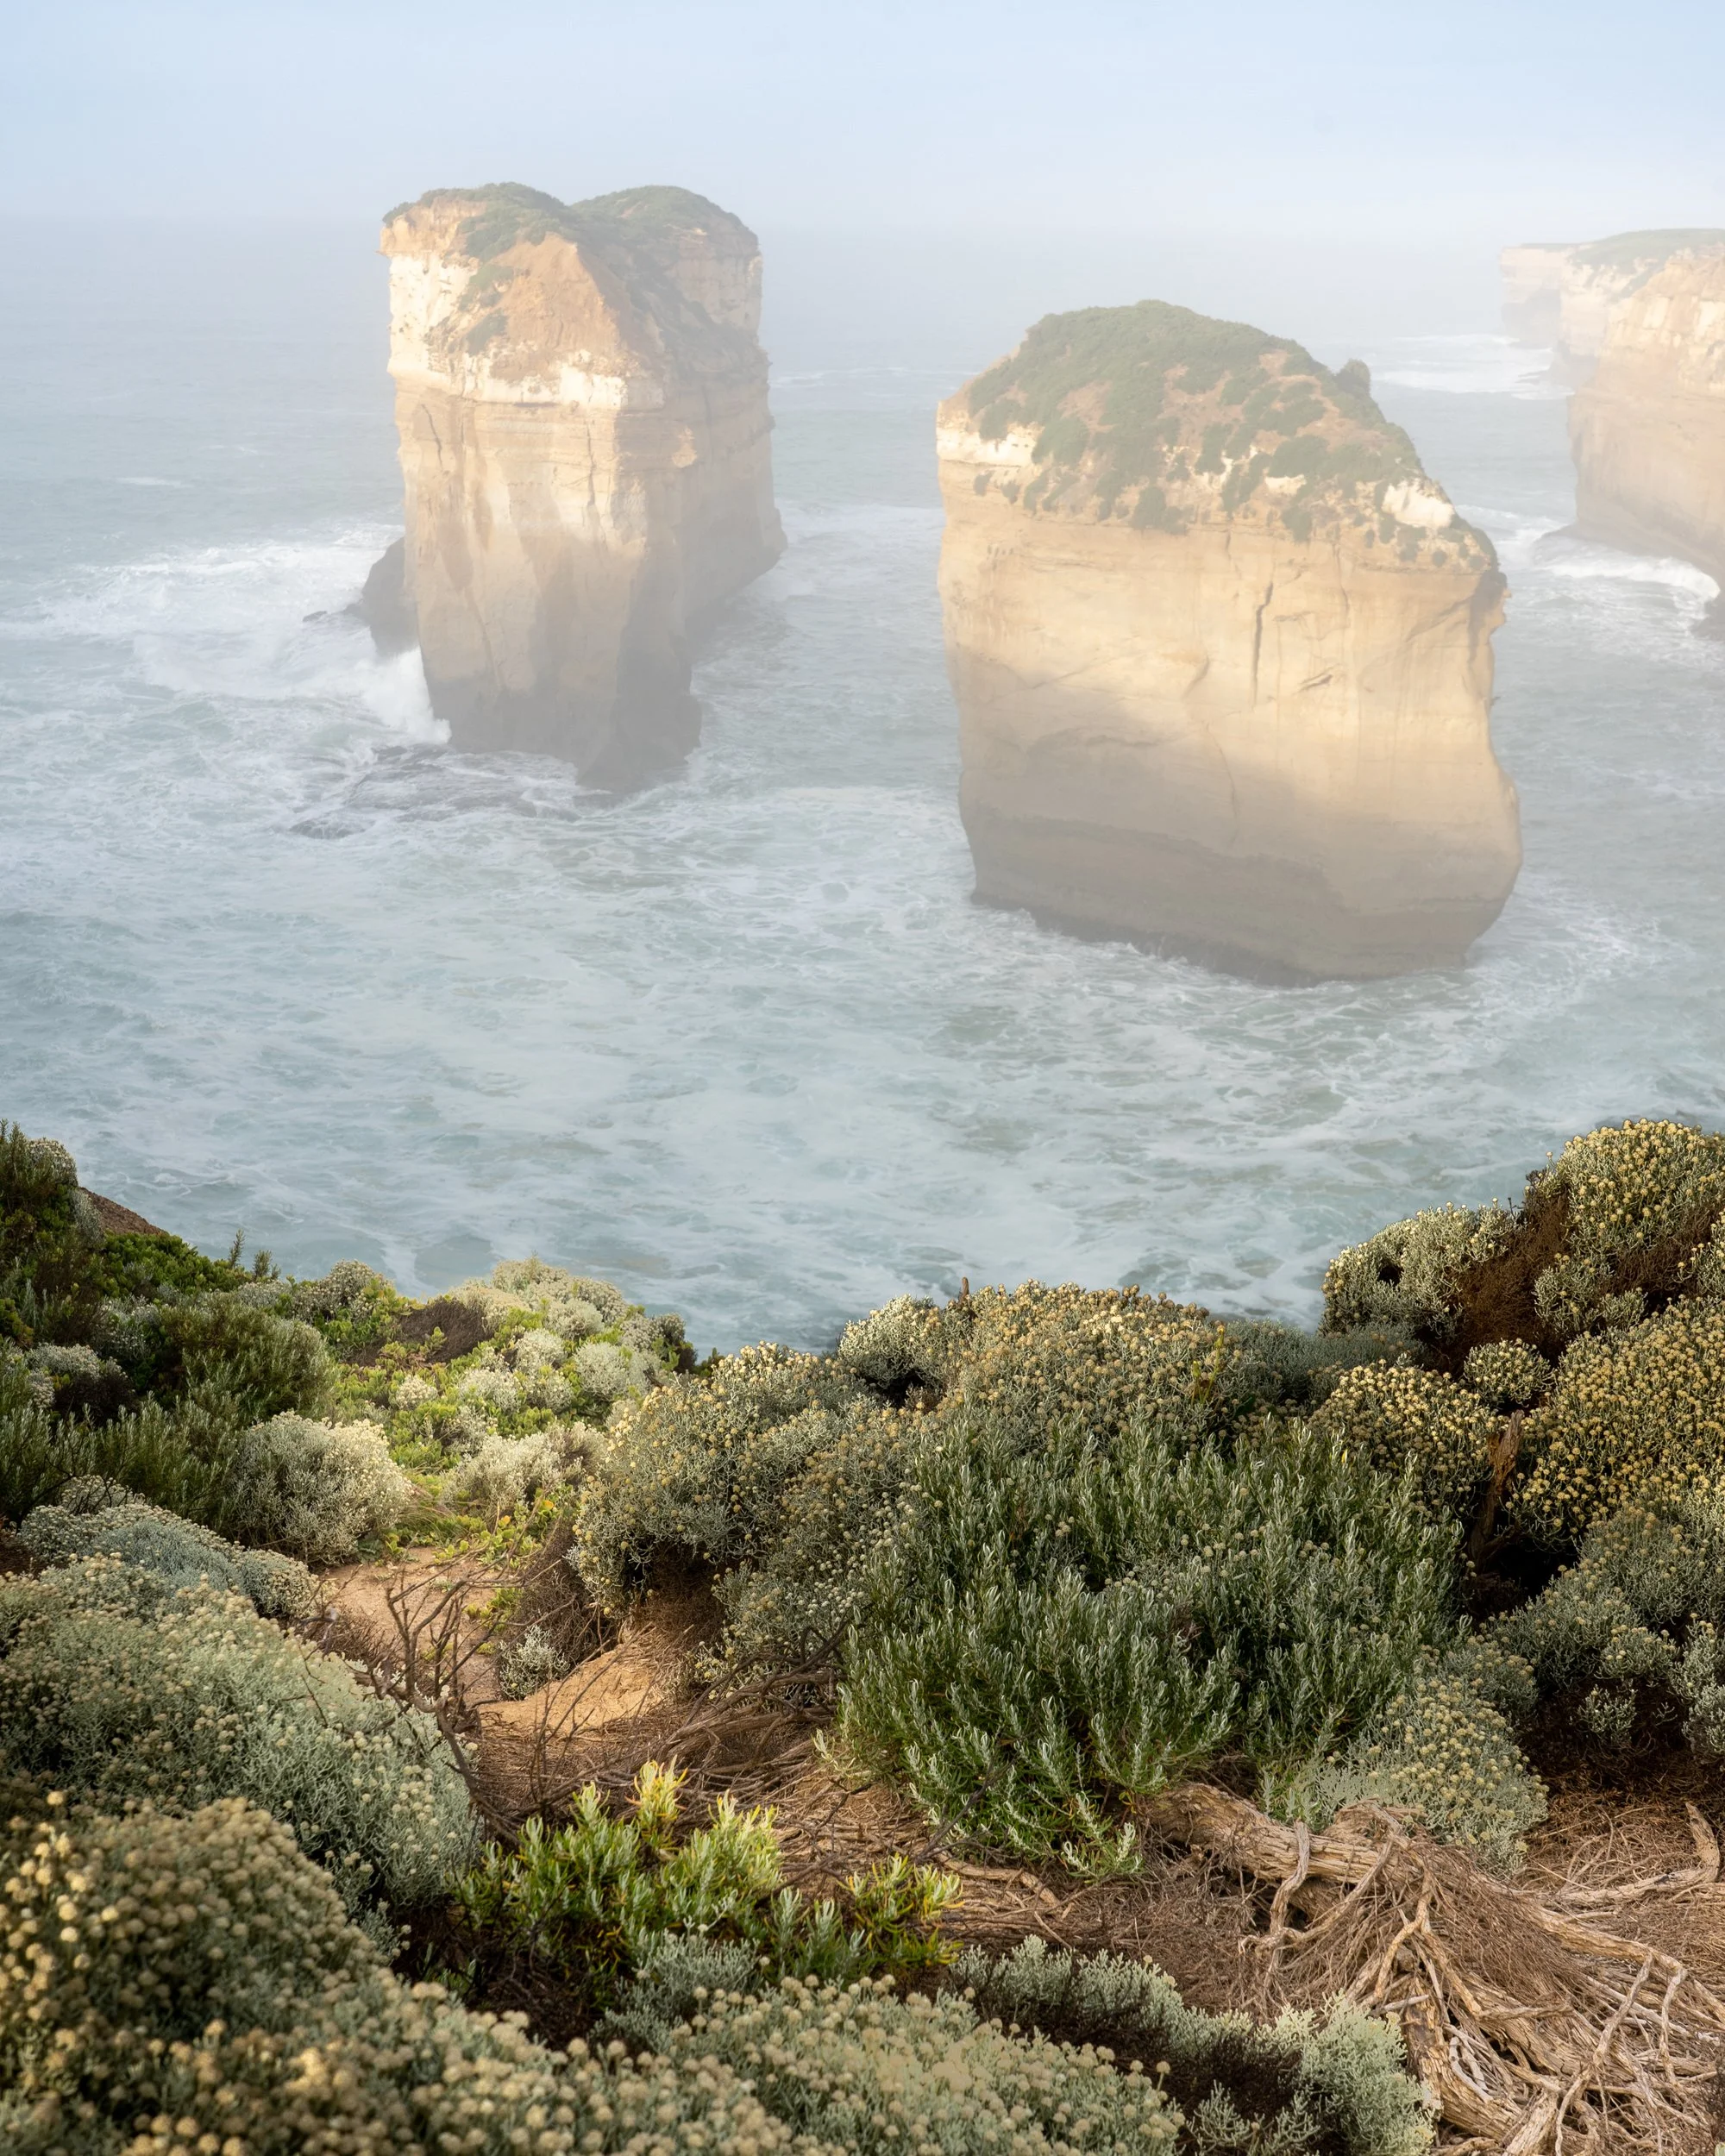
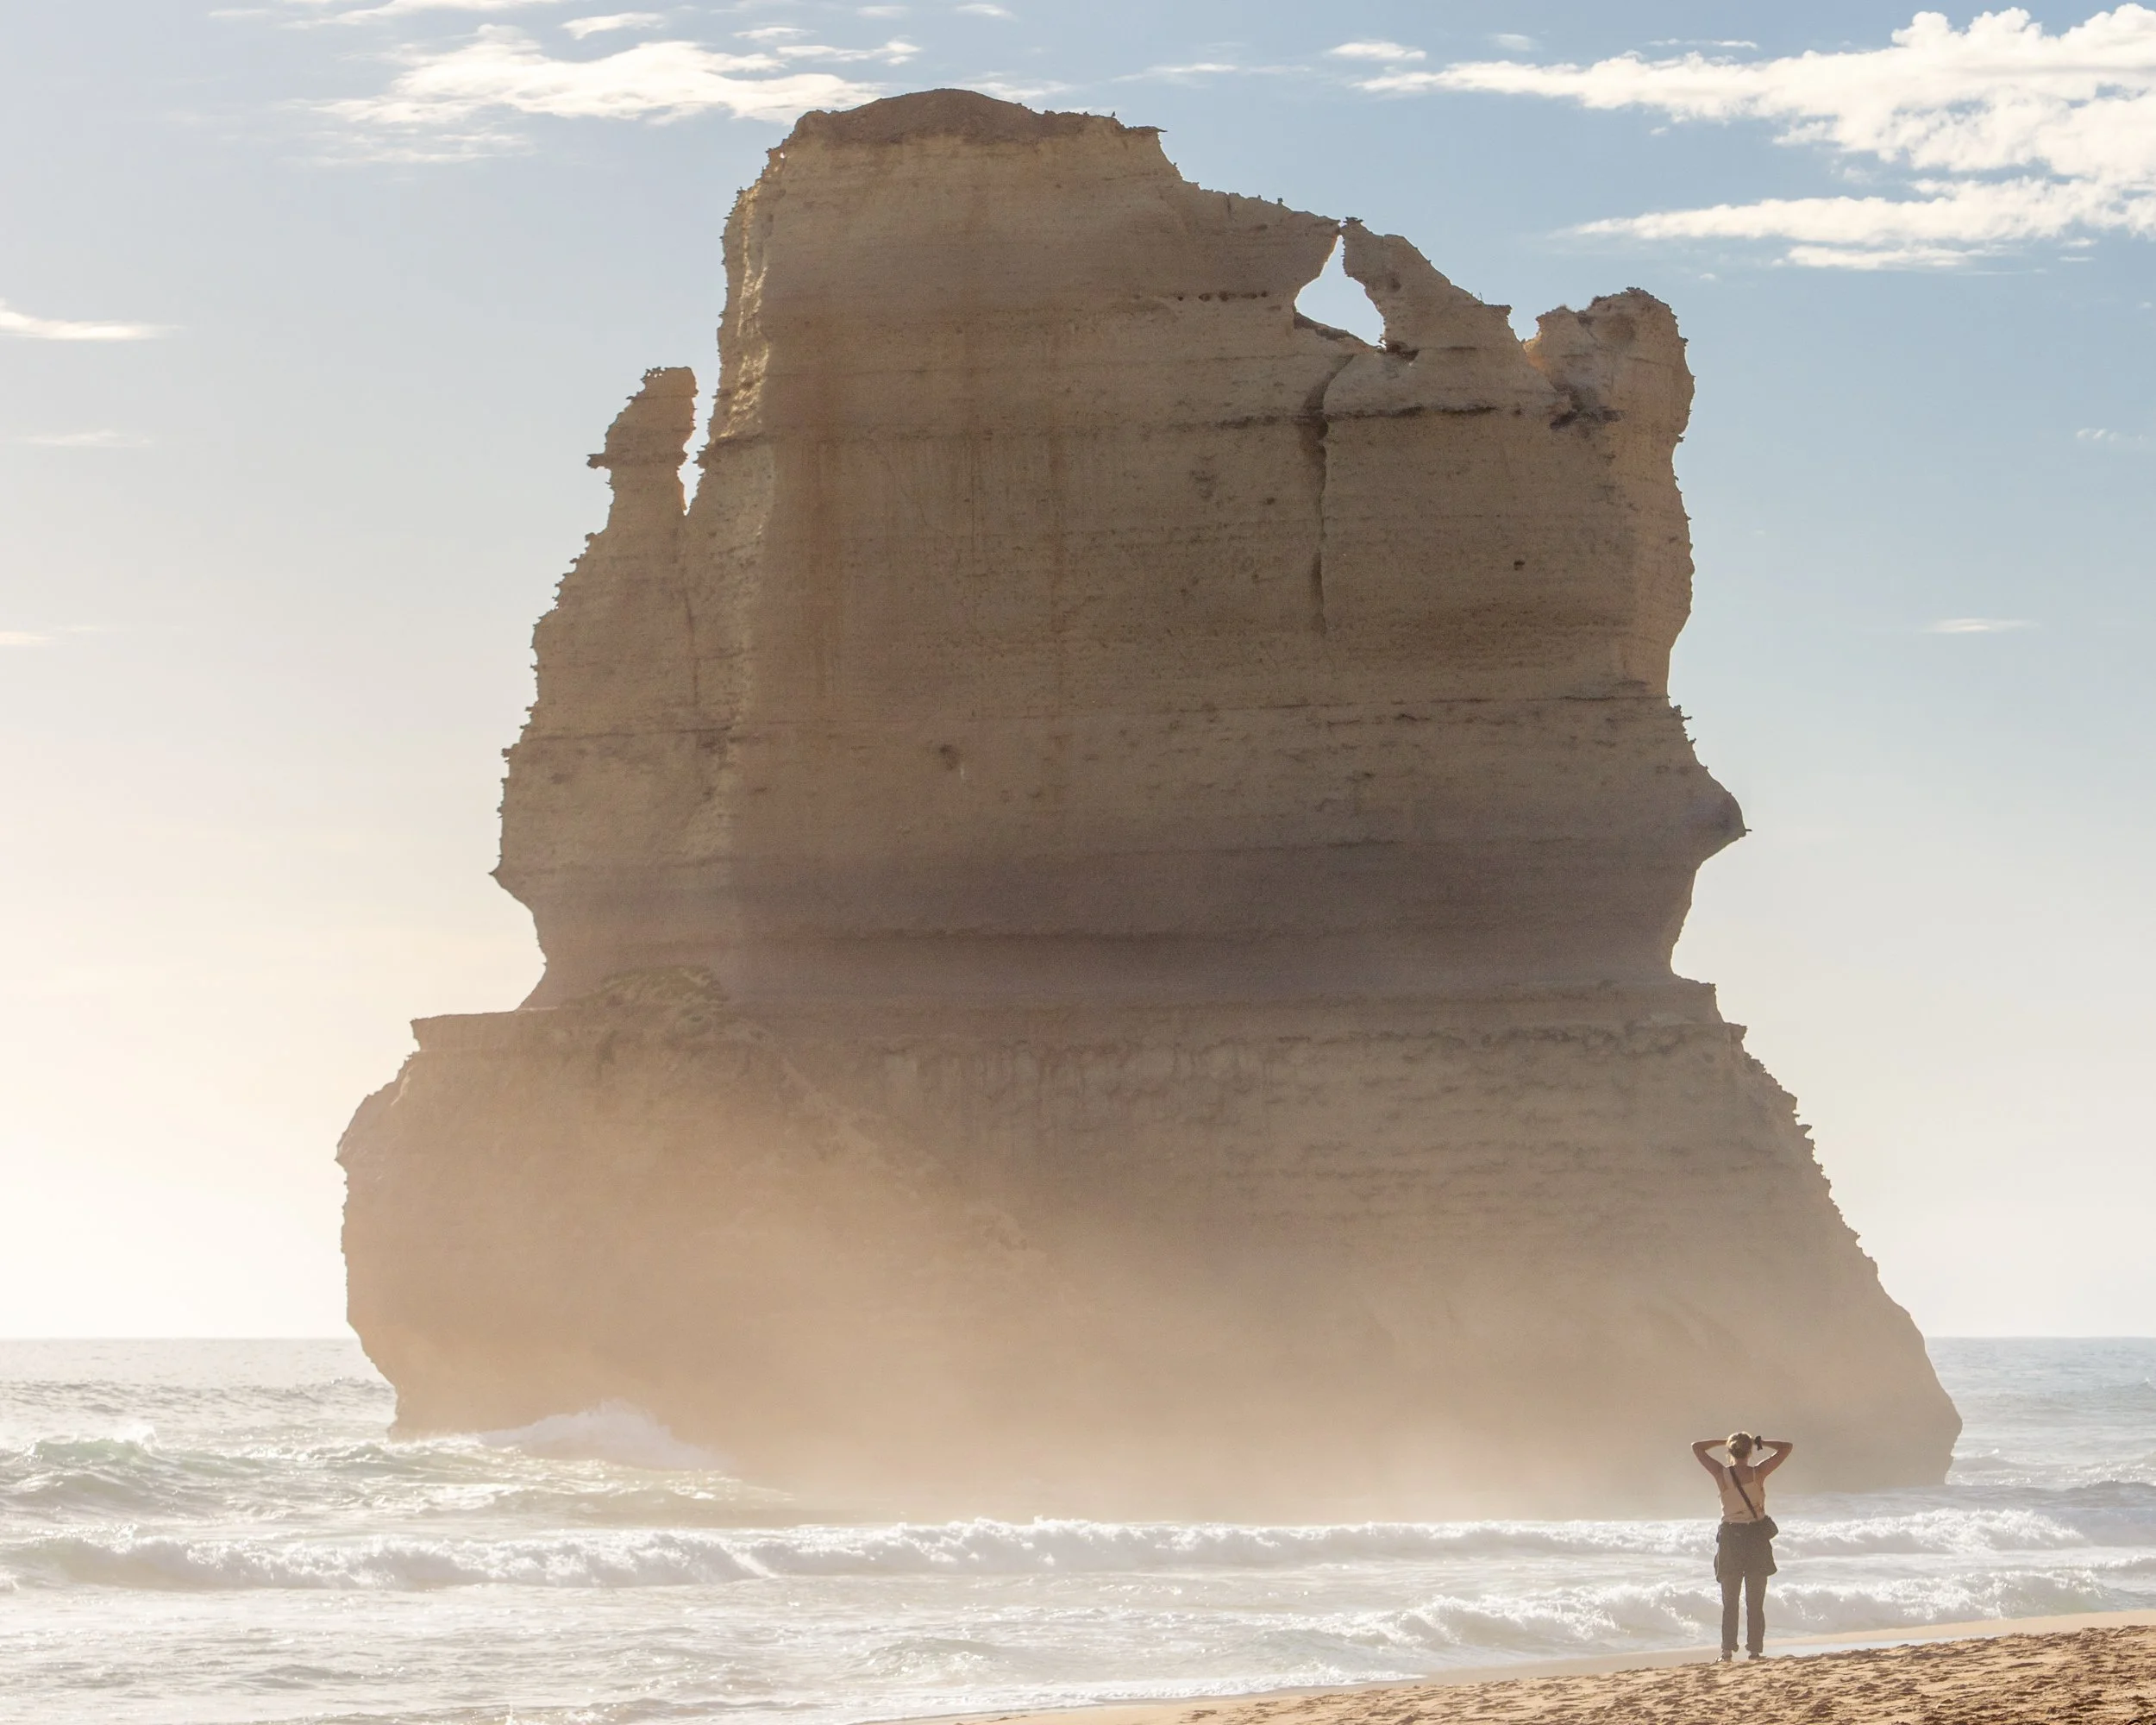
One of the most famous spots for photography in Victoria. This spot makes for absolutely iconic images that will be recognizable immediately all over the world. The 12 Apostles actually refers to a series of stacks along the coastline, including Gog and Magog to the east, and then remaining stacks along to the west. Don’t expect to see 12 stacks in one shot! This spot has been shot a quadzillion times. This makes it a bit of a cliché, but also a real challenge to try to produce a unique image.
Largely this will come down to weather and conditions as there are only certain vantage points that are accessible.
The area is a major tourist site, and has a large carpark, café and information spot, lots of toilets, and really well defined accessible pathways. There are multiple spots that overlook the apostles, however in my opinion the best is the viewing platforms in the dip before Castle Rock, which is the southern most point. This spot gives a great view in both directions, towards Gog and Magog, and the 12 Apostles.
This spot is incredibly popular, so it gets really busy, really fast. To have the freedom to compose a great shot without hordes of tourists getting in your shot, or bumping your tripod, you need to get here early. Ideally half an hour BEFORE sunrise. Apart from a smattering of fellow photographers, you’ll largely have everything to yourself. Sunset will also be magical, but with far more people around.
Since I last visited, there is a new viewing platform at the Apostles, and viewing platform near Loch Ard Gorge that looks rather amazing.
In the half hour before sunrise, you will get some beautiful colour in the sky that won’t yet be too bright, allowing you to capture well balanced images in a single frame. Once the sun rises, you may need to take a couple of images, one exposed for the sky, one for the rocks, or use graduated ND filters to control the light in the scene.
The sun will rise in the direction of Gog and Magog, making for dramatic shots and sunbursts, but don’t forget to look in the other direction just before sunrise, as you may get gorgeous colour over the 12 Apostles too. I had a camera on a tripod pointed in both directions to make sure I didn’t miss any opportunities!
The 12 Apostles can be great after sunrise, as the sun starts to hit the stacks, creating a great effect that will lift the interest in your images. If you are after amazing colour and sunbursts with the 12 Apostles sunset may give you a better chance.
To try for a more unique image, try to use some of the plantlife in your foreground, giving a sense of scale and distance. You can also try to experiment with different focal lengths. Wider lenses will allow you to include more foreground elements, but will make the stacks smaller, and reduce their impact. Longer focal lengths will increase their prominence in the image, and compress the distance between background elements and increase your ability to blur background elements out. ND filters will allow you to slow down your shutter speed to blur the ocean, either a small amount for some drama, or a large amount for an otherworldly etherial feel. The most unique shots will come down to luck, as the conditions on the day will give you that X factor. I recently saw another photographer’s image shot at sunrise, with gorgeous pink tones, and morning fog pouring down the cliffs to the ocean below. Fingers crossed you can win the lottery like that on your visit too!
The Gibson Steps
The Gibson Steps are a series of narrow stairs carved into the rockface that take you from the cliff down the to beach underneath Gog and Magog. The car park is very small compared to the 12 Apostles, and no where near as popular. It’s less than a minute by car from the 12 Apostles car park.
I enjoy this spot far more than the cliff top, as being down at sea level with these massive cliffs and rock stacks towering over you is just so impressive. Let alone for photography, it’s an amazing experience. I just love this spot, as you can see from all the images below!
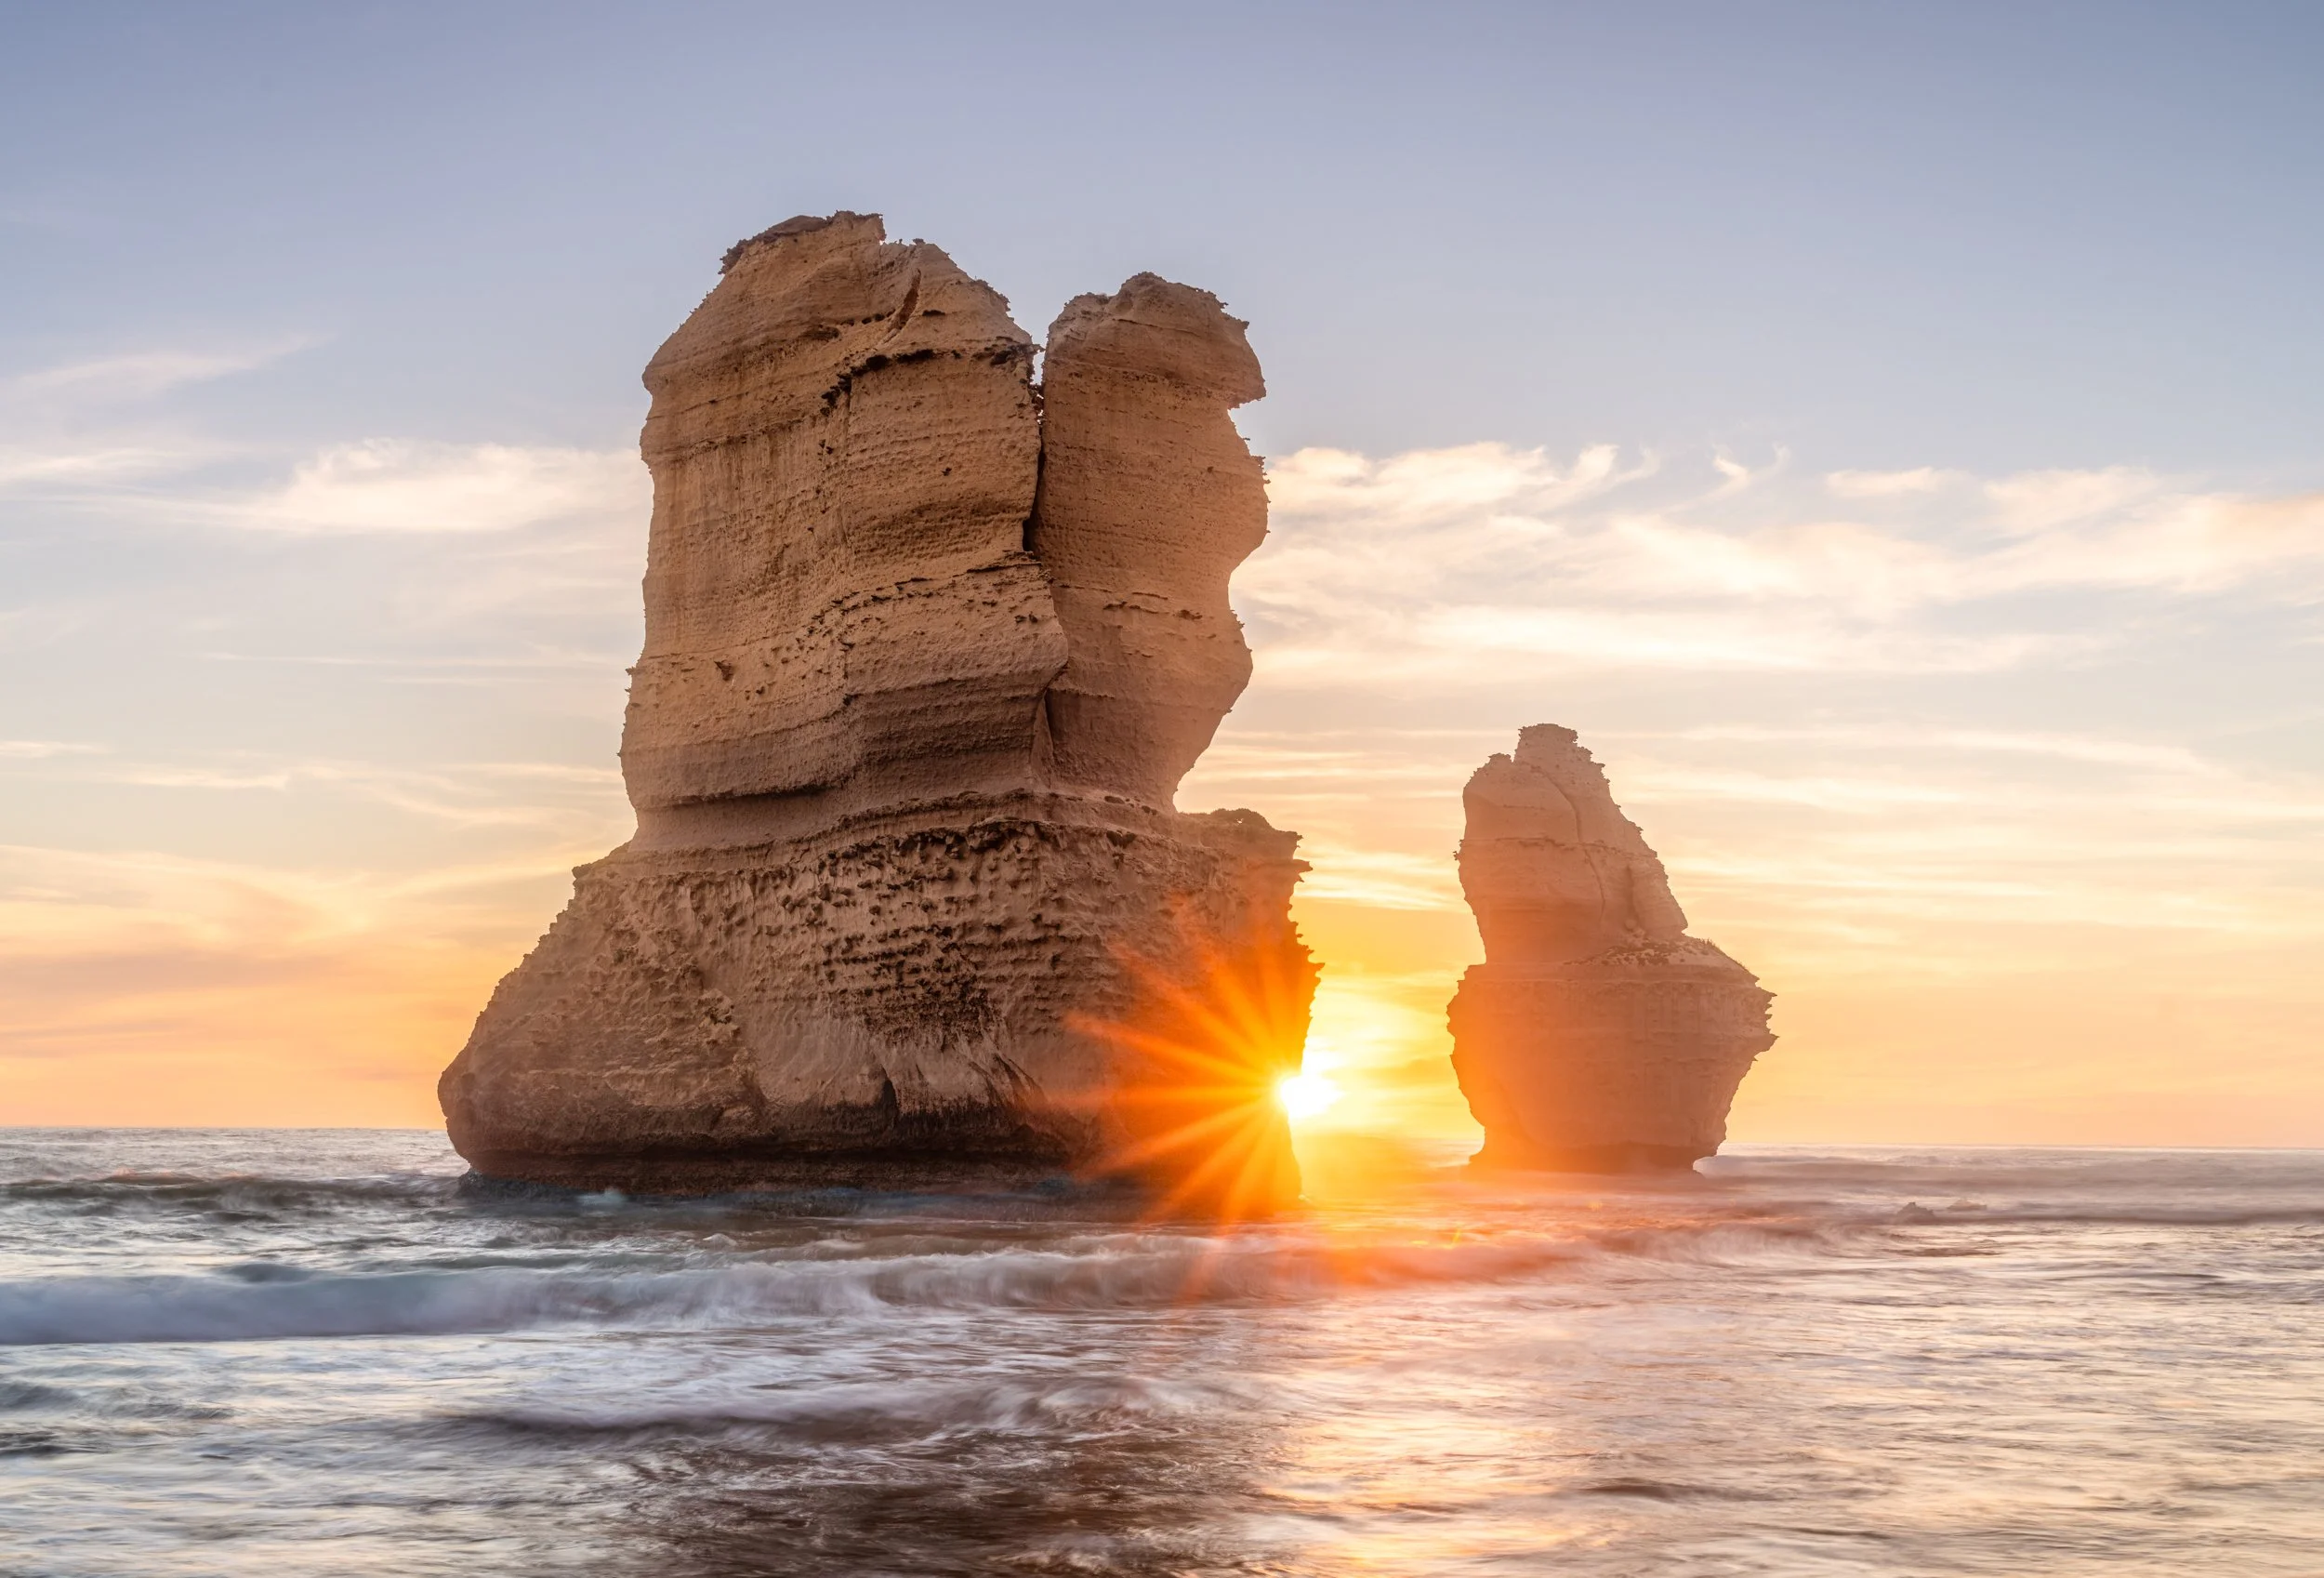
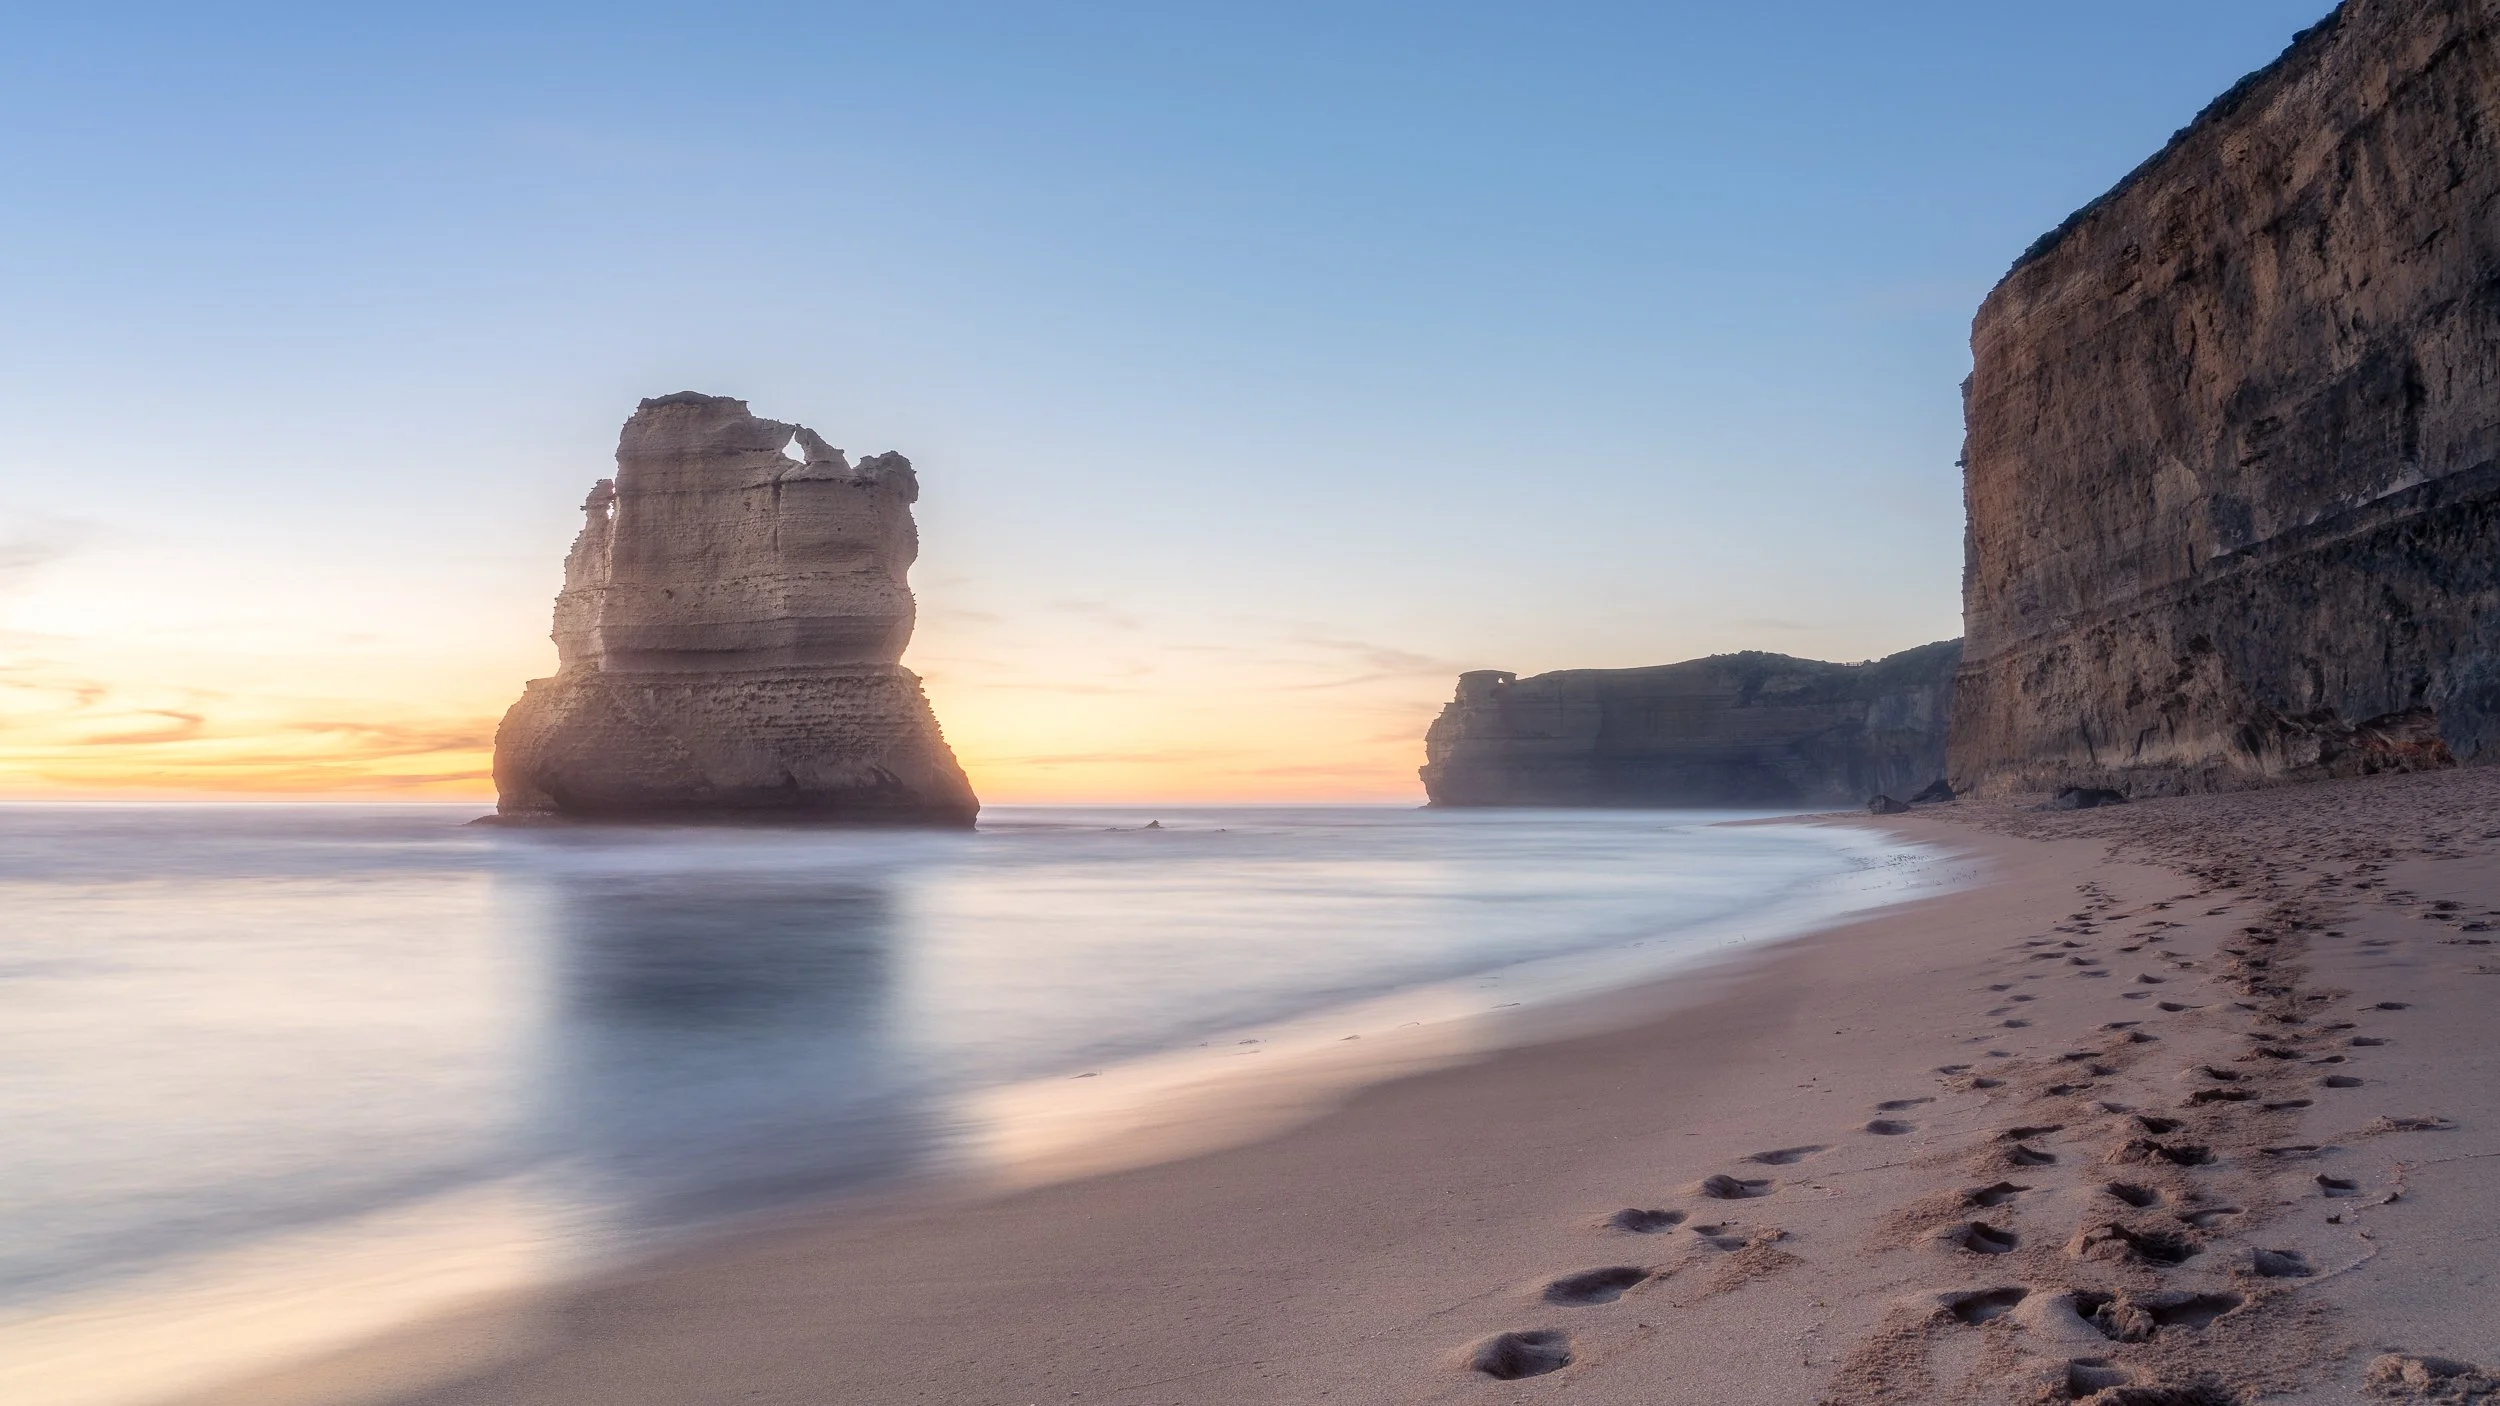
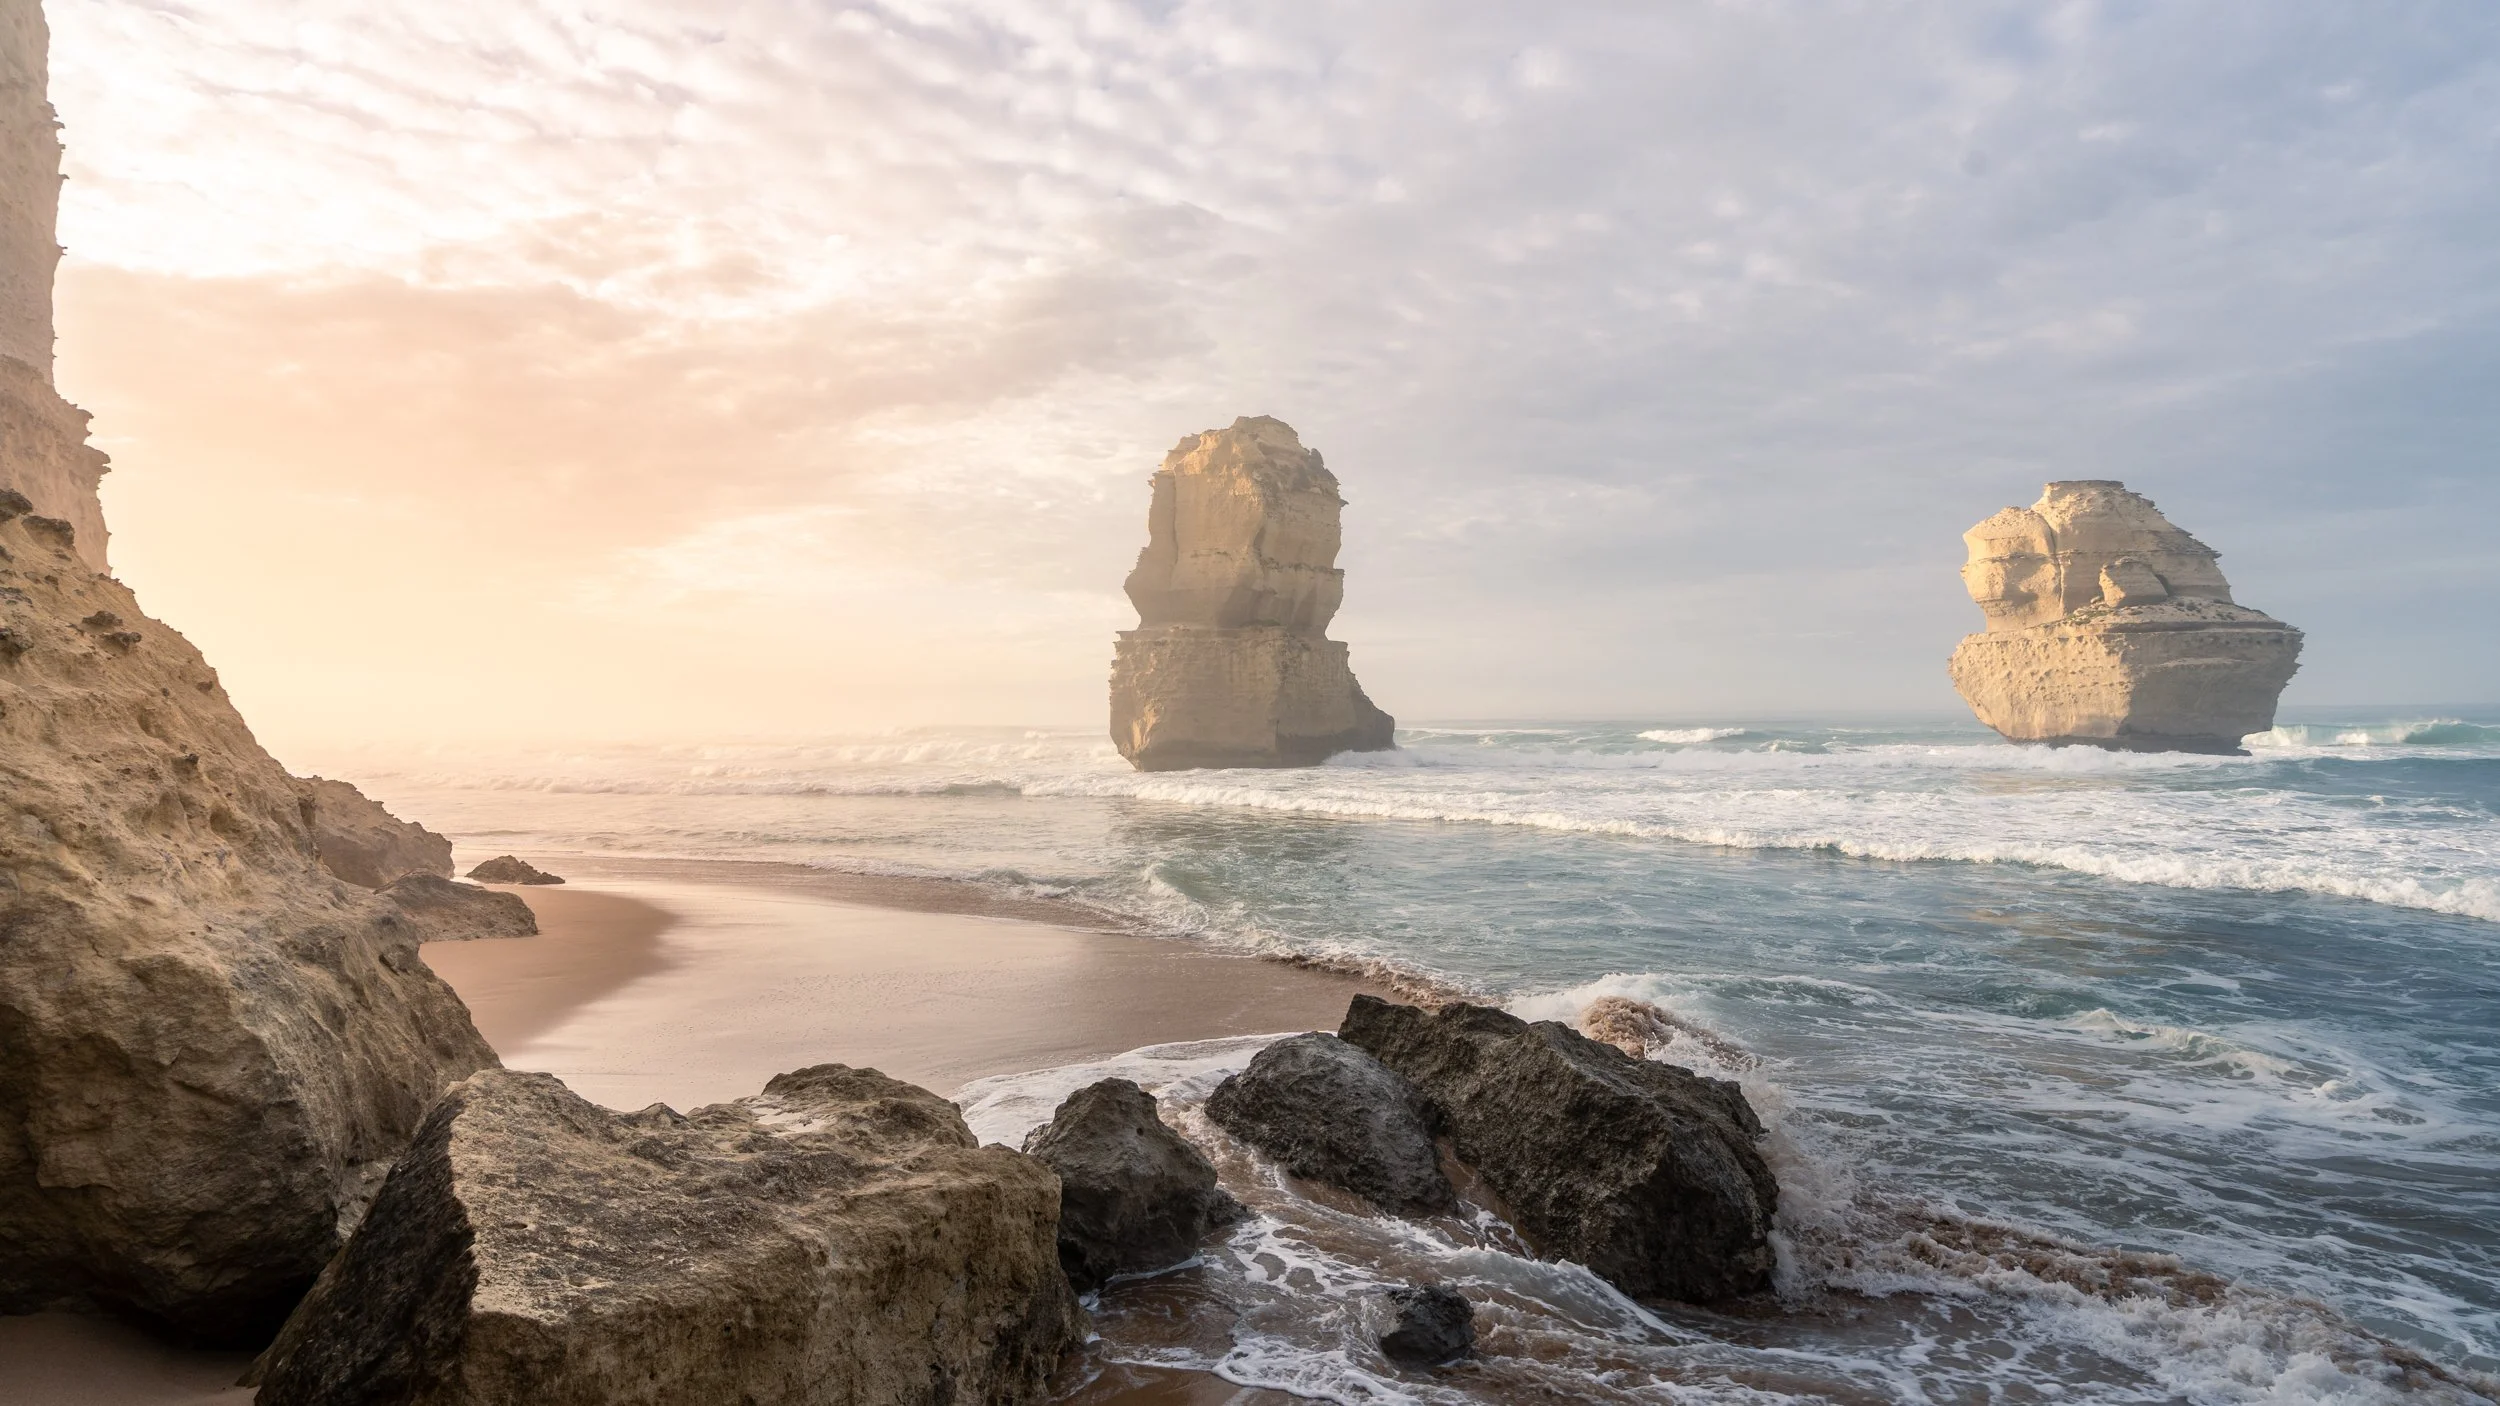
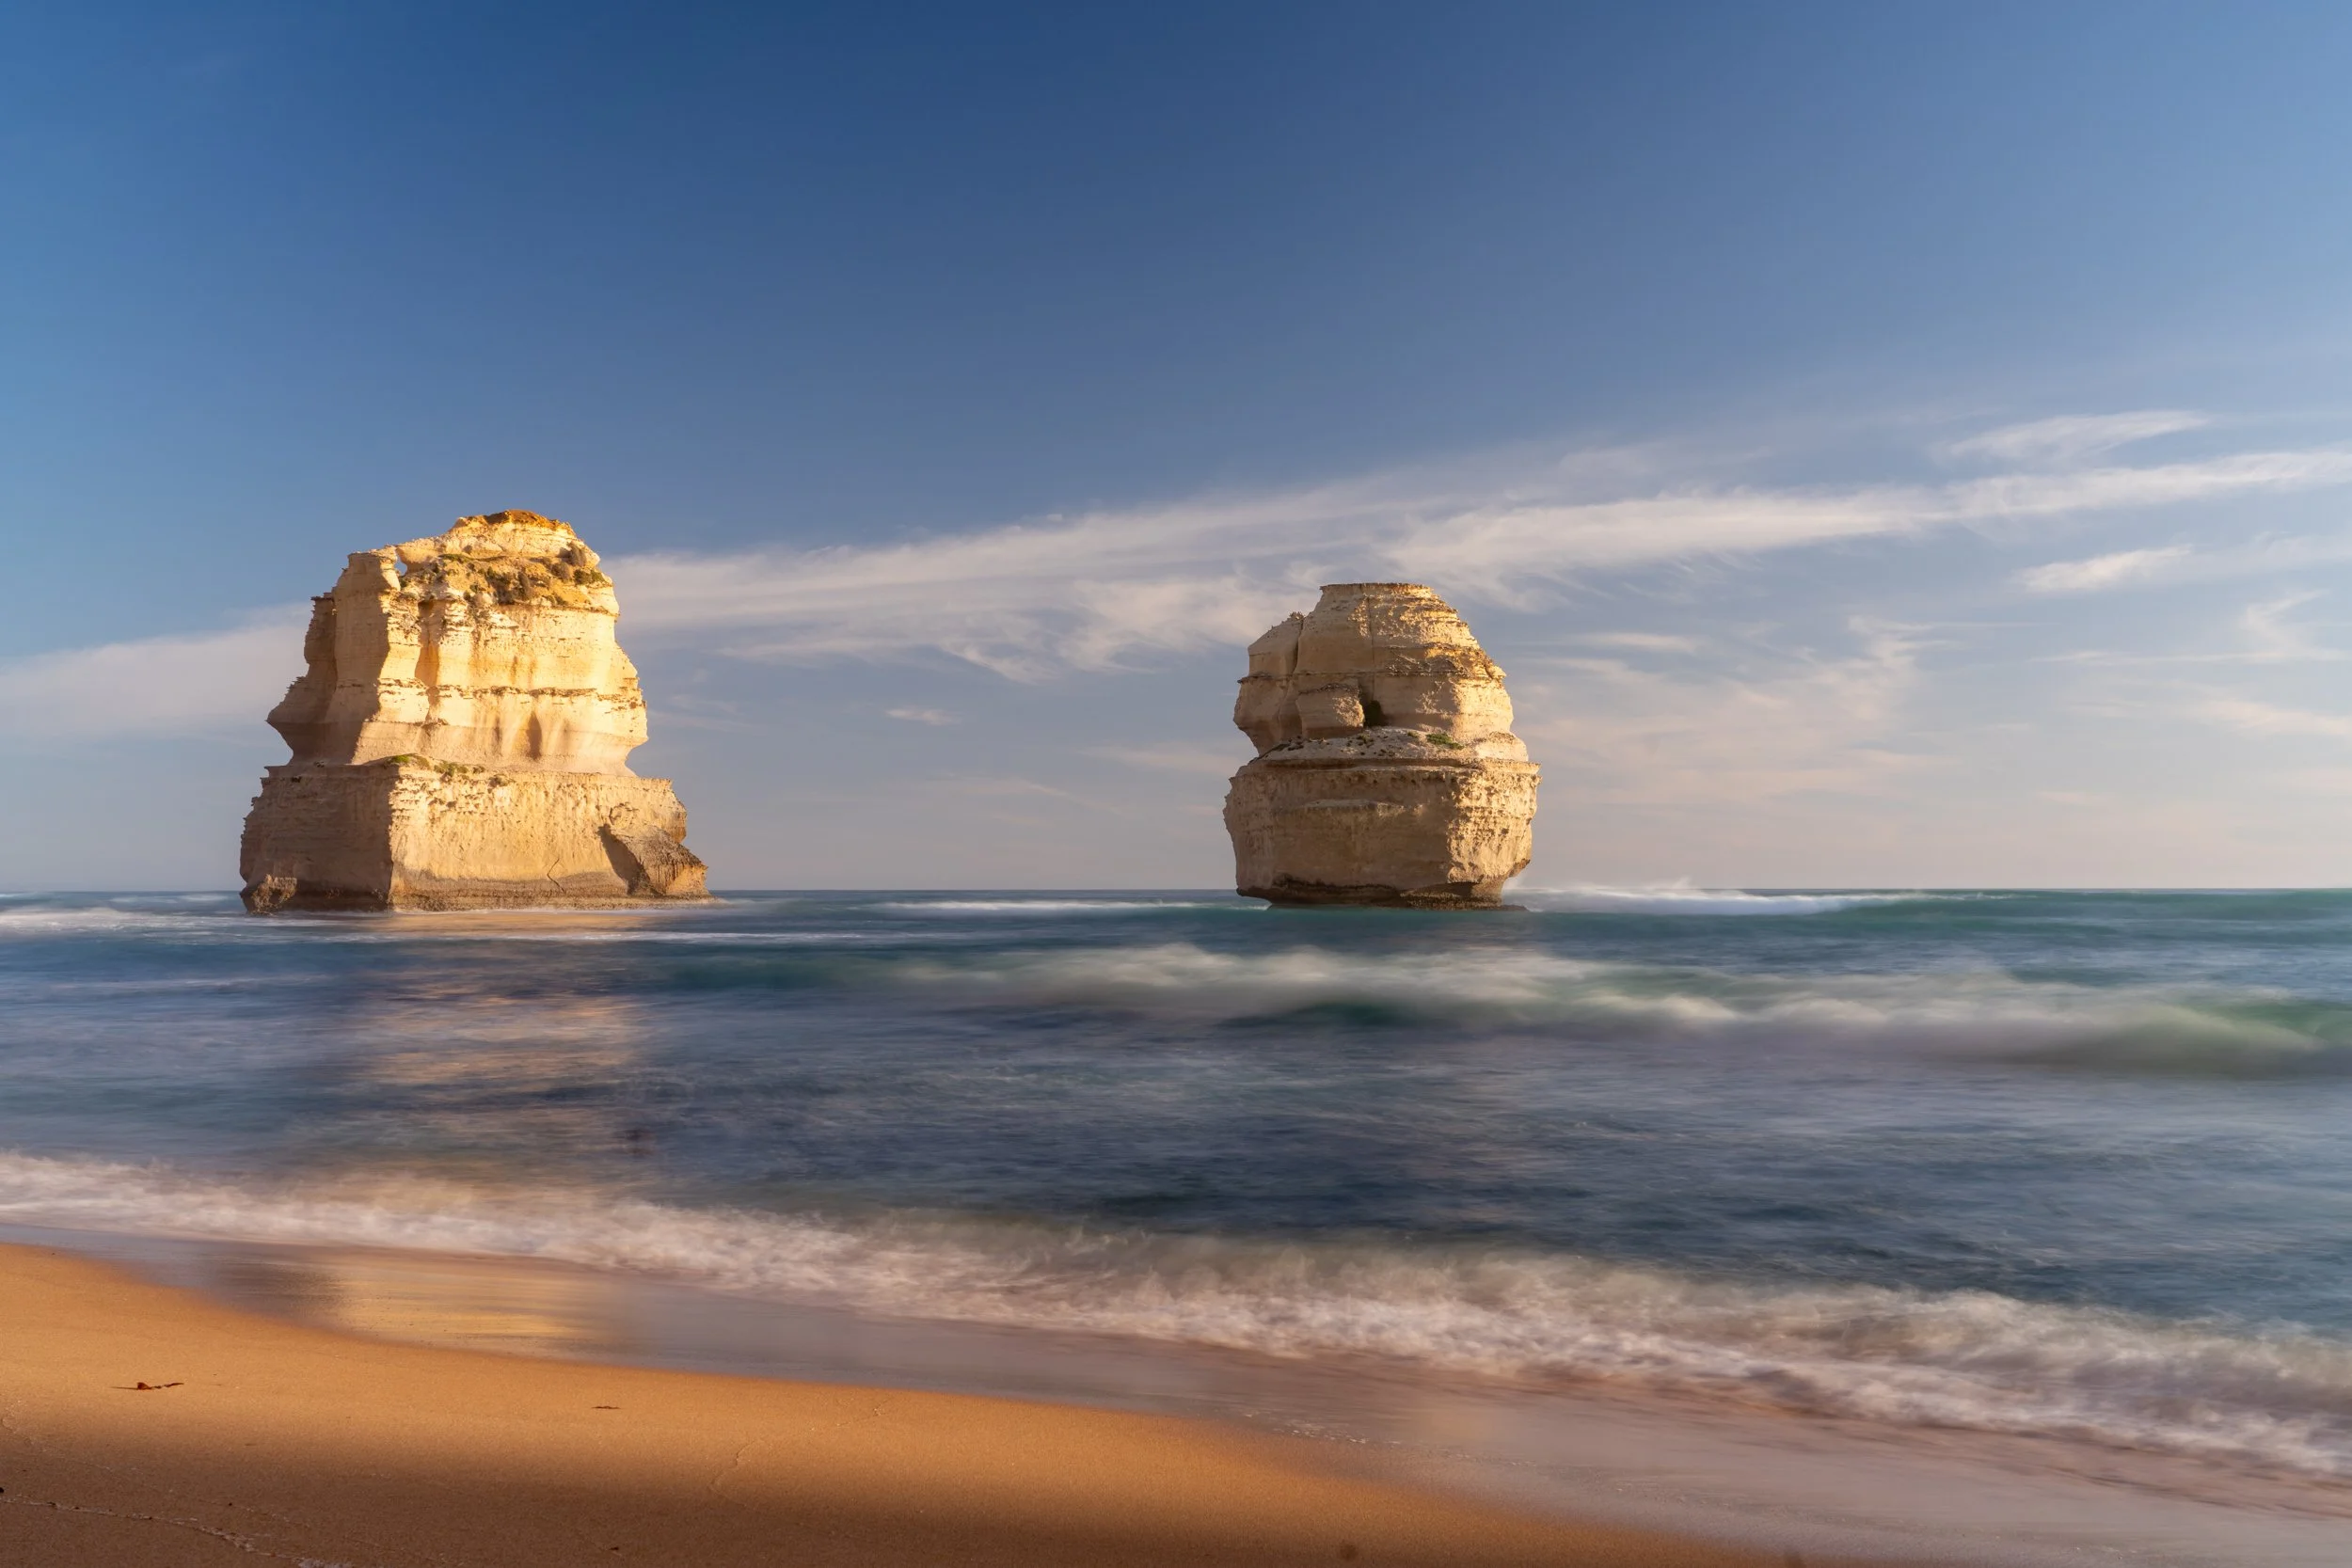
The beach is fairly small, once you reach the bottom of the stairs, turn right and Gog and Magog are right in front of you. If you keep walking past them around the point, there is another small beach, with the far end directly under the viewing platform for the 12 Apostles. This gives you a great choice of angles and compositions for Gog and Magog, however you may not want to walk around the point at high tide, and definitely not when there is a swell.
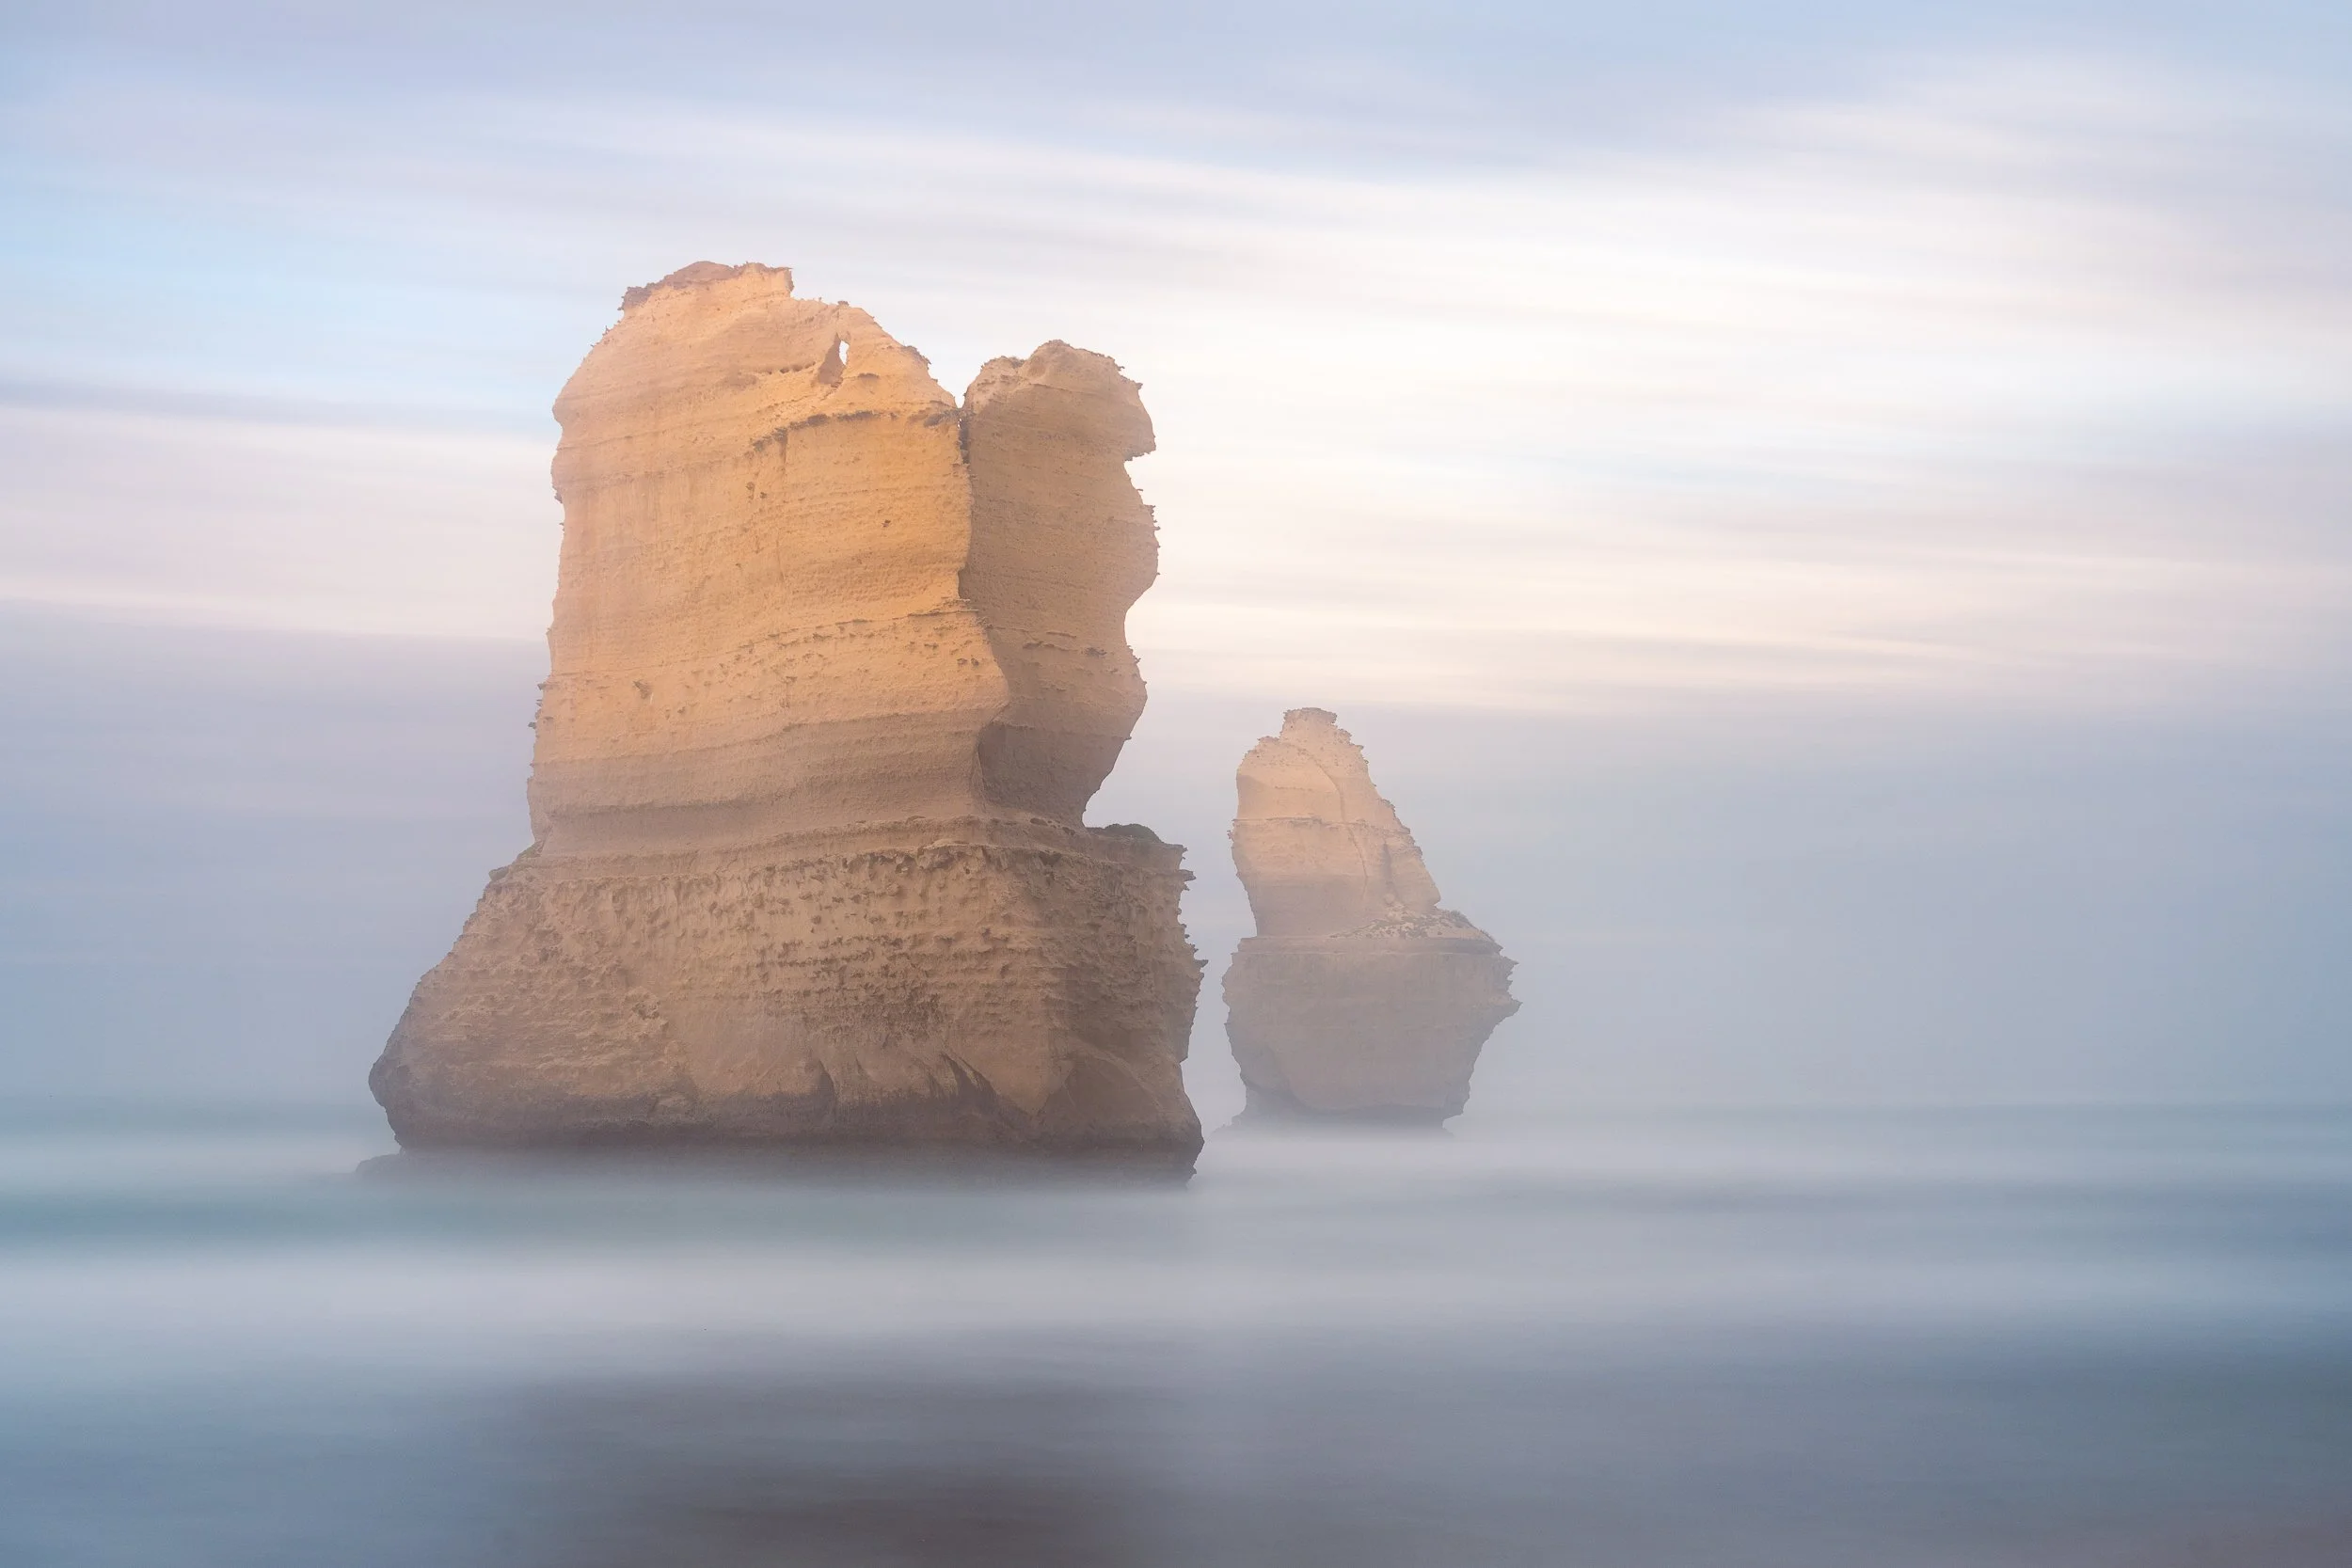
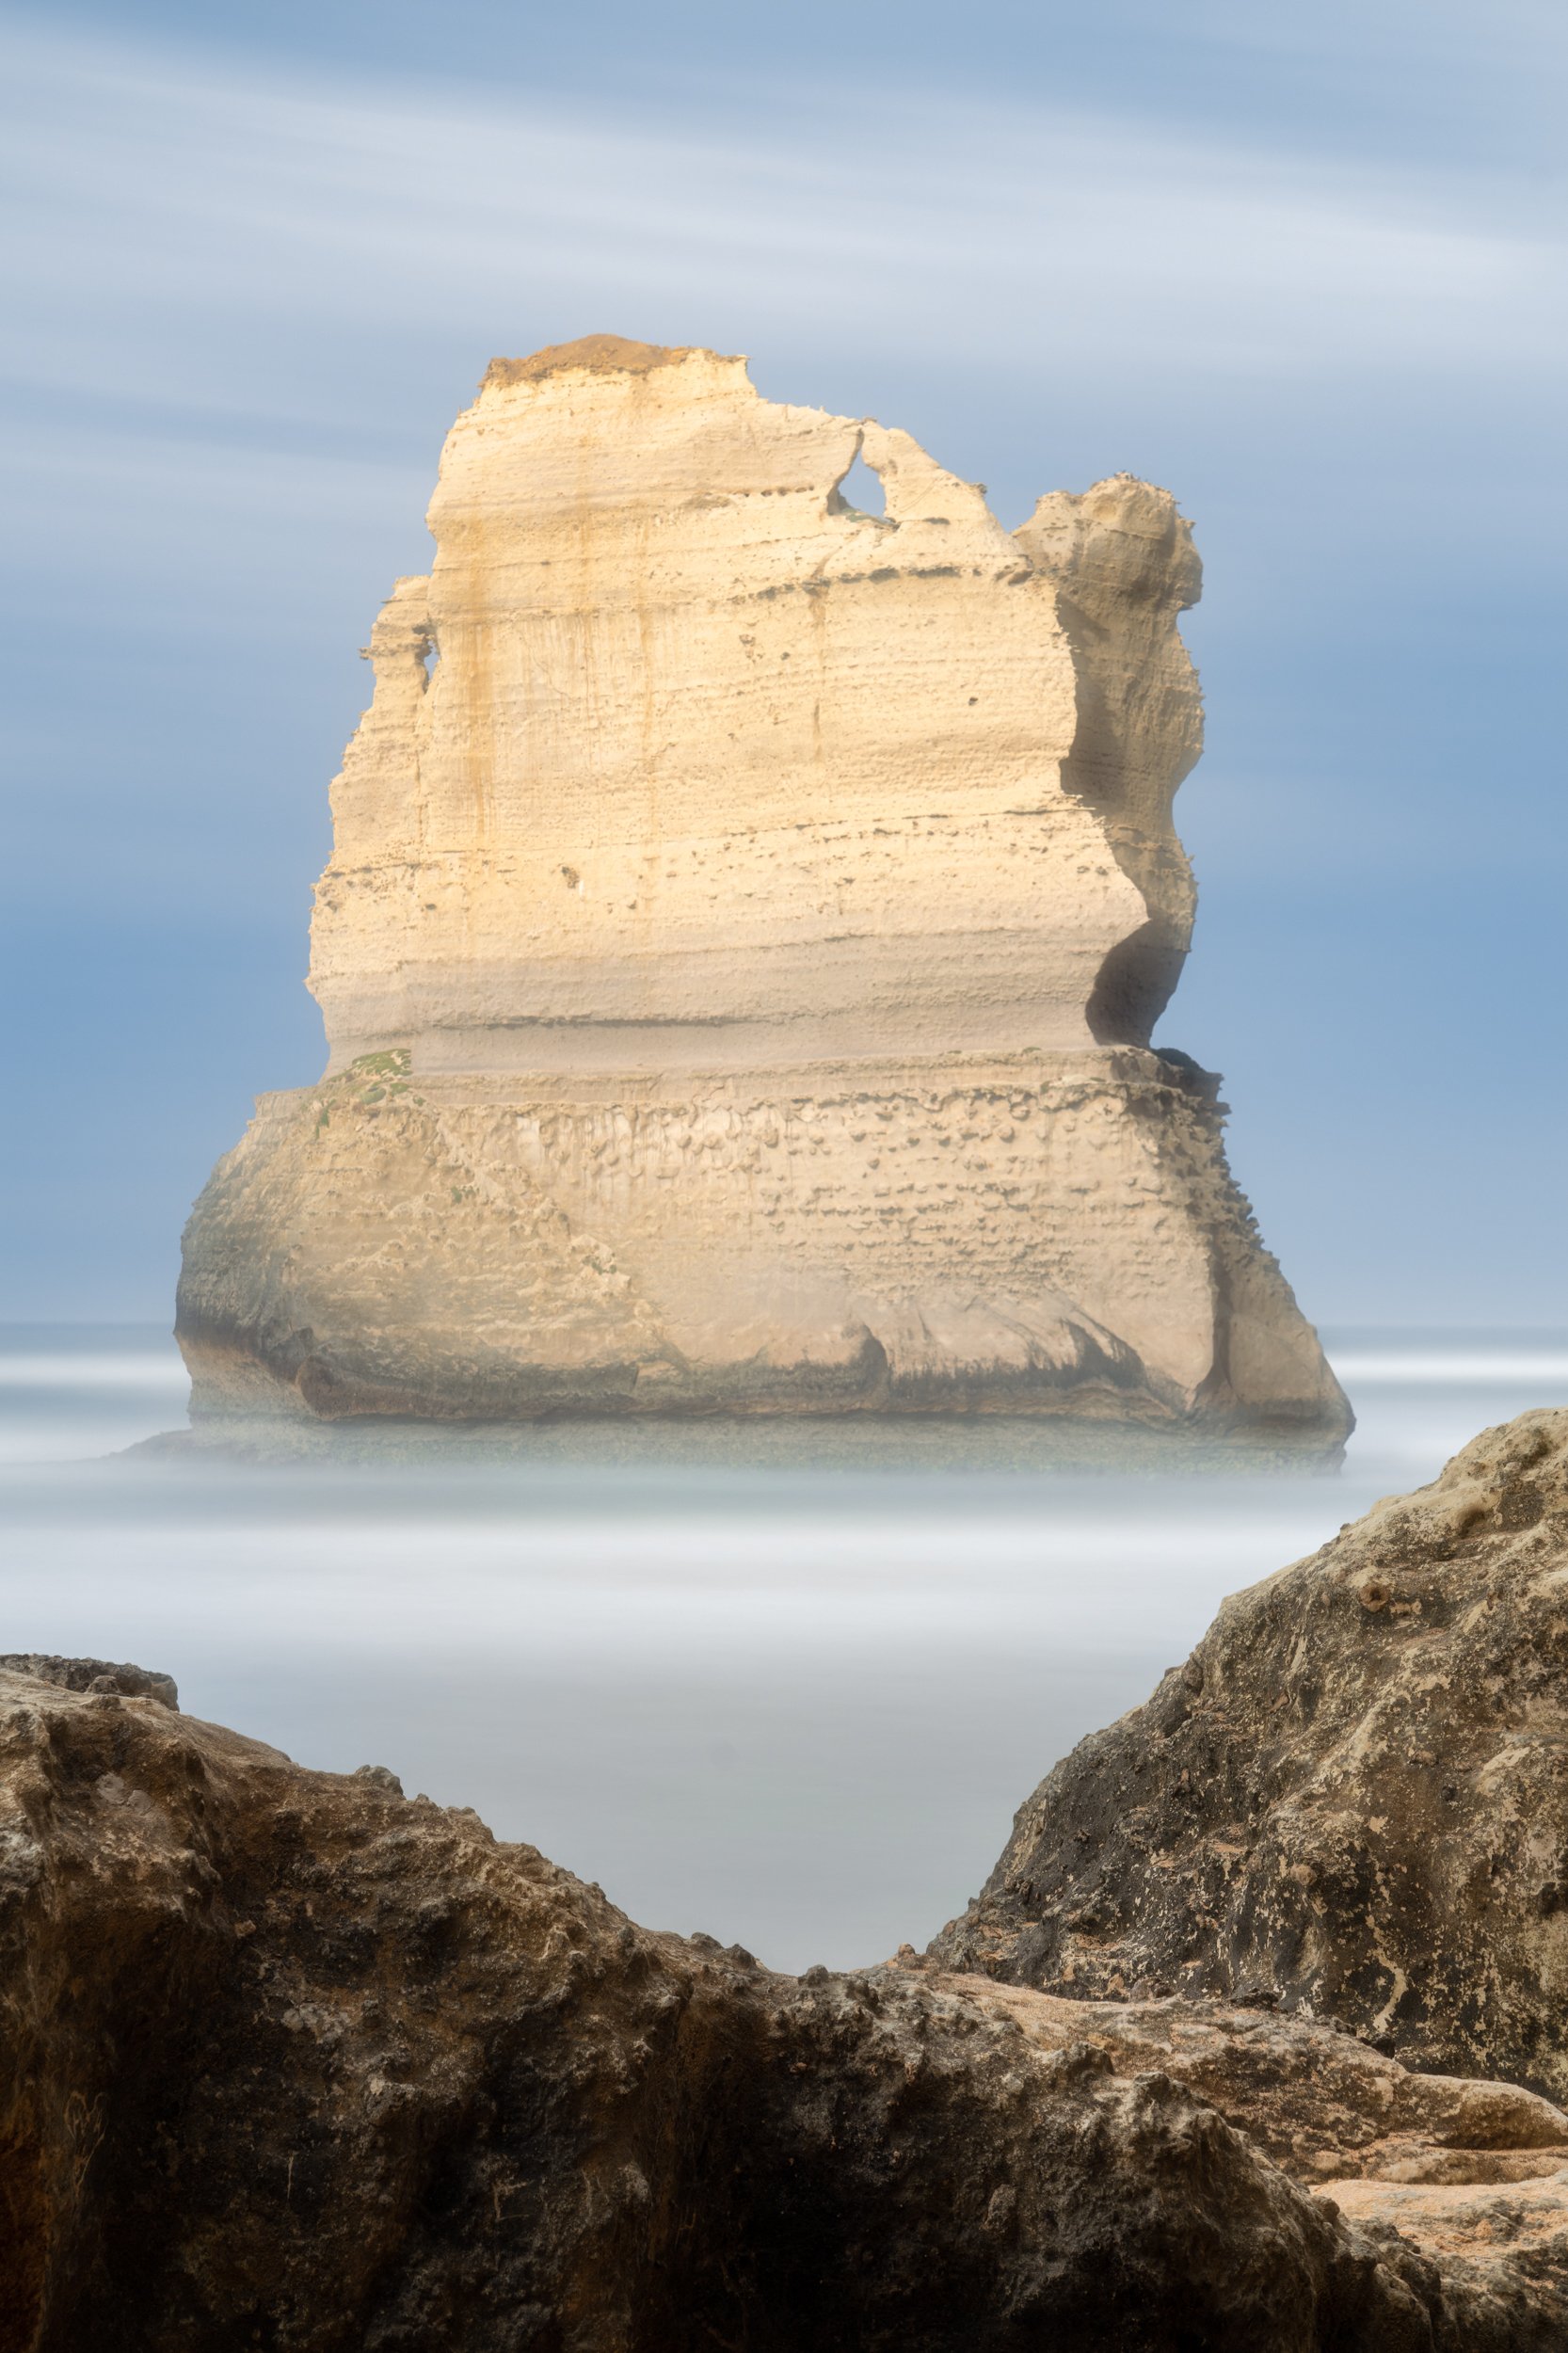
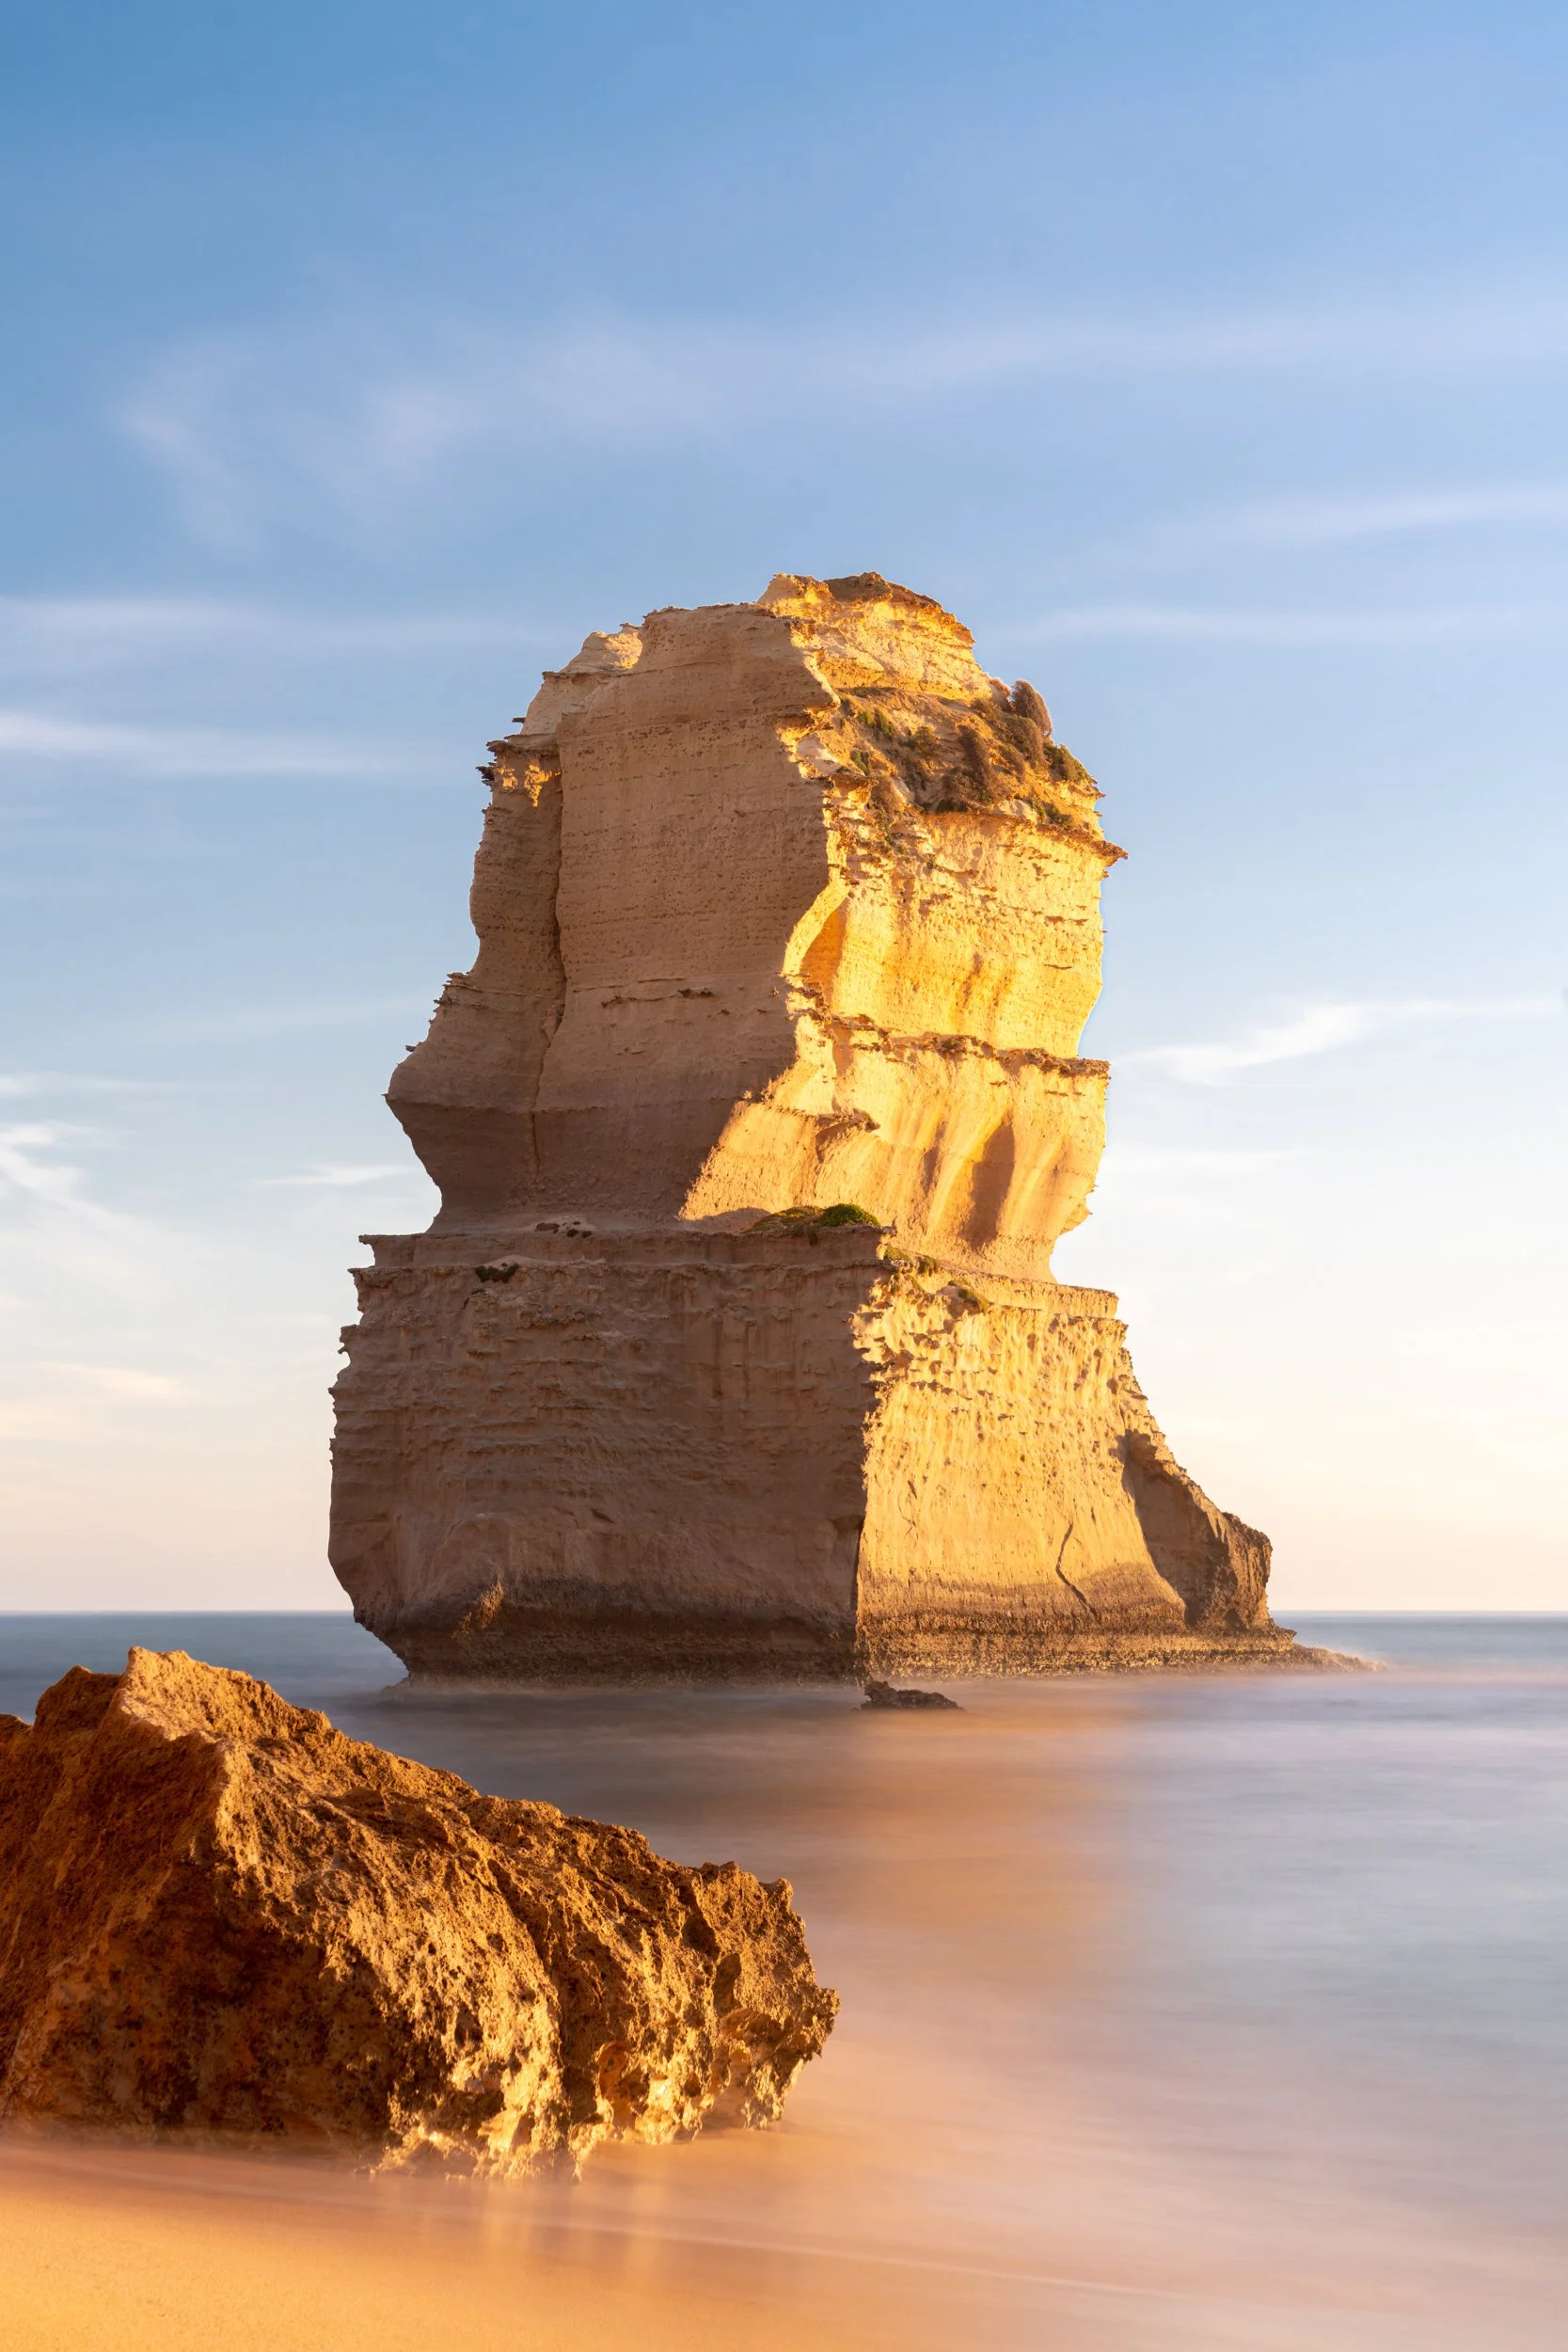
In terms of photography, a longer lens will allow you to maximize the immense stacks, if taken from a fair distance away, you can include some rocks in the mid ground, with perhaps a person standing on them for scale. Closer up you can use a wider angle lense to capture the sea and sand with the rocks towering above. There are some rocks on the beach near Gog and Magog that you can use for various compositions, foreground and framing elements. Look around and try to find a creative composition. Check out where the sun will be, as you can create some great sun stars if the sun sets behind the towers. Early morning may be misty, lending great atmosphere, and of course you can always try some super long exposures if the weather just isn’t doing it for you.
Loch Ard Gorge Area
Loch Ard Gorge
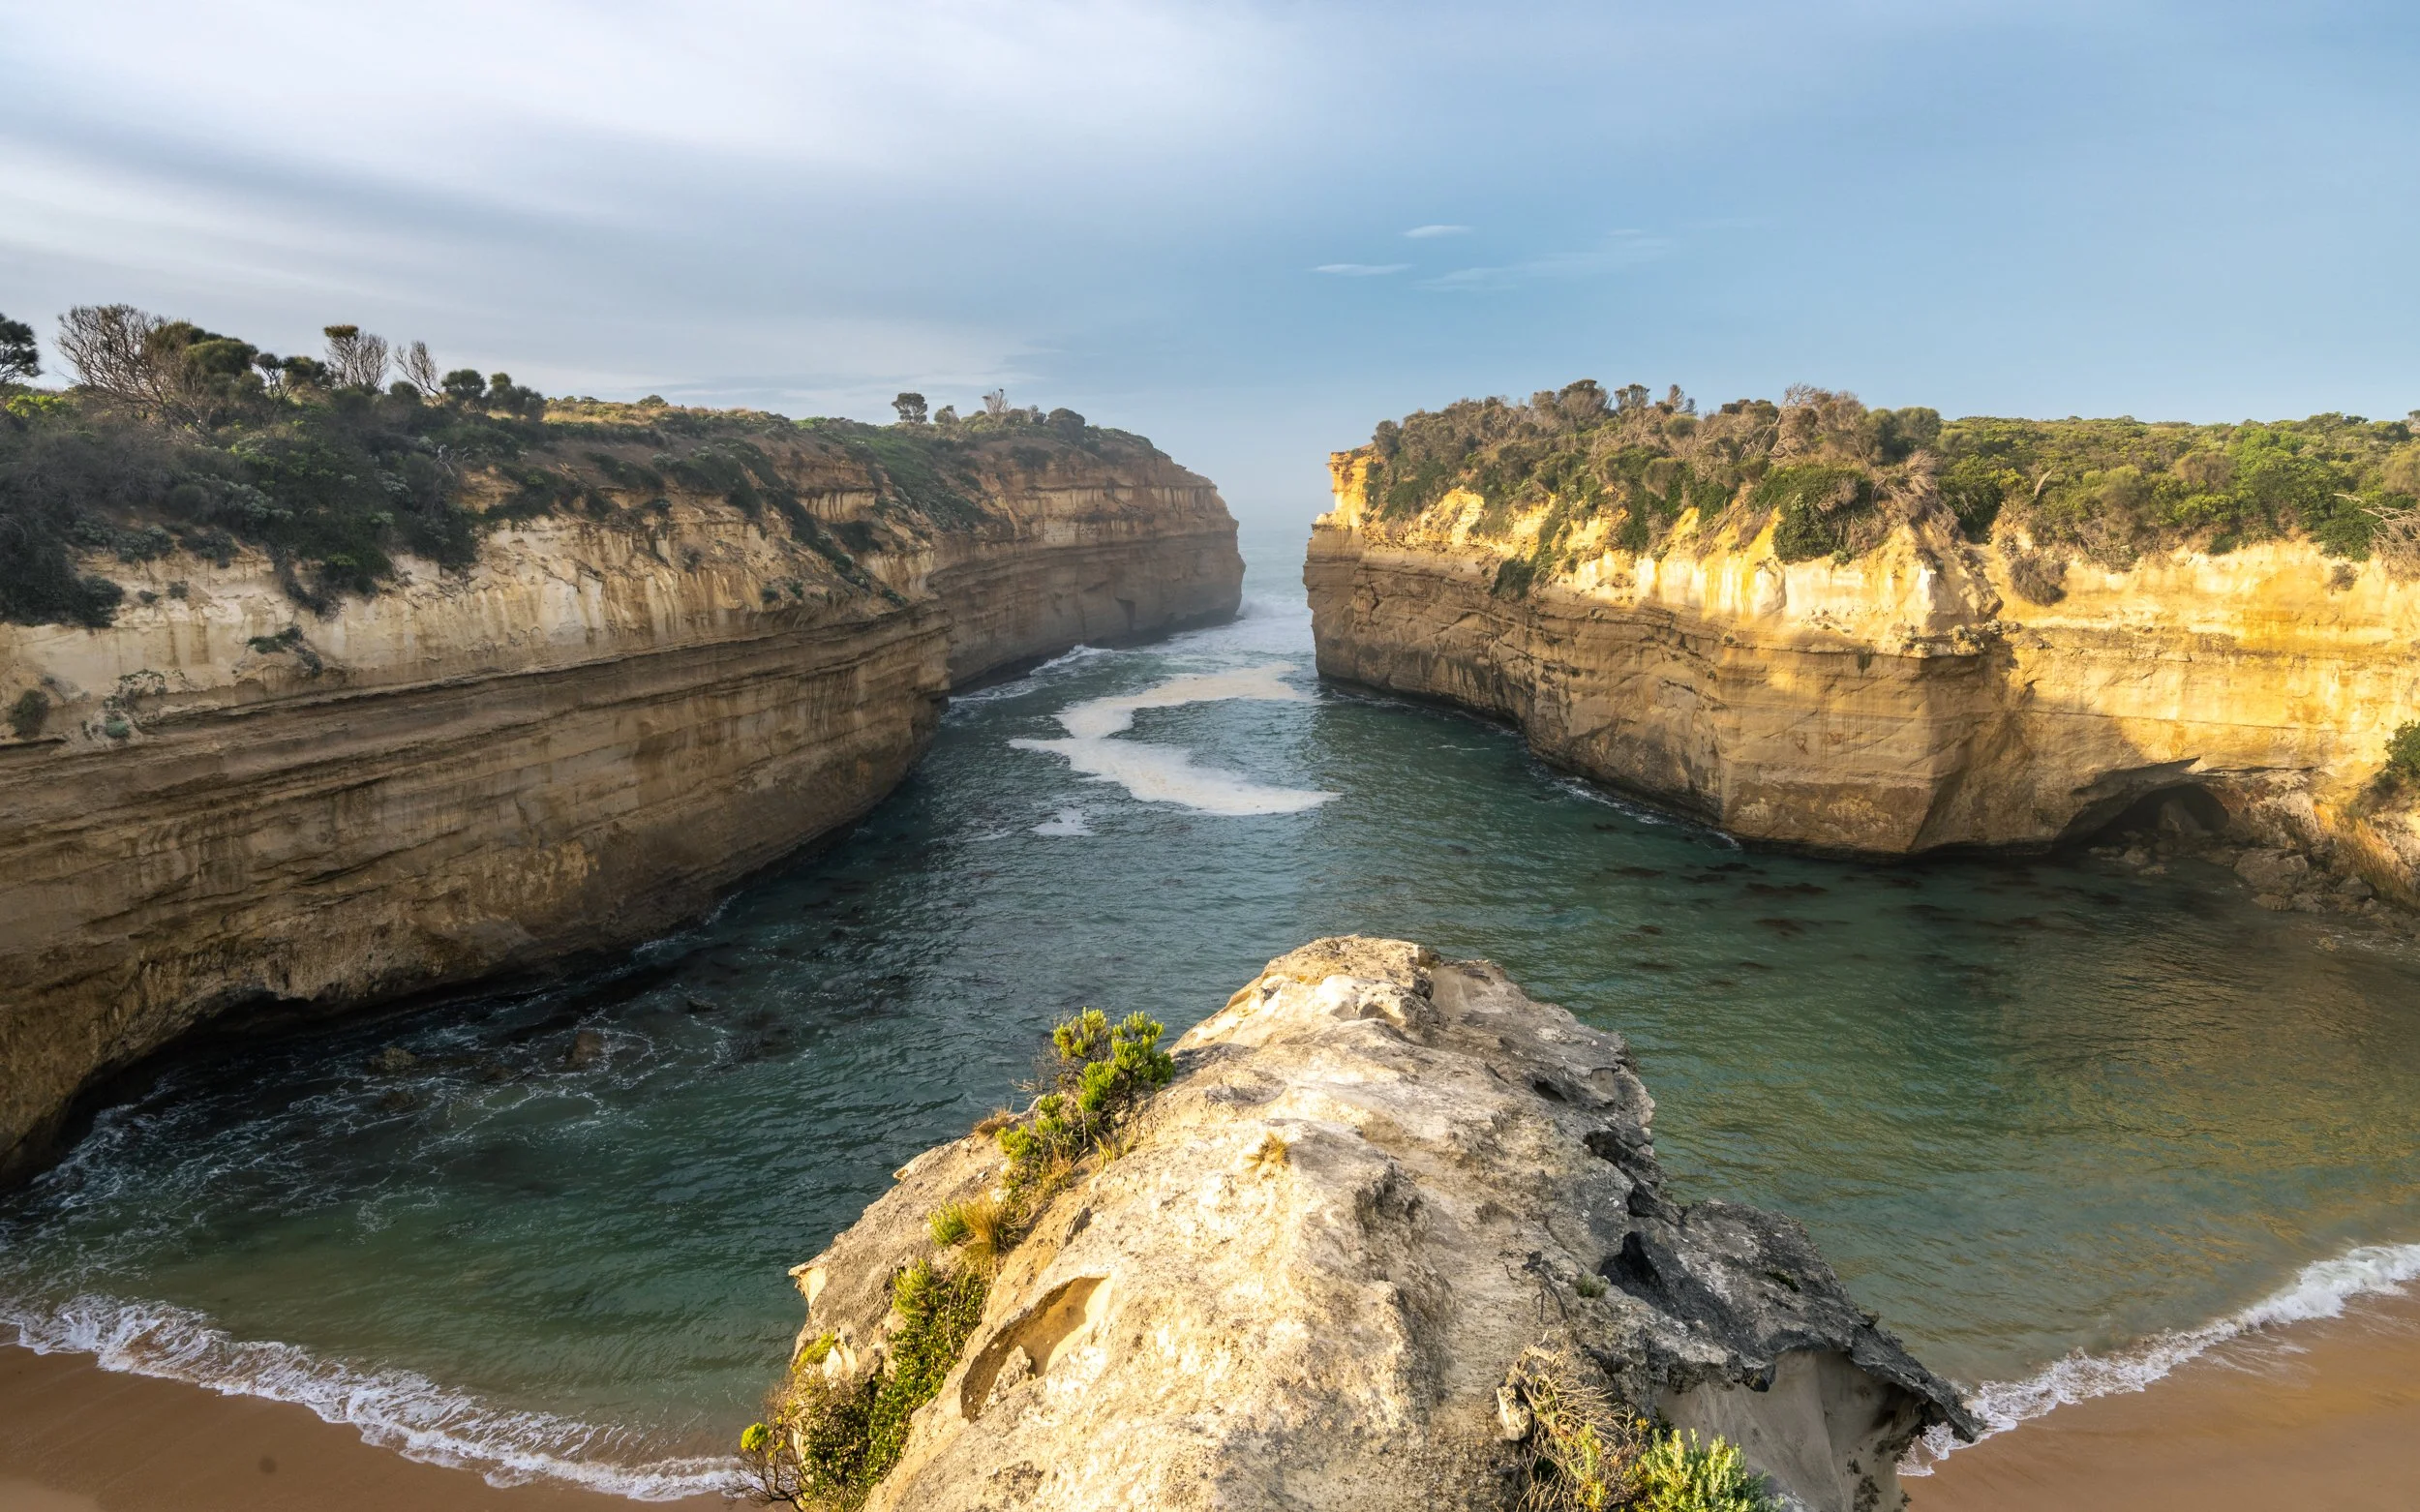
Loch Ard Gorge is one of the many popular little coves along the coastline past the 12 Apostles. This gorge is named after the shipwreck of the Loch Ard which ran aground in 1878. Of the fifty four passengers and crew, the only two survivors were Tom Pearce, and Eva Carmichael, both 19 years old.
Loch Ard is one of the more popular coves, as it’s so close to the 12 Apostles, and is quite picturesque, with symmetrical cliffs reaching out towards the sea on either side. This spot would be best shot at sunrise to get shadows on one side with light on the other, or even better, at sunset if you can time your visit so that the sun sets right between the opposing cliffs. Beach access is quick and easy down wooden stairs with railings.
Tom and Eva
In the same area, and just a short 5 minute walk to the right of the car park is Tom and Eva, named after the shipwreck survivors. These are a pair of
dramatic rock stacks in a small cove. There’s a handy viewing platform where you can get some great images, with some native plant life in the foreground.
The Razorback
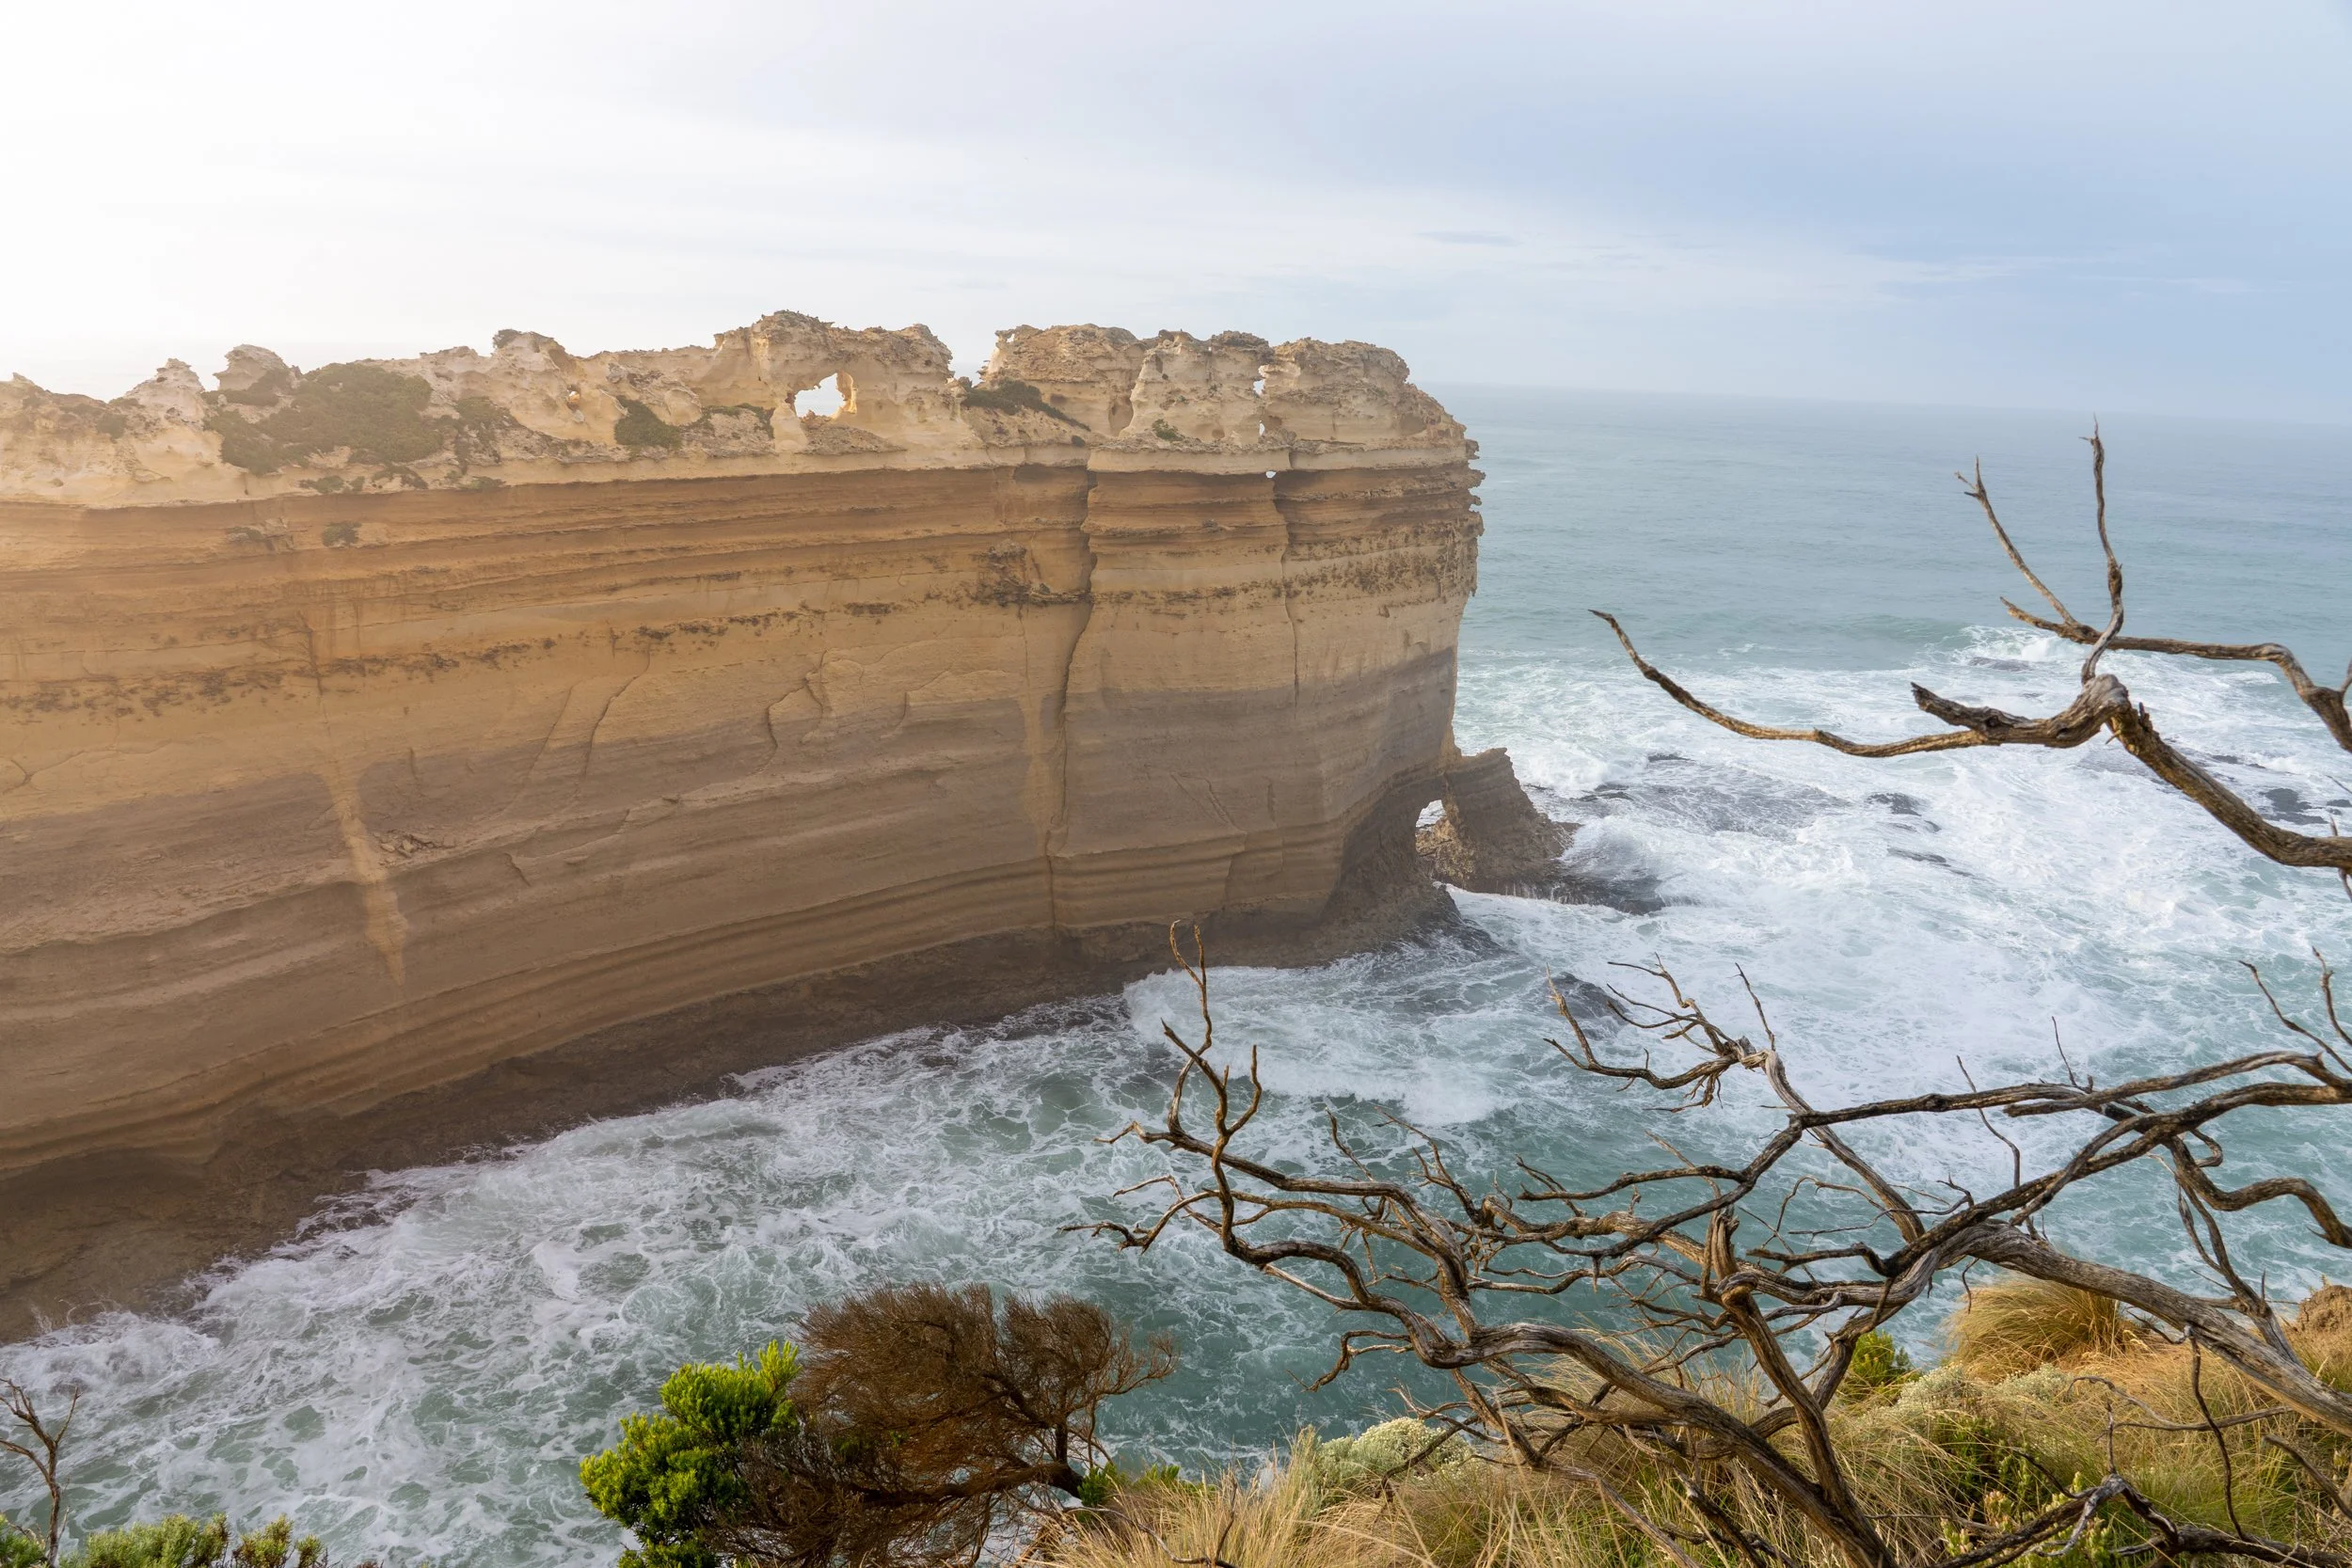
The Razorback is only a few minutes walk on from Tom and Eva. It’s a long, thin limestone stack that is being steadily eroded by the wind and waves. Not as dramatic for photography as some of the other sites in the area, but it’s still worth visiting if you’re in the area for a look. You will need a wide angle lens if you’re intent on capturing the entire structure, and a tall tripod to get above some of the vegetation.
(E) Magic Rock (Warrnambool)
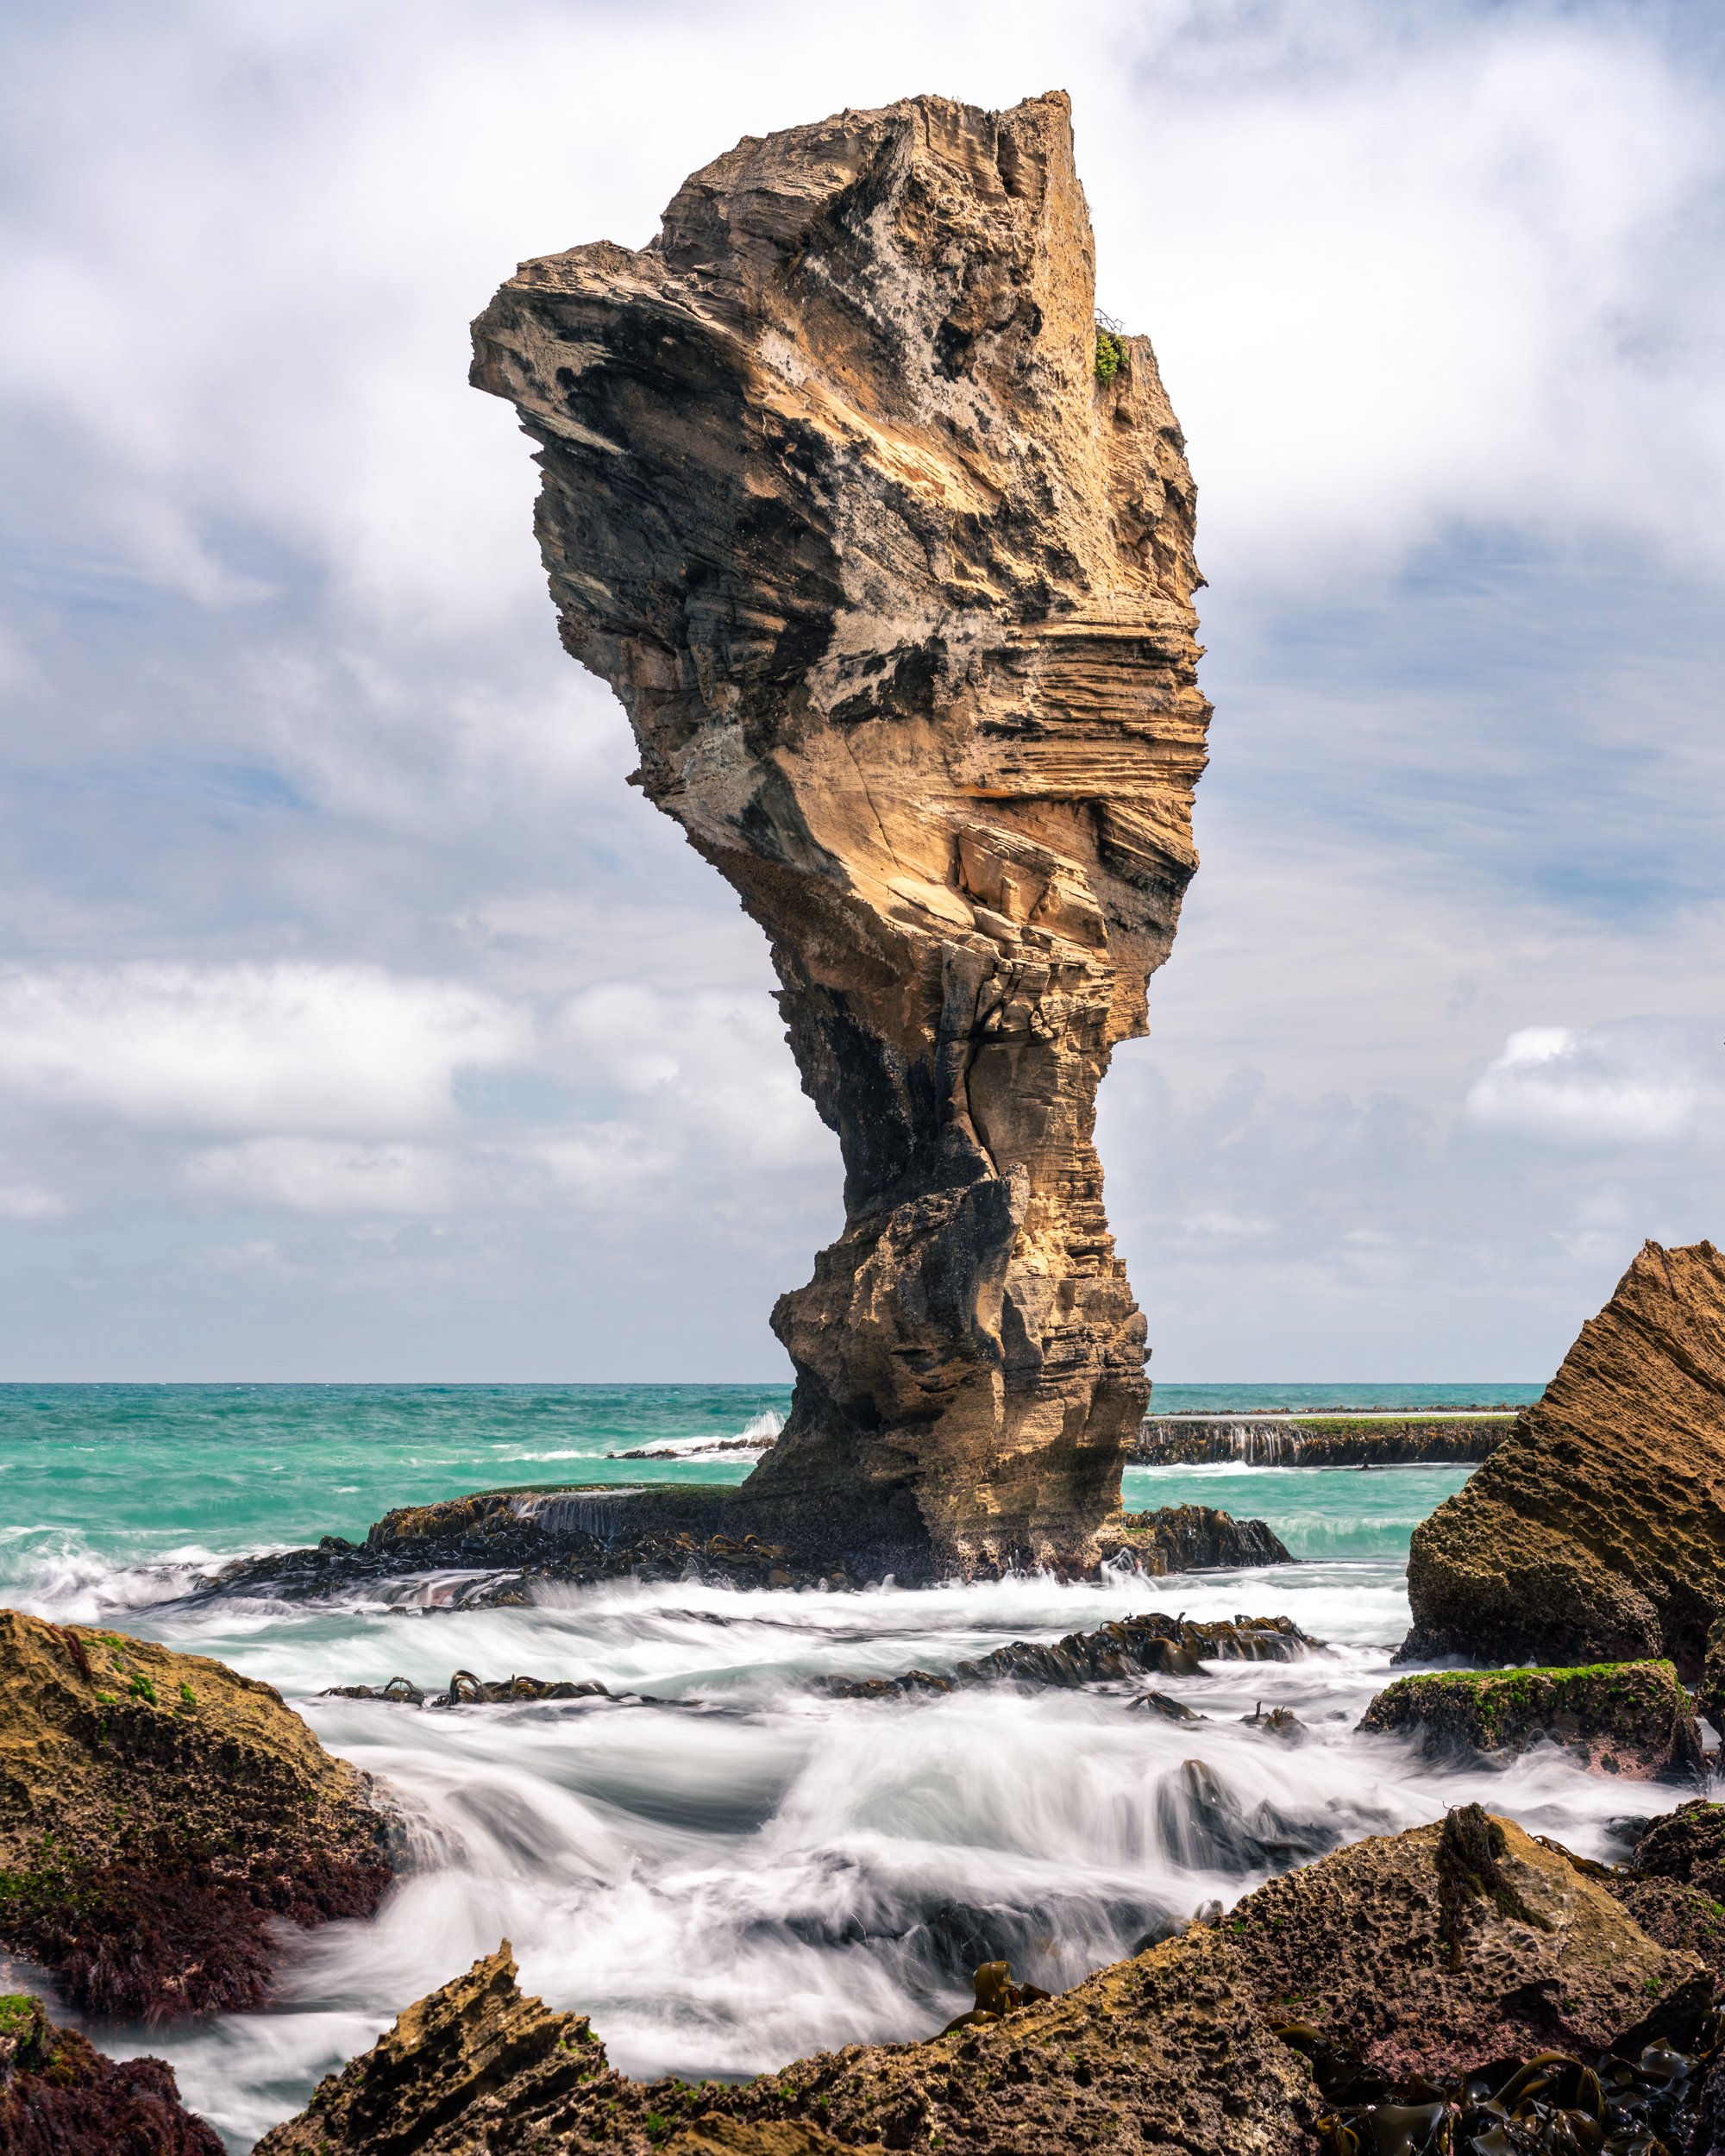
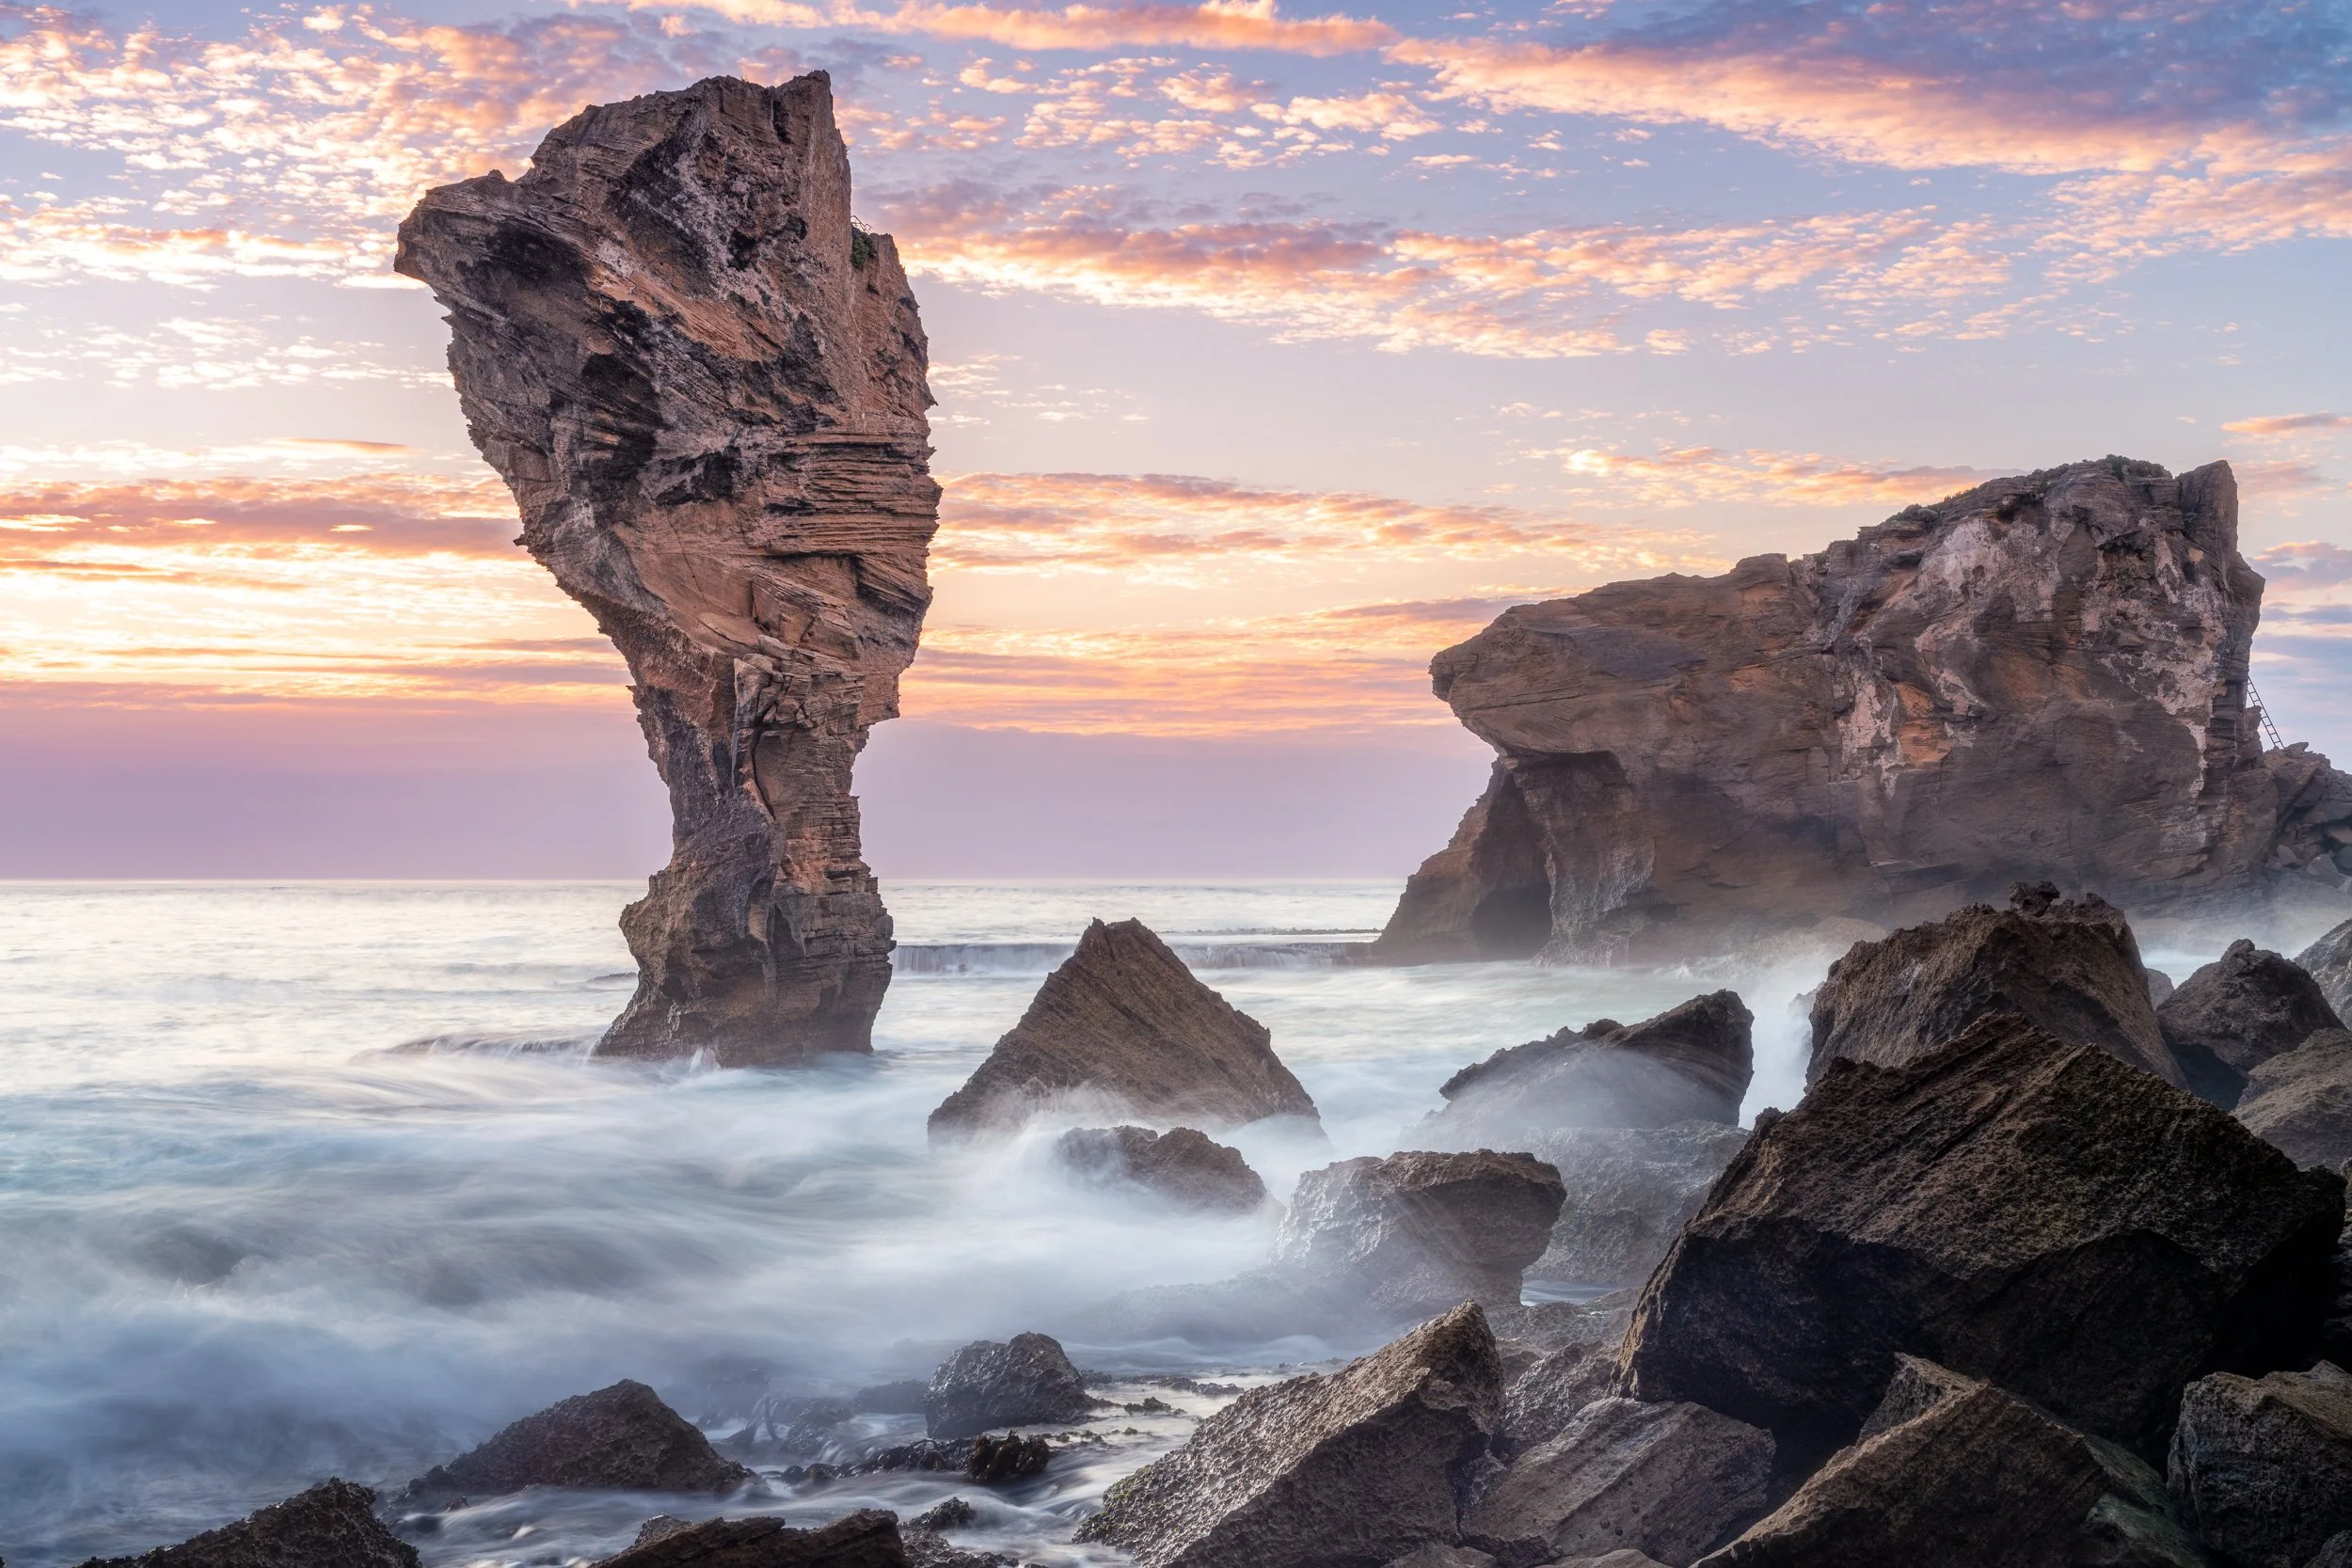
Around 20 minutes out of Warnambool, and completely off the beaten track is a rock formation known as ‘Magic Rock’. Magic Rock is the last remains of an eroded cliff. It's slowly being whittled down at the base, and is almost an inverted triangle. It looks rather amazing, and in the right light would be an absolutely killer shot.
You need to be really quite determined to reach this spot. Drive to the end of the straight part of Kileens Rd, where the road veers off to the left, you will see a sandy track leading straight ahead. If you have a small four wheel drive, and you're confident, you can drive straight ahead. A normal car will not make it. There will be large rocks you will need to drive over at parts in the track. When the track turns sharply right there are LOTS of rocks on the track and unless you have a large 4 wheel drive, you would need to 3 point turn and reverse park off the track, then walk from there on in. Trees and branches will be scratching the side of your car too.
If this doesn’t sound so amazing, park at Kileens Rd and walk!
At the point the sandy track veers right, keep walking for about 15 minutes until you see a small shed, then turn left towards the beach. Follow the trail, if you can make it out, and you should come to the rock. It took me about 15 minutes to find the right little cove, at first I went too far. If you want to go down the the base of the rock you’ll need to scramble down the rocky hill, then climb down some boulders. If you’re fit and confident it’s quite manageable. Watch out for snakes. And spiders too actually – there were lots of webs around.
Once you’re at the bottom you MUST be careful of the waves. You’re in the middle of no-where and there is no one around for kilometers. I would NOT even contemplate going down without checking that it will be low tide the entire time. I know another photographer who wasn’t so careful who got drenched by a wave and almost lost his camera and his footing. I always use Willy Weather to check whenever I'm doing seascape photography.
Bring a torch if you are going at sunset so that you can get back safely. Make sure you tell someone that you’re going, even better go with someone else.
Alright. If all that sounds horrible, don’t even worry about going here.
The first time I visited the tide was on the way out and I could go out a little onto the rocks. The second time at sunset, the tide was starting to come in, and I stayed quite high and out of reach of the waves.
(F) Portland
Port Nelson Lighthouse
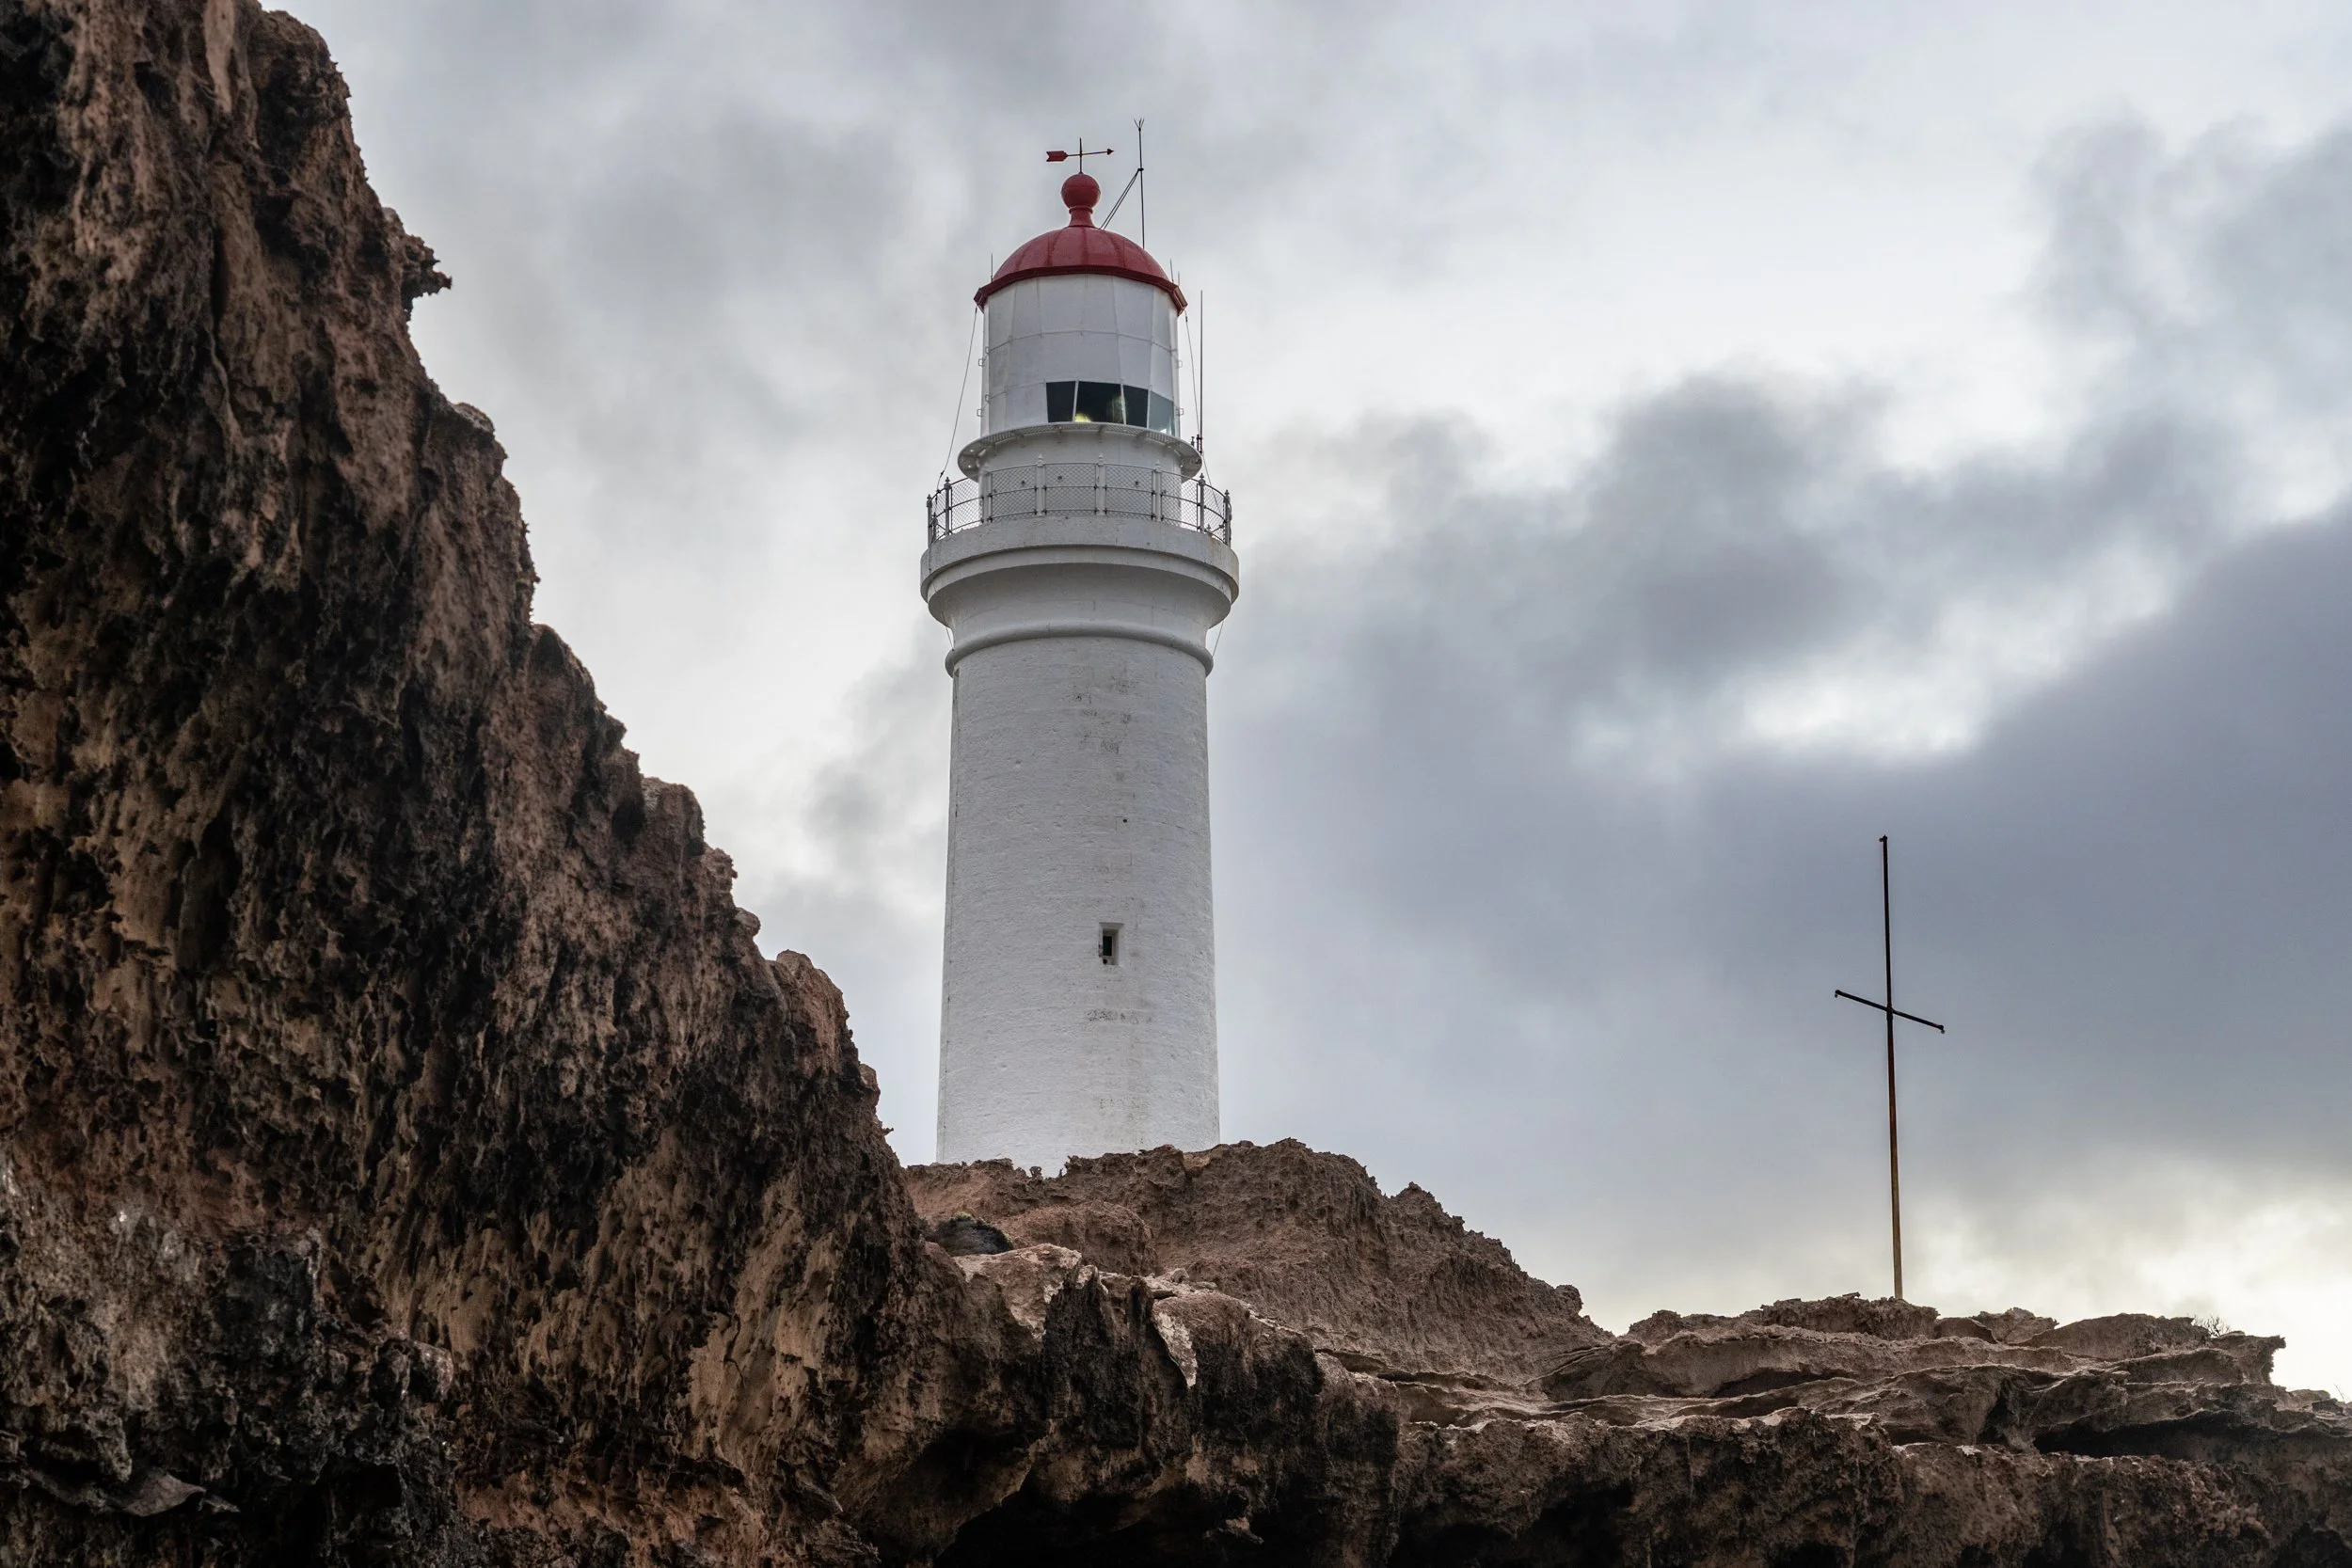
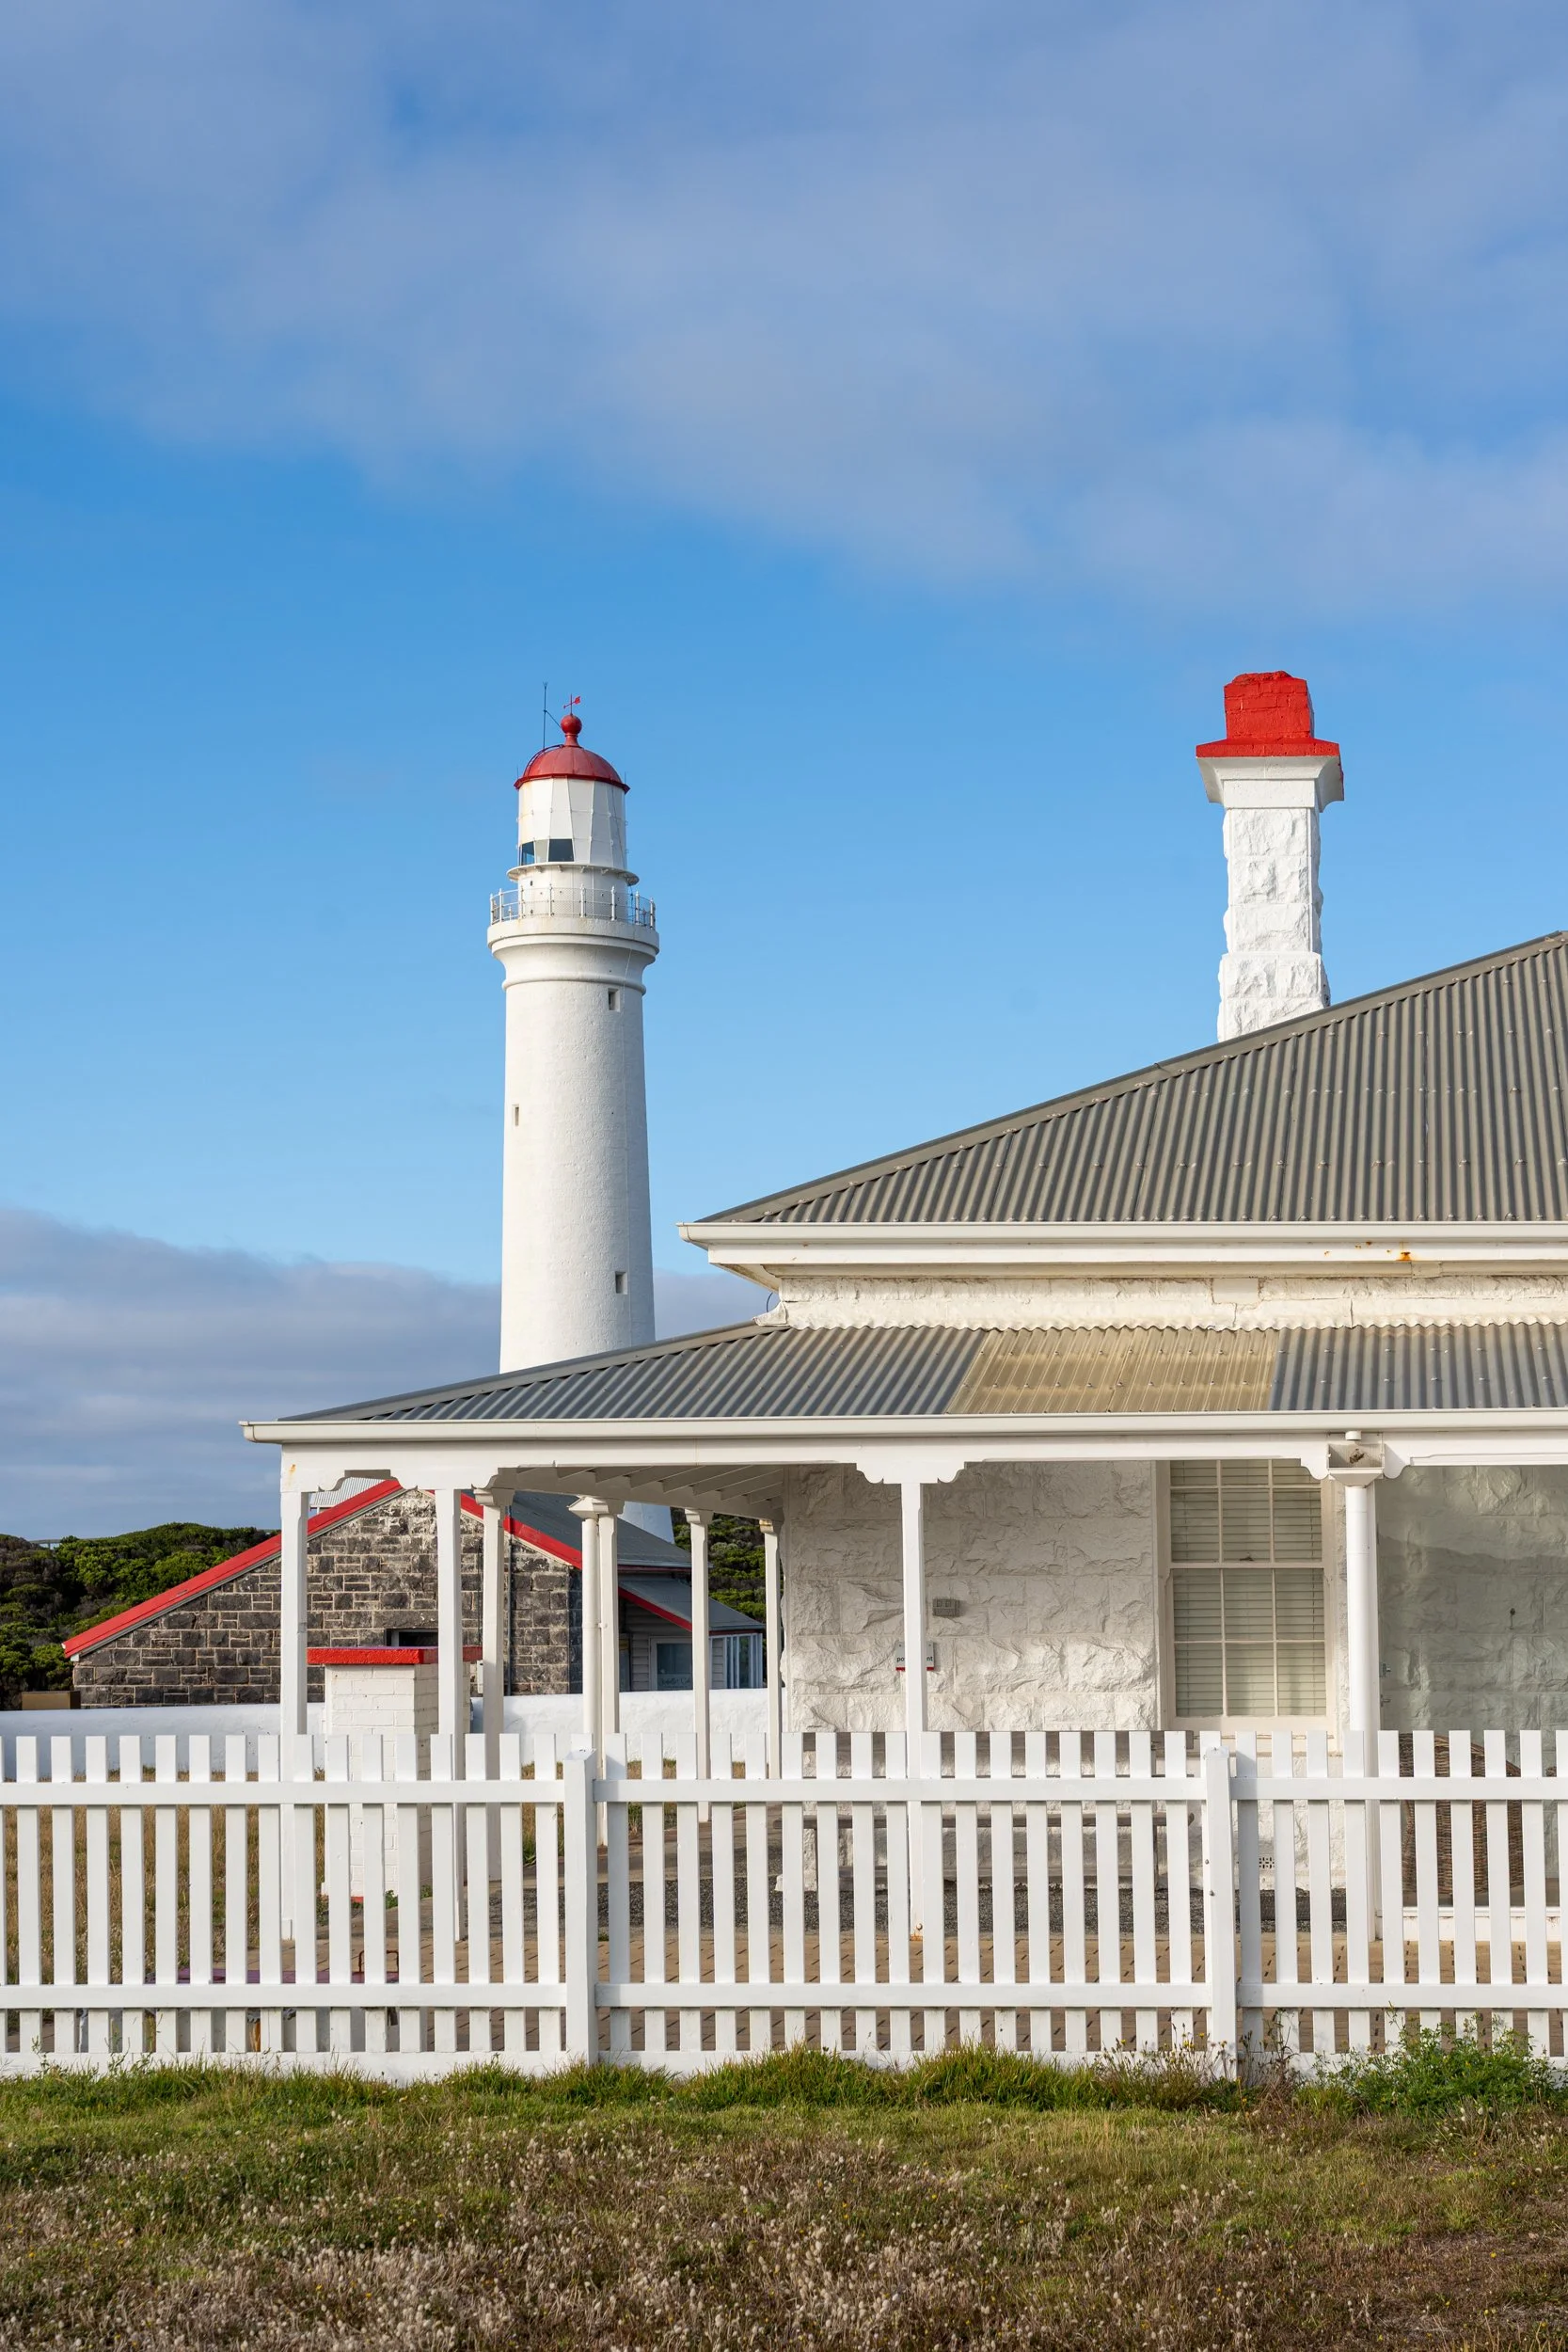
As soon as I heard about the Cape Nelson Lighthouse Cottages, I HAD to stay there. Cape Nelson is around 20 minutes drive from Portland, which is about an hour’s drive from Port Fairy. After a pretty heavy couple of days of driving and photography, this was just absolute heaven. The cottages are spacious and comfortable, and pretty much right under the lighthouse. The moment I walked in and looked around I felt just the most amazing sense of comfort and relaxation. There was even eggs, bacon and bread in the fridge for the next morning’s breakfast, a coffee machine, teas and hot chocolate. A bath, shower, TV room and 2 bedrooms.
I had booked my stay to coincide with forecasted high chance of great sunset and sunrise, and a clear night for astrography. I was dreaming of being able to wake up, walk outside and capture amazing shots of rugged coastline and a lone lighthouse. Unfortunately the weather kept shifting with each day, and I ended up with an overcast night and almost no colour in the sky!!
No matter, you use what you’ve got! I explored some of the cliff tops around the light house, making sure I was safe and not placing myself in any danger as there is no help in the case of a mishap.
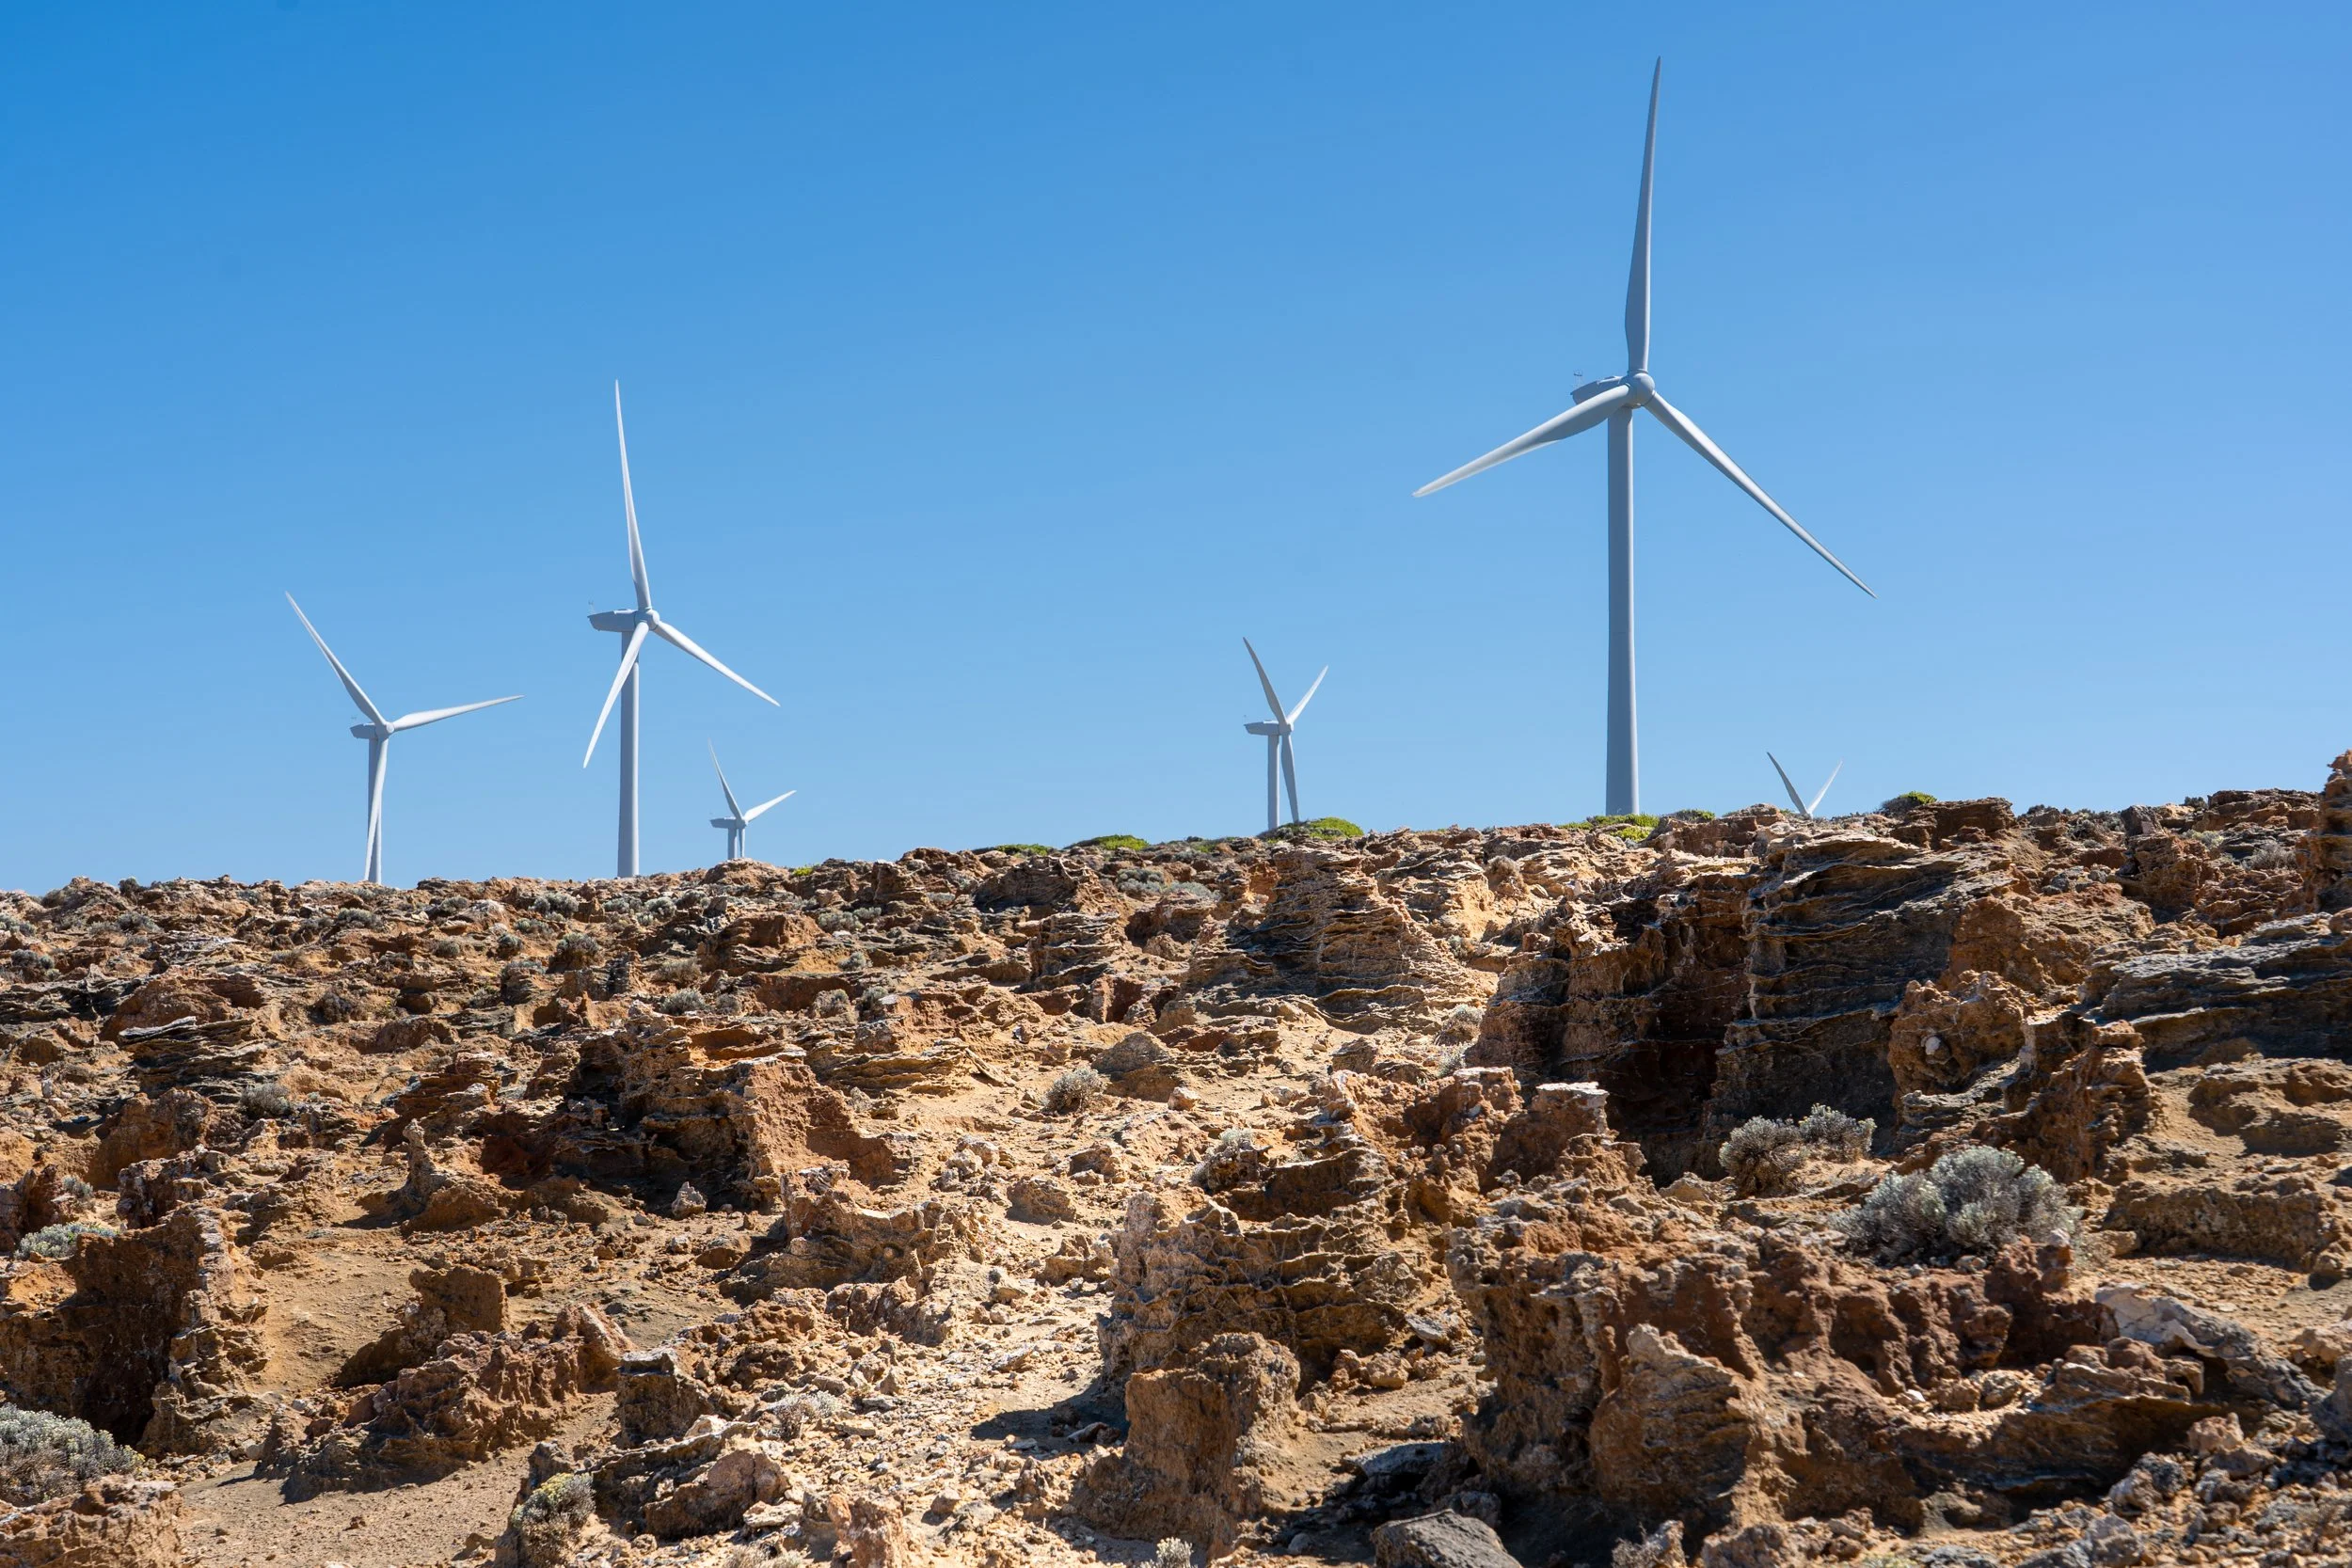
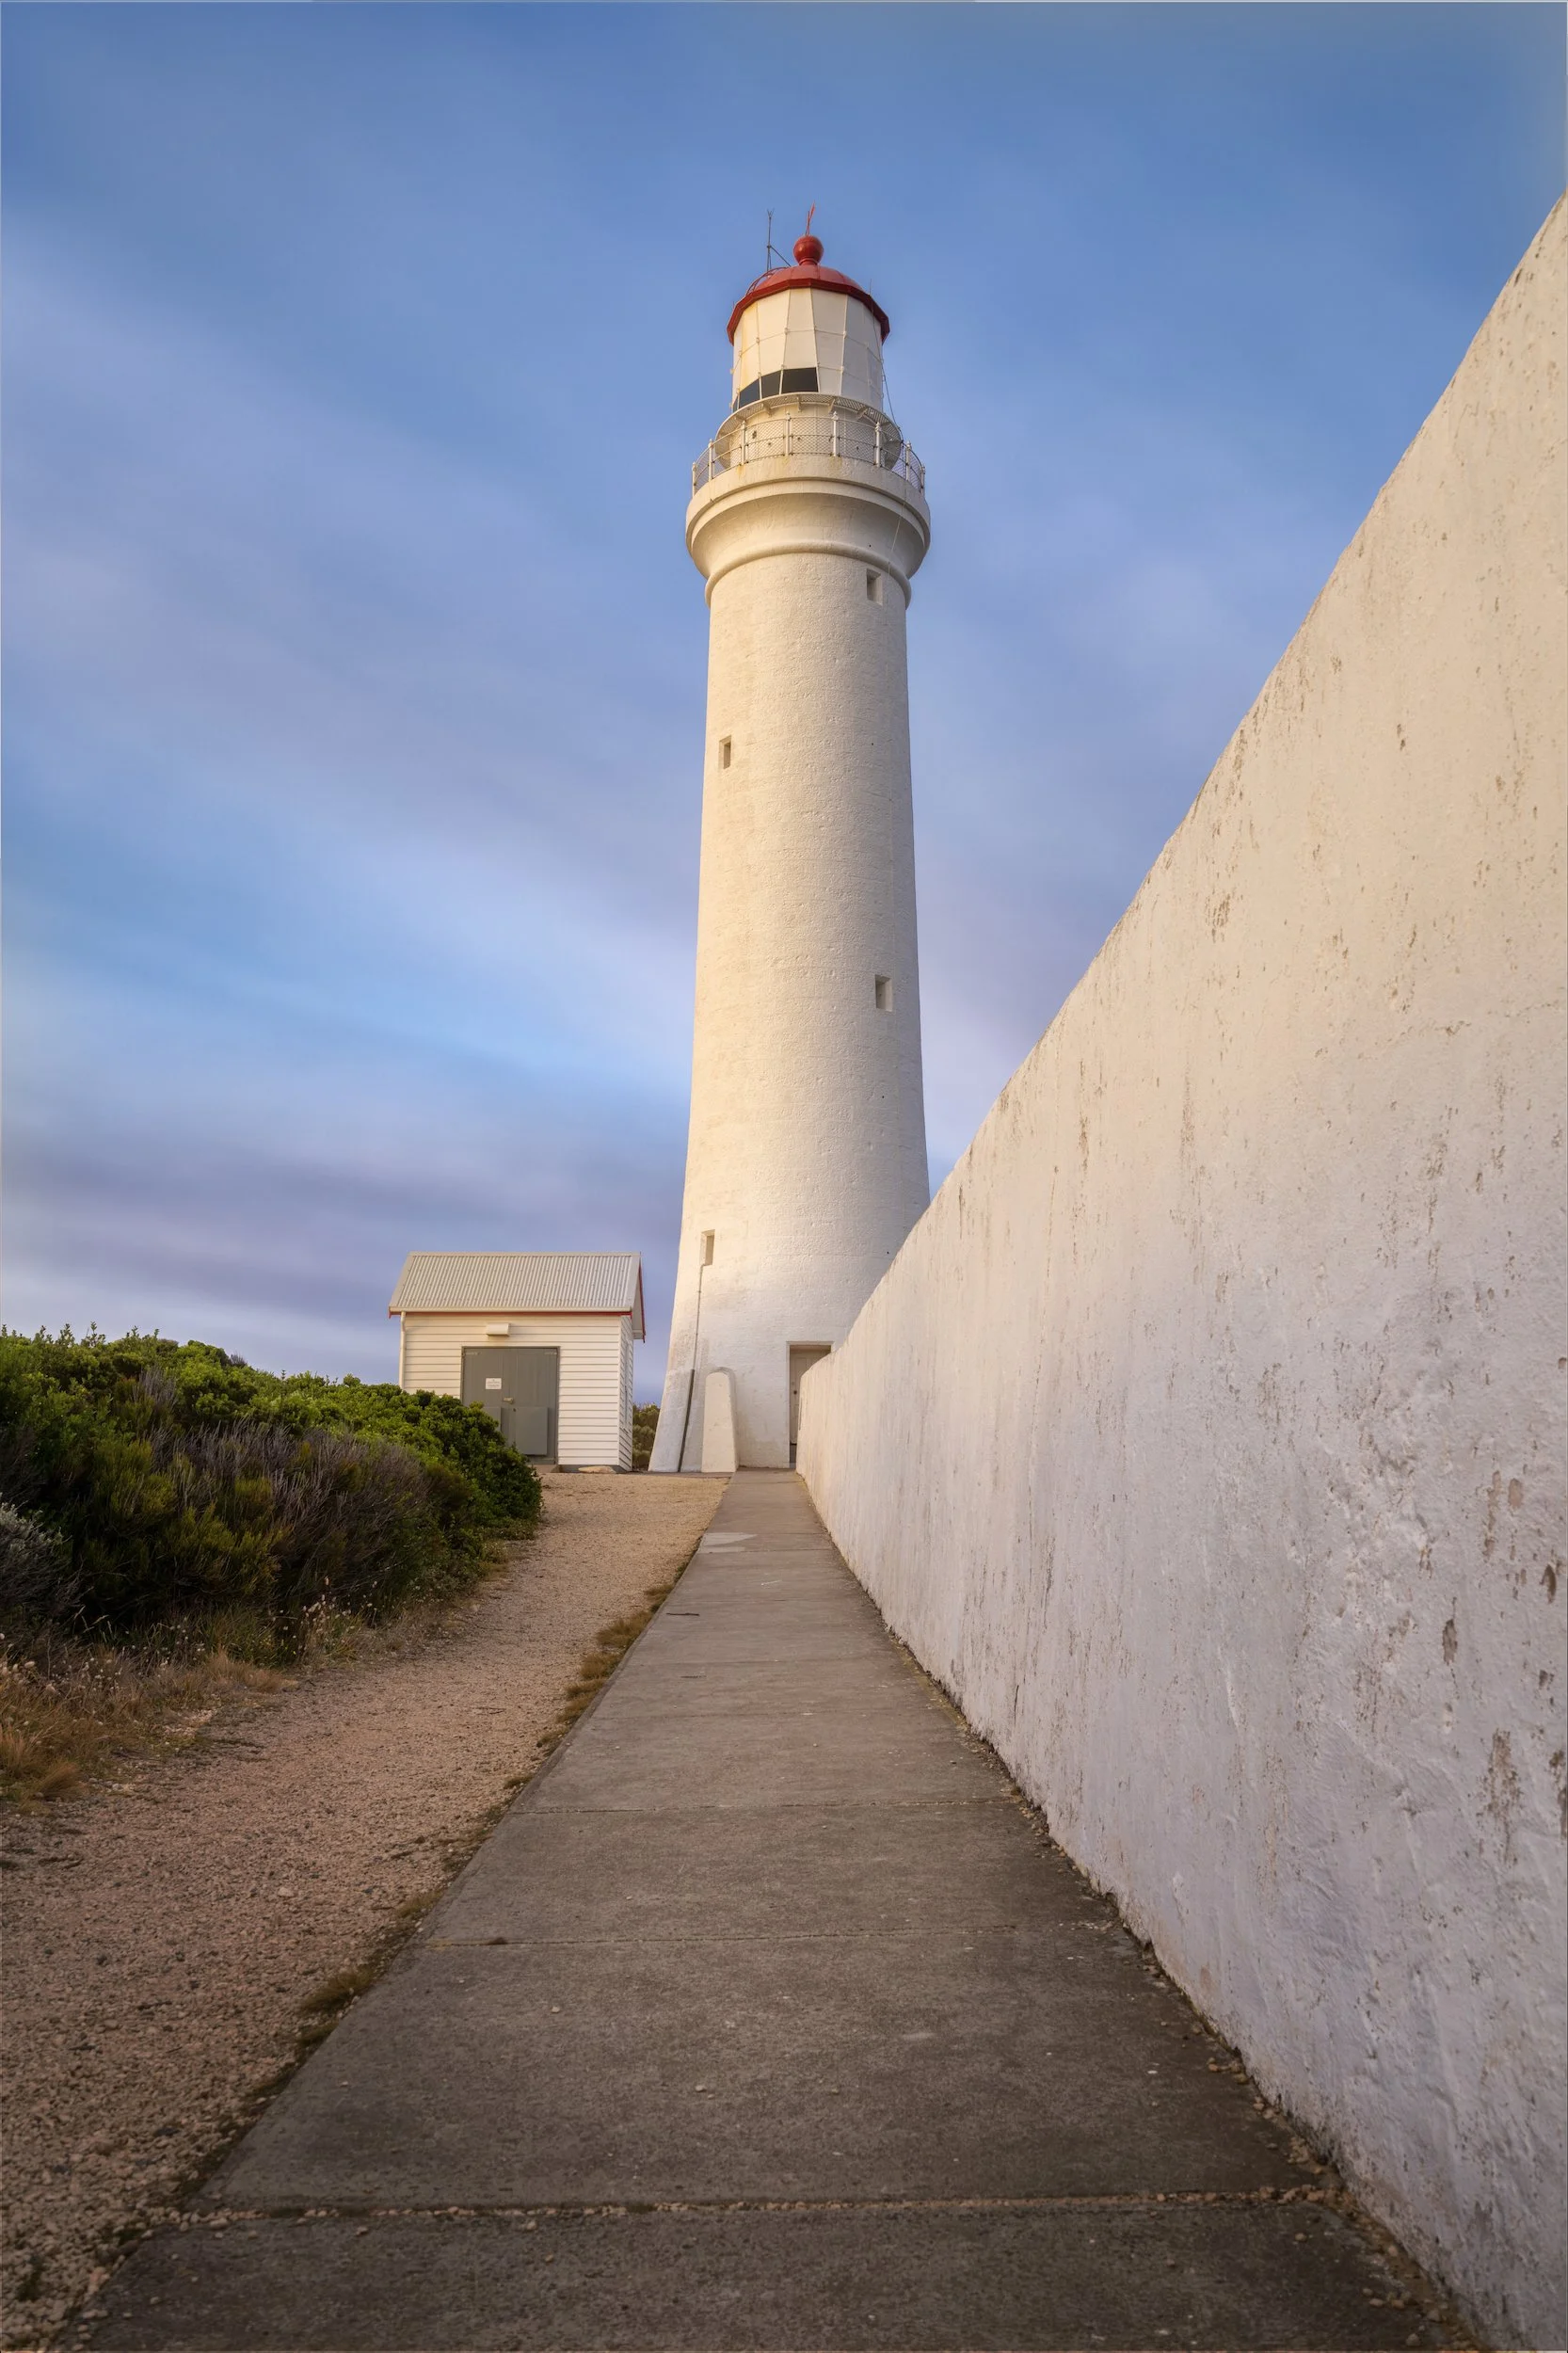
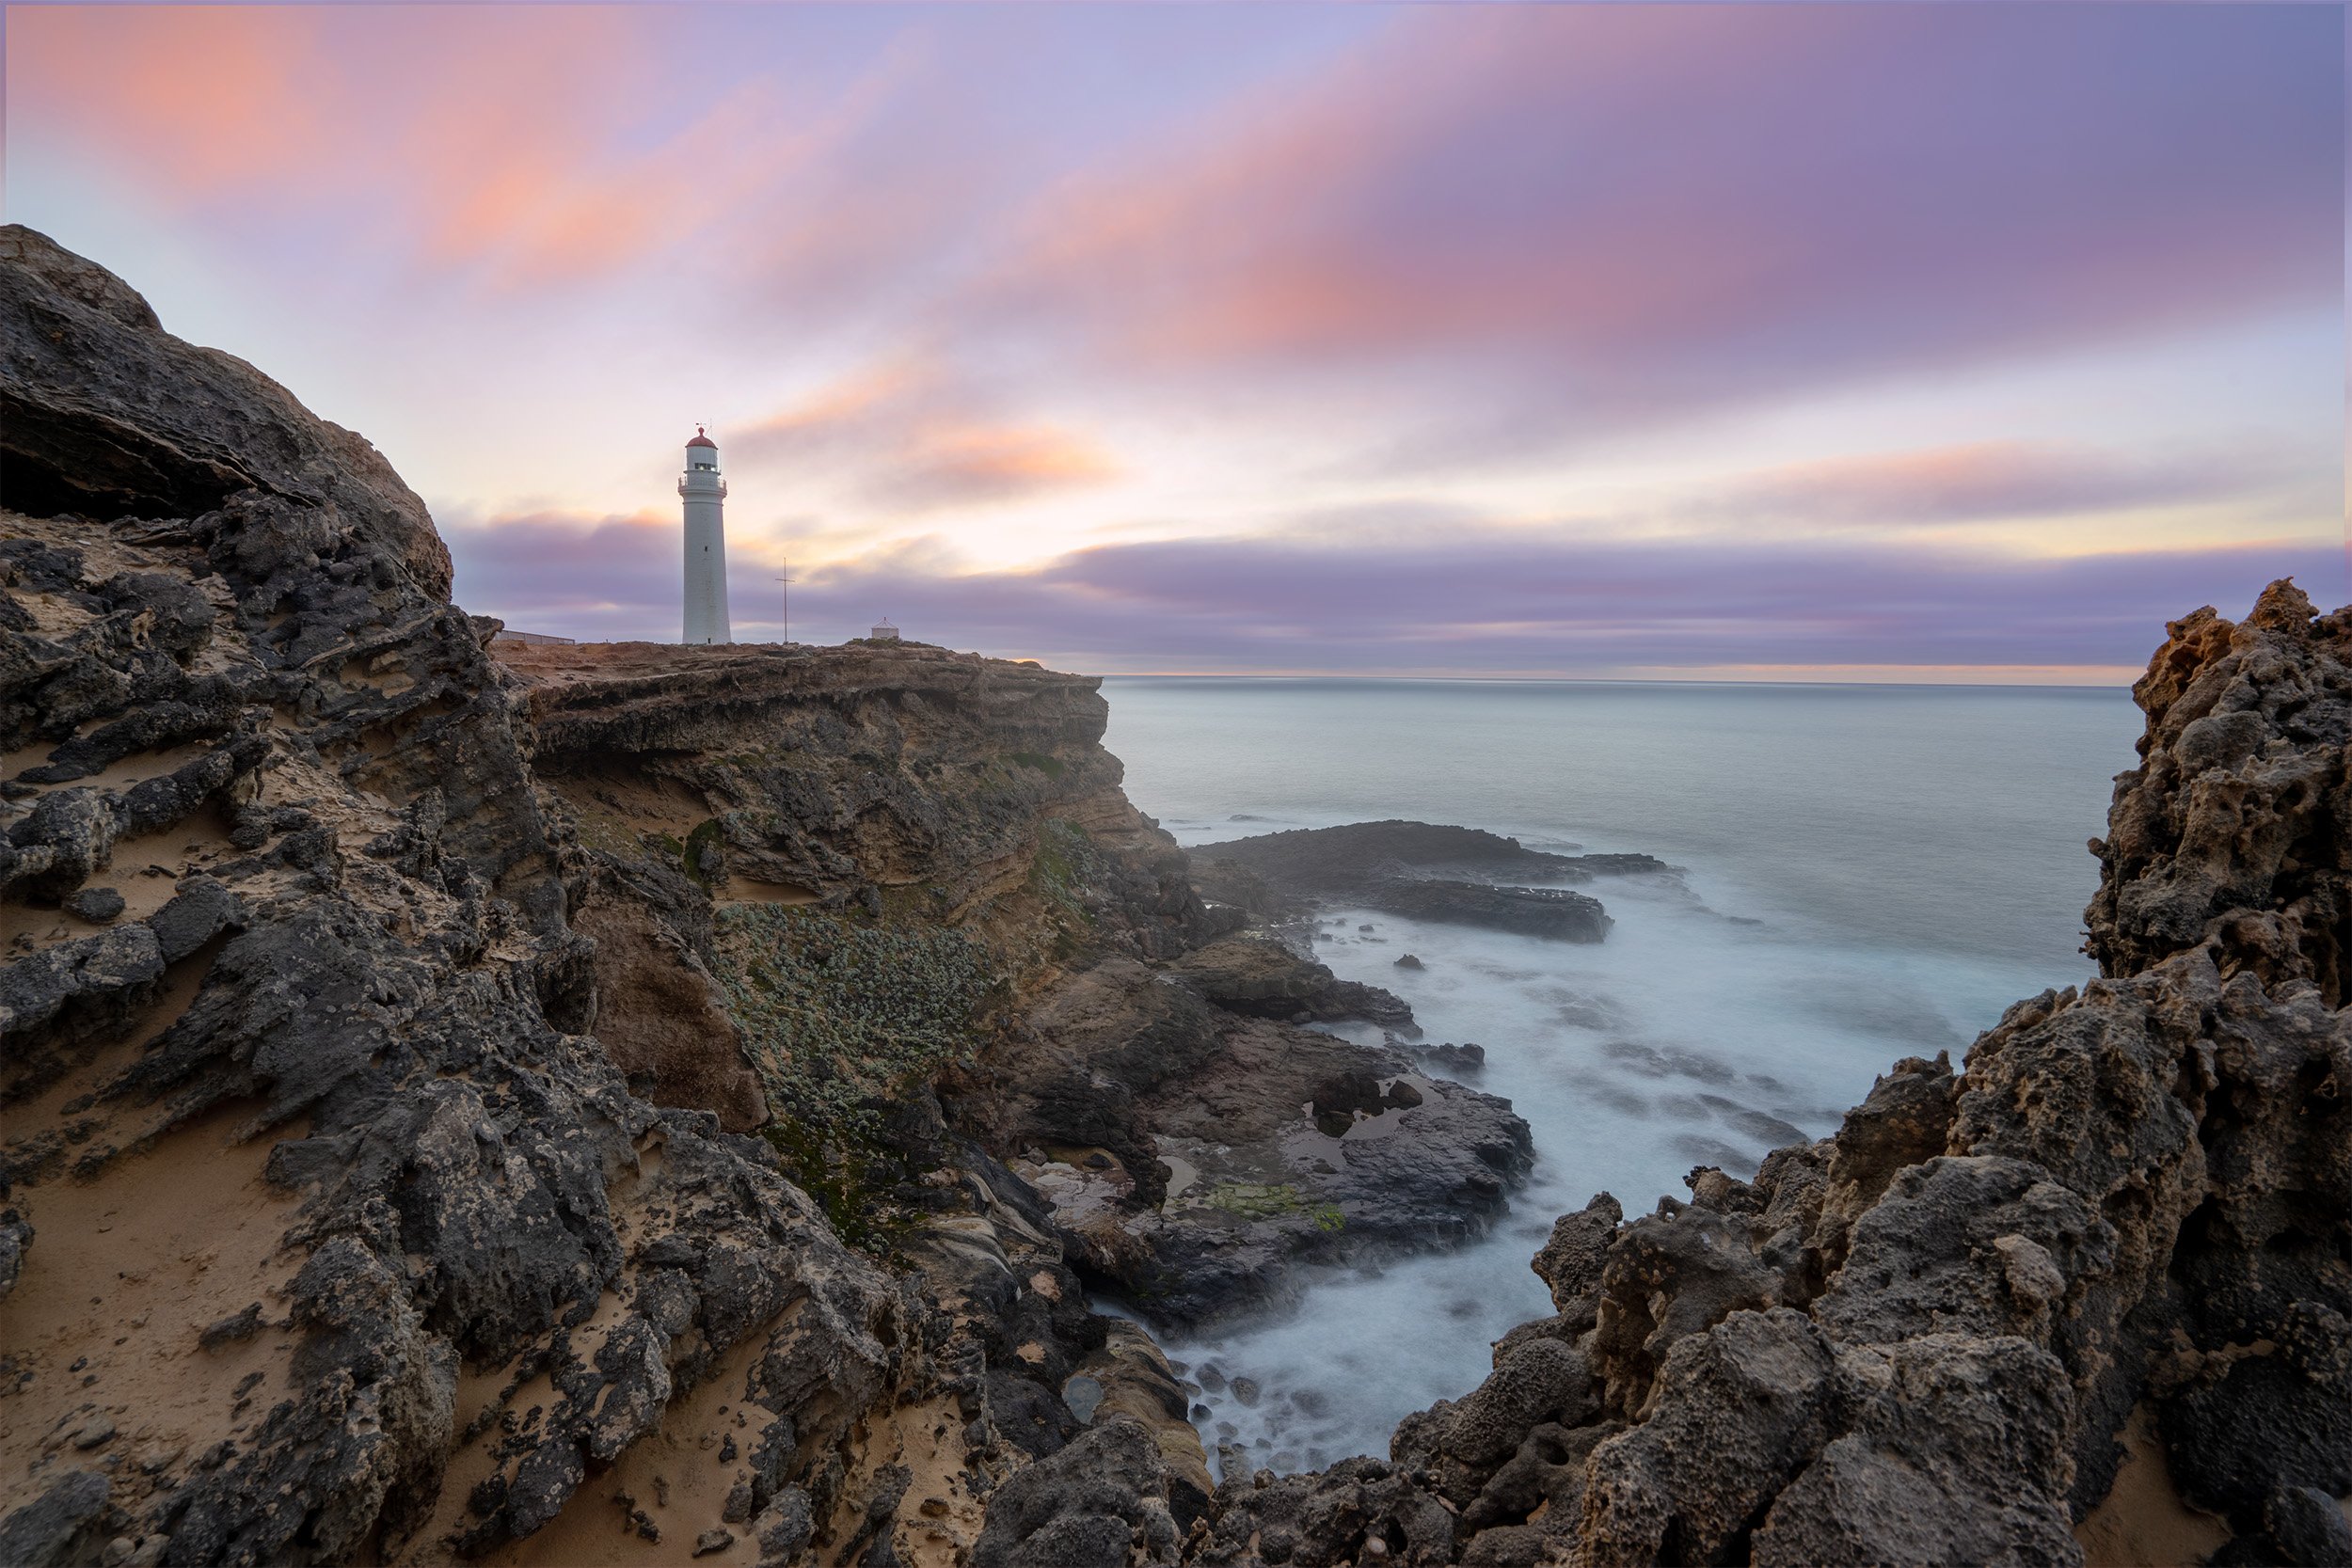
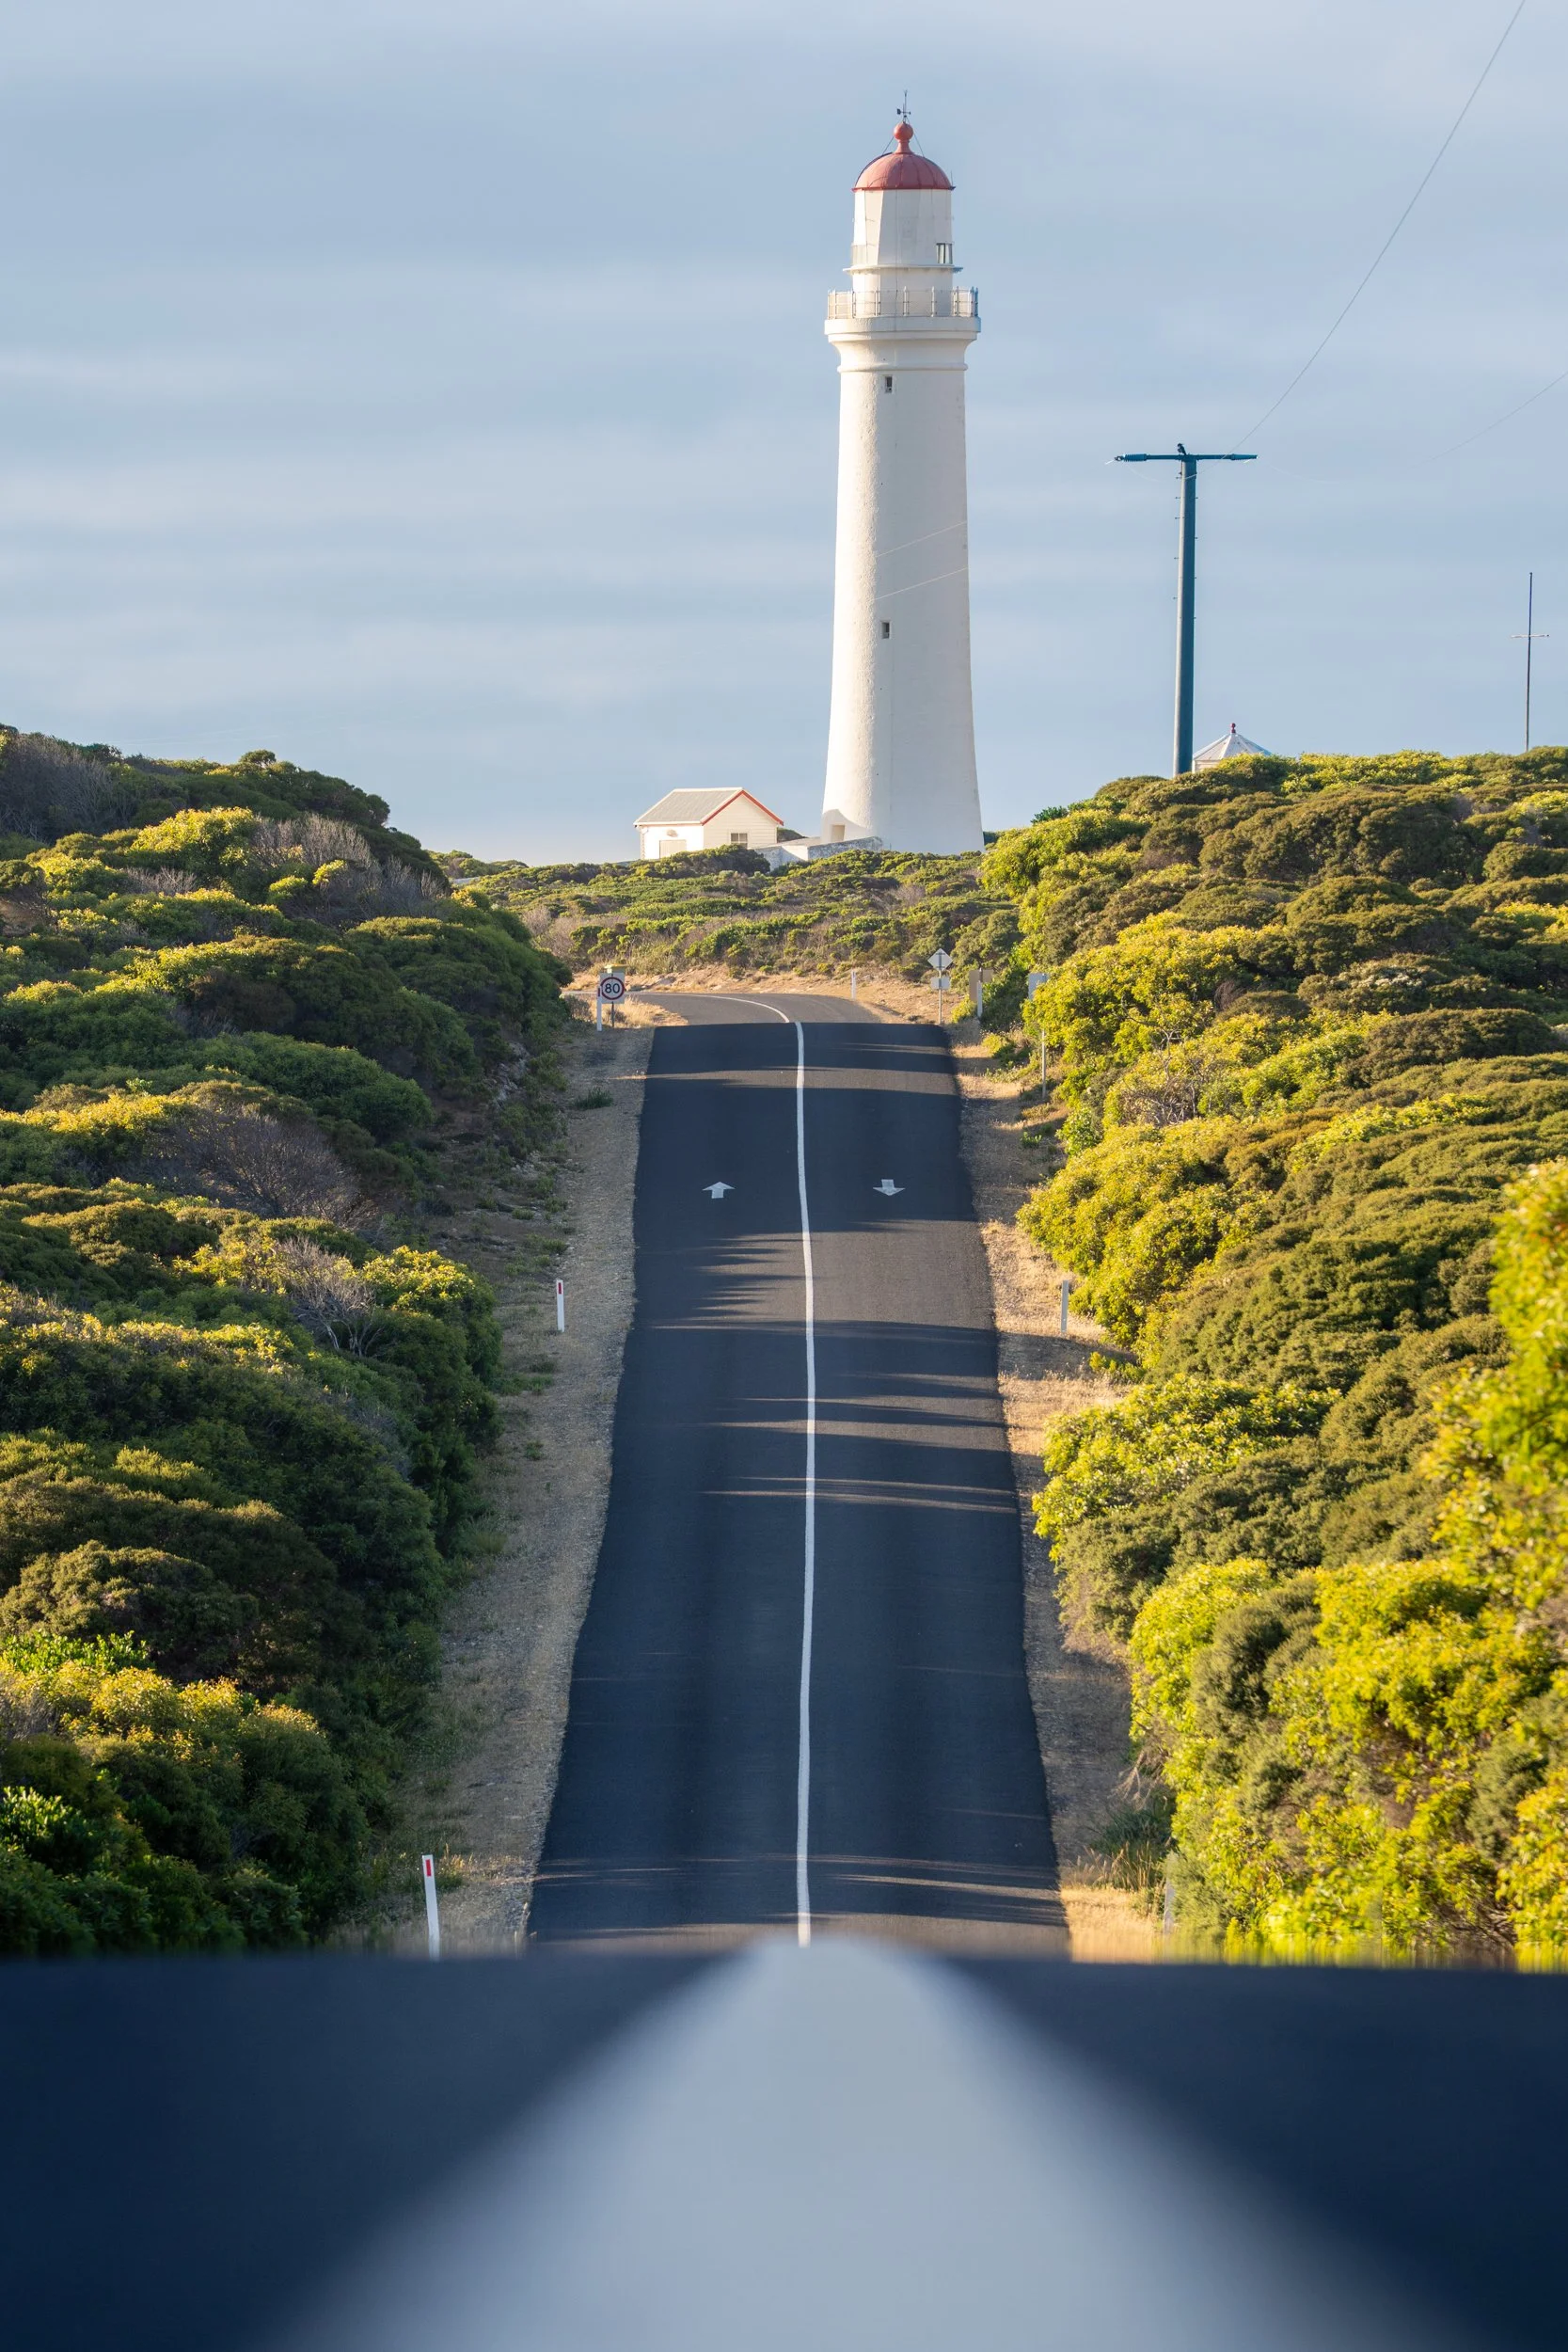
There are all sorts of photographic opportunities here. The lighthouse itself has a long white wall leading to it that you can incorporate with a medium focal length. The cliff tops with a wider focal length to capture the majesty of the sea, treacherous cliffs, and lone light house. There are kangaroos, wallabies and other wildlife in the area, wind turbines, and more. There’s a long road leading to the lighthouse which is great for a long focal length, compressing the distance between elements, and if you’re luck a wallaby may just happen to wander into view!
Bridgewater Bay
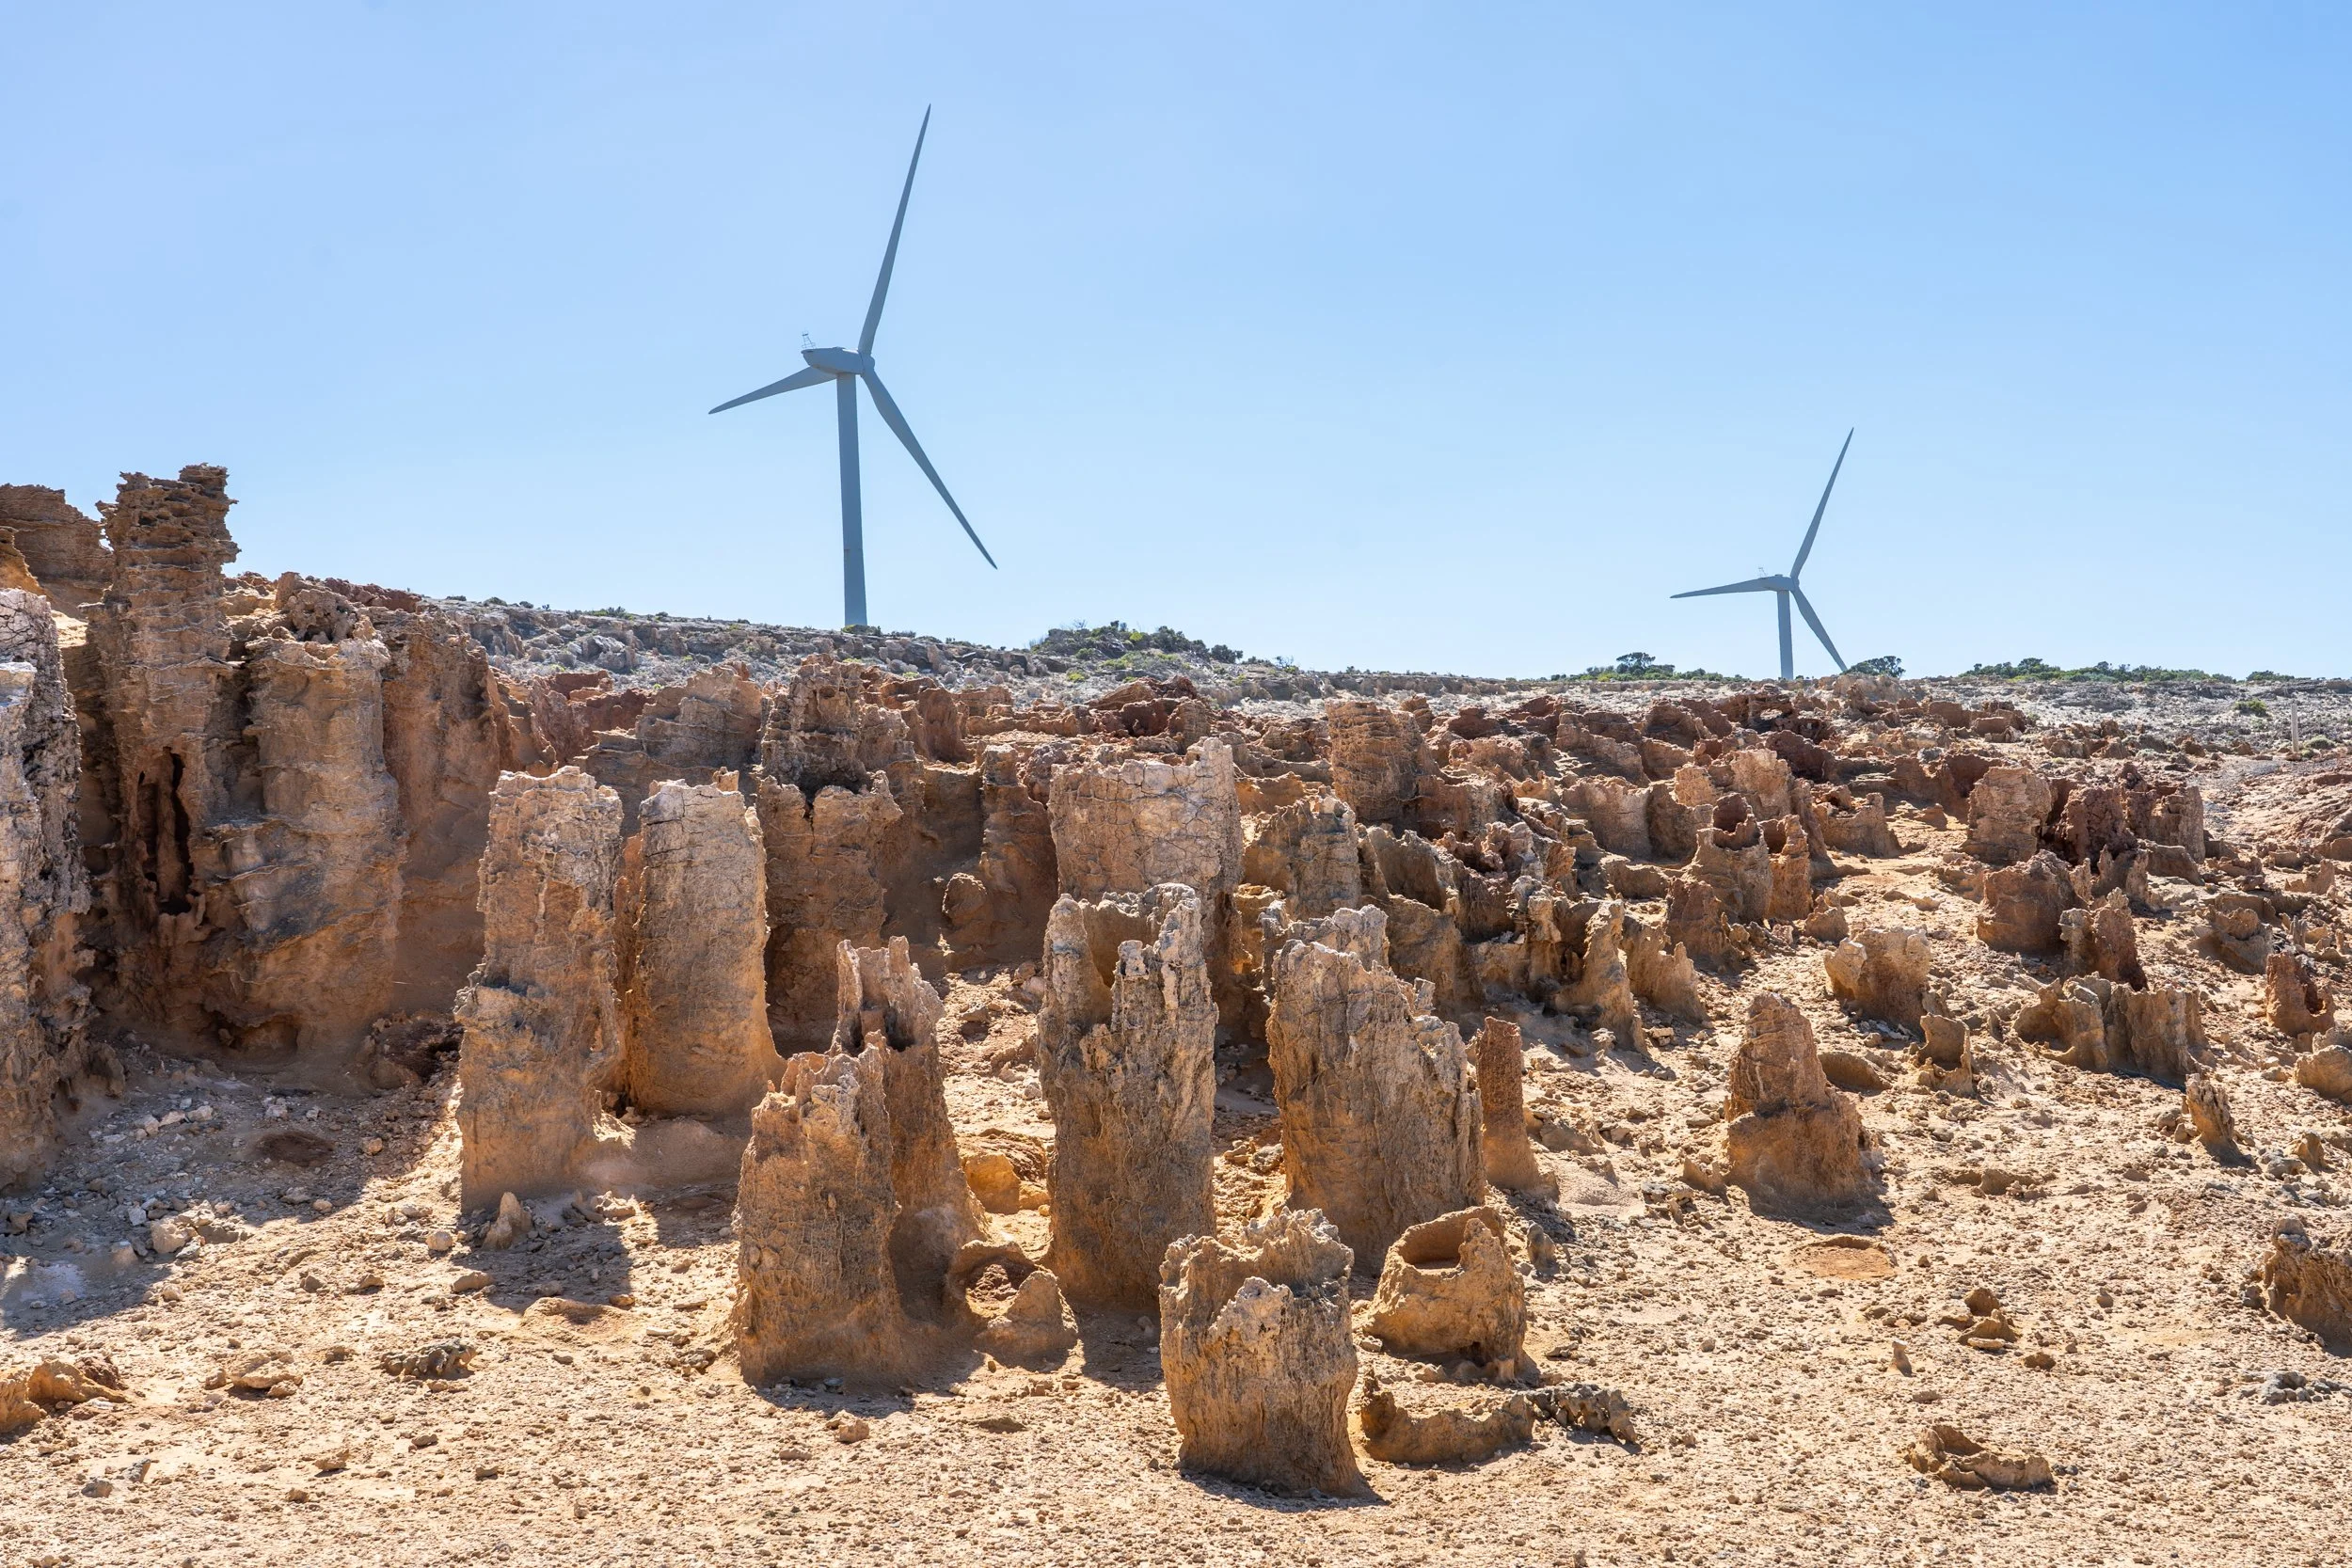
Bridgewater Bay is part of the Discovery Bay Coastal Park, and incorporates the Petrified Forest, and the Bridgewater Blowholes.
The Blowholes
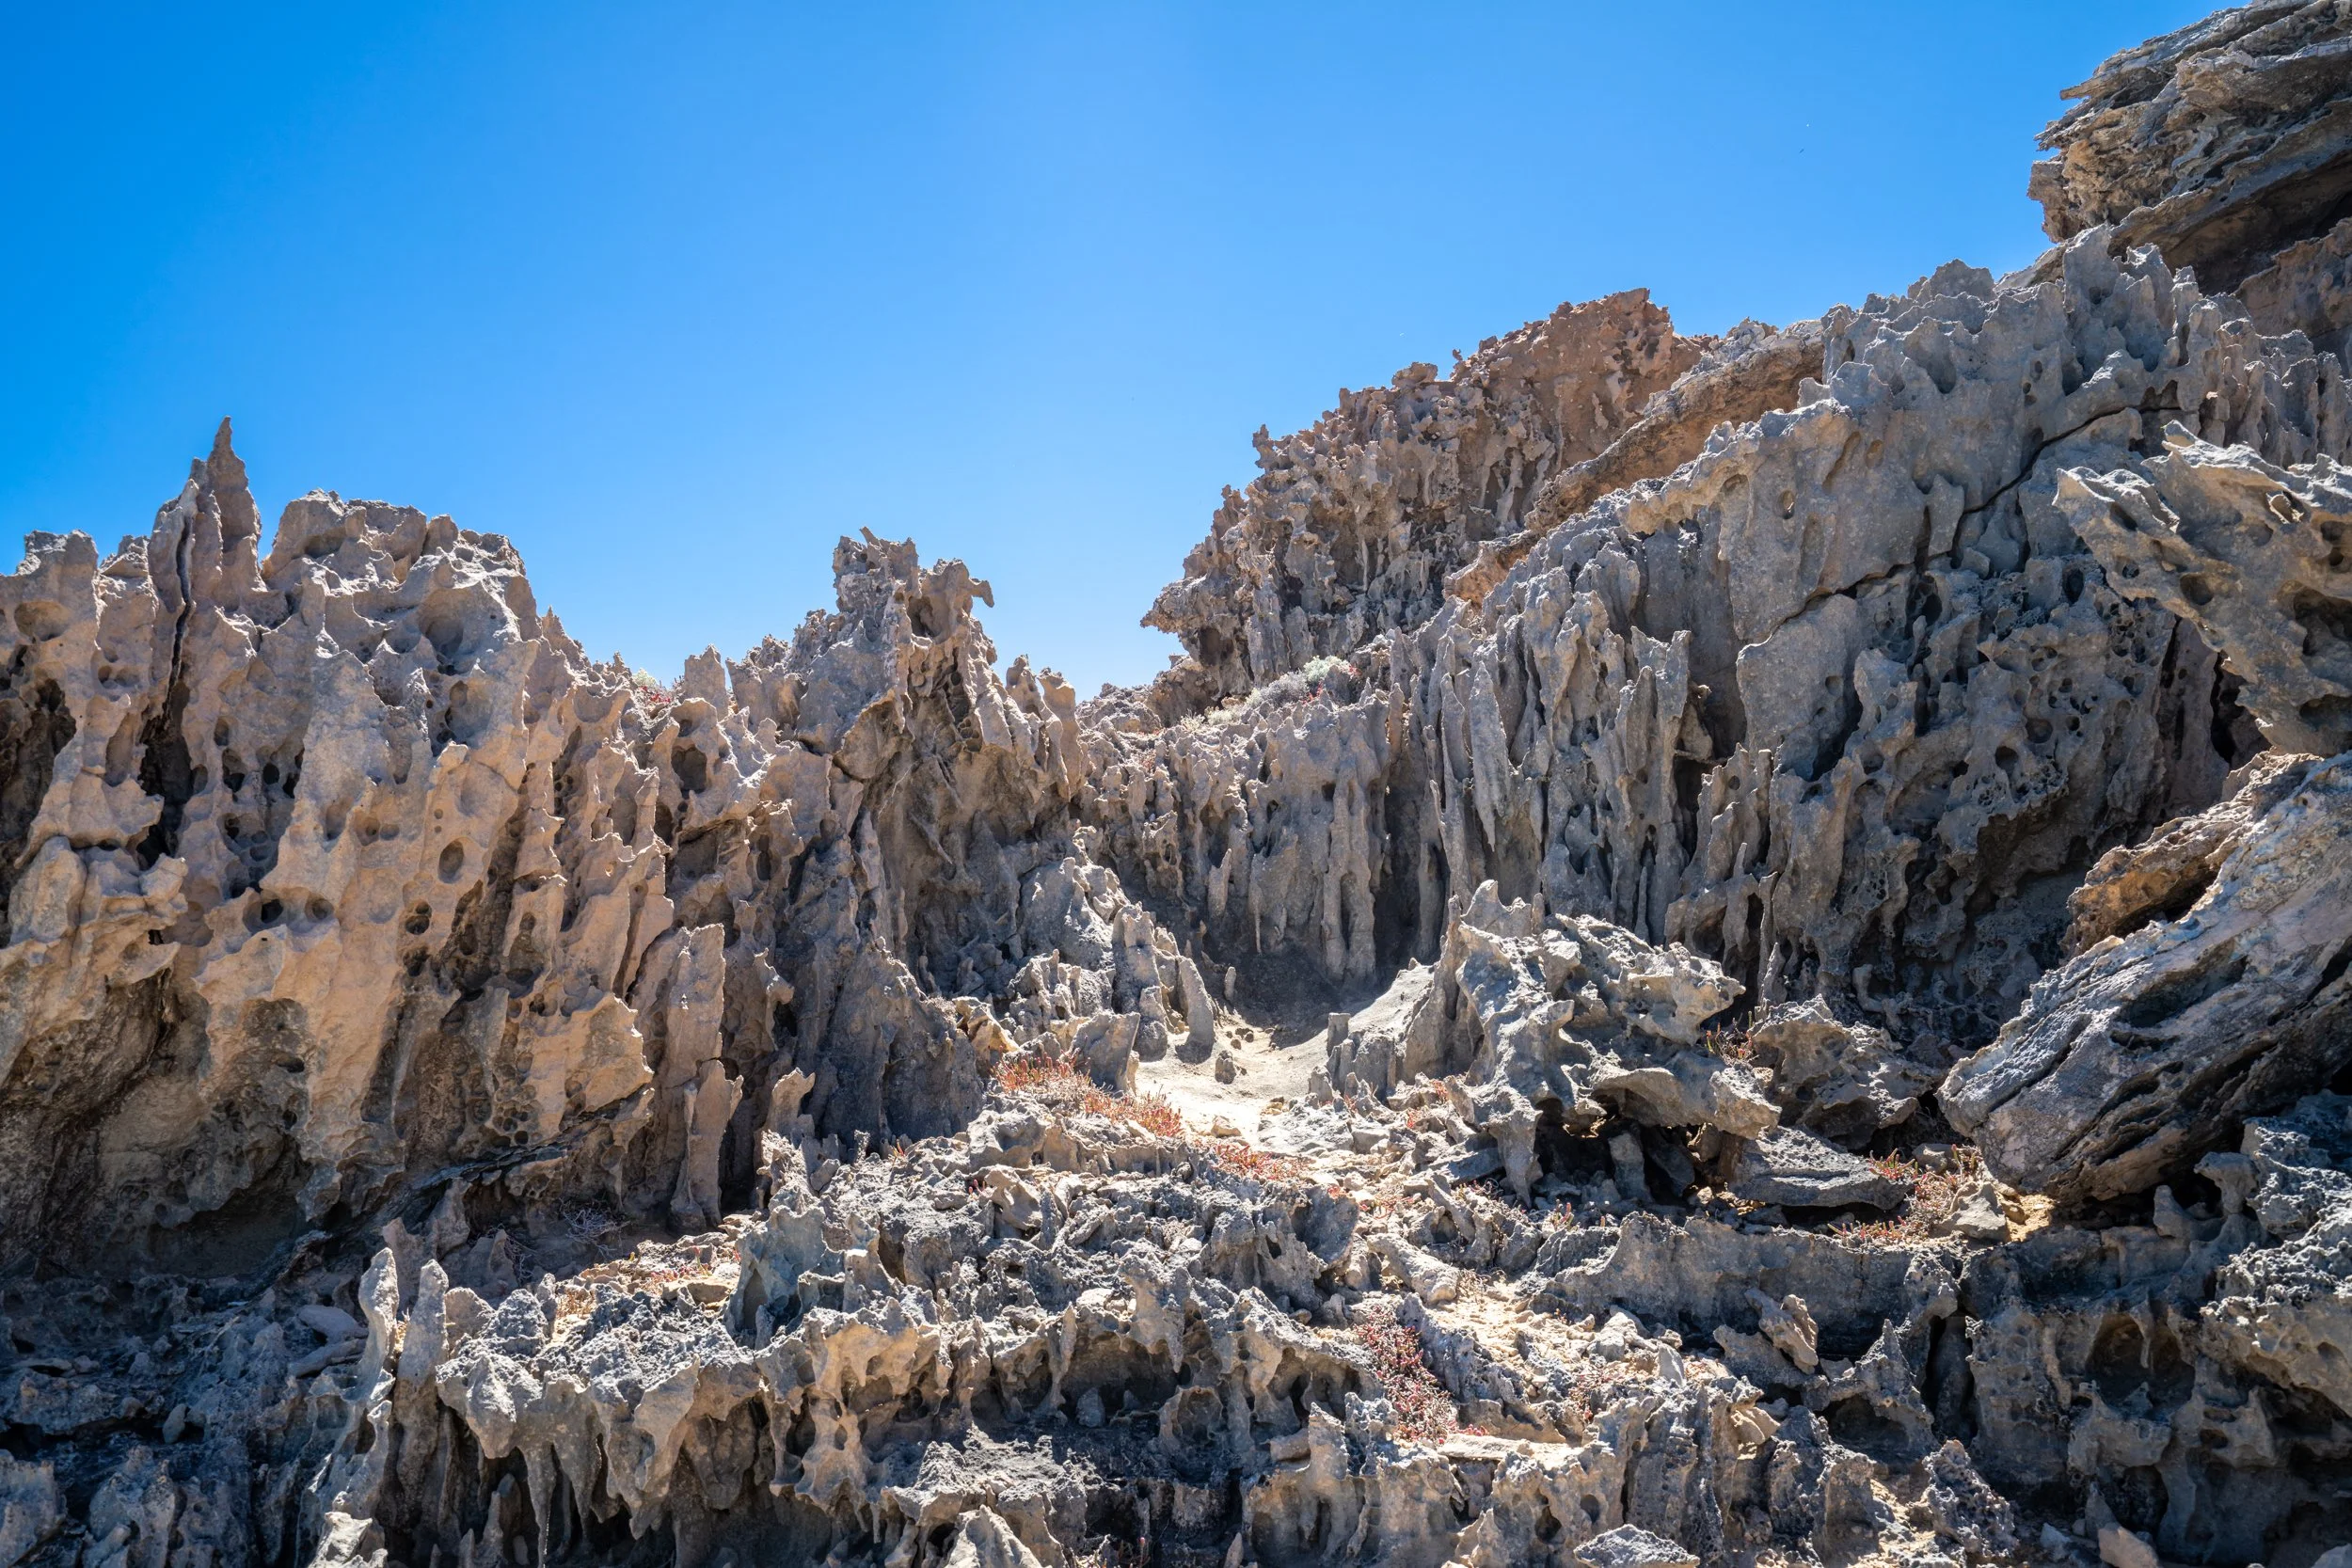
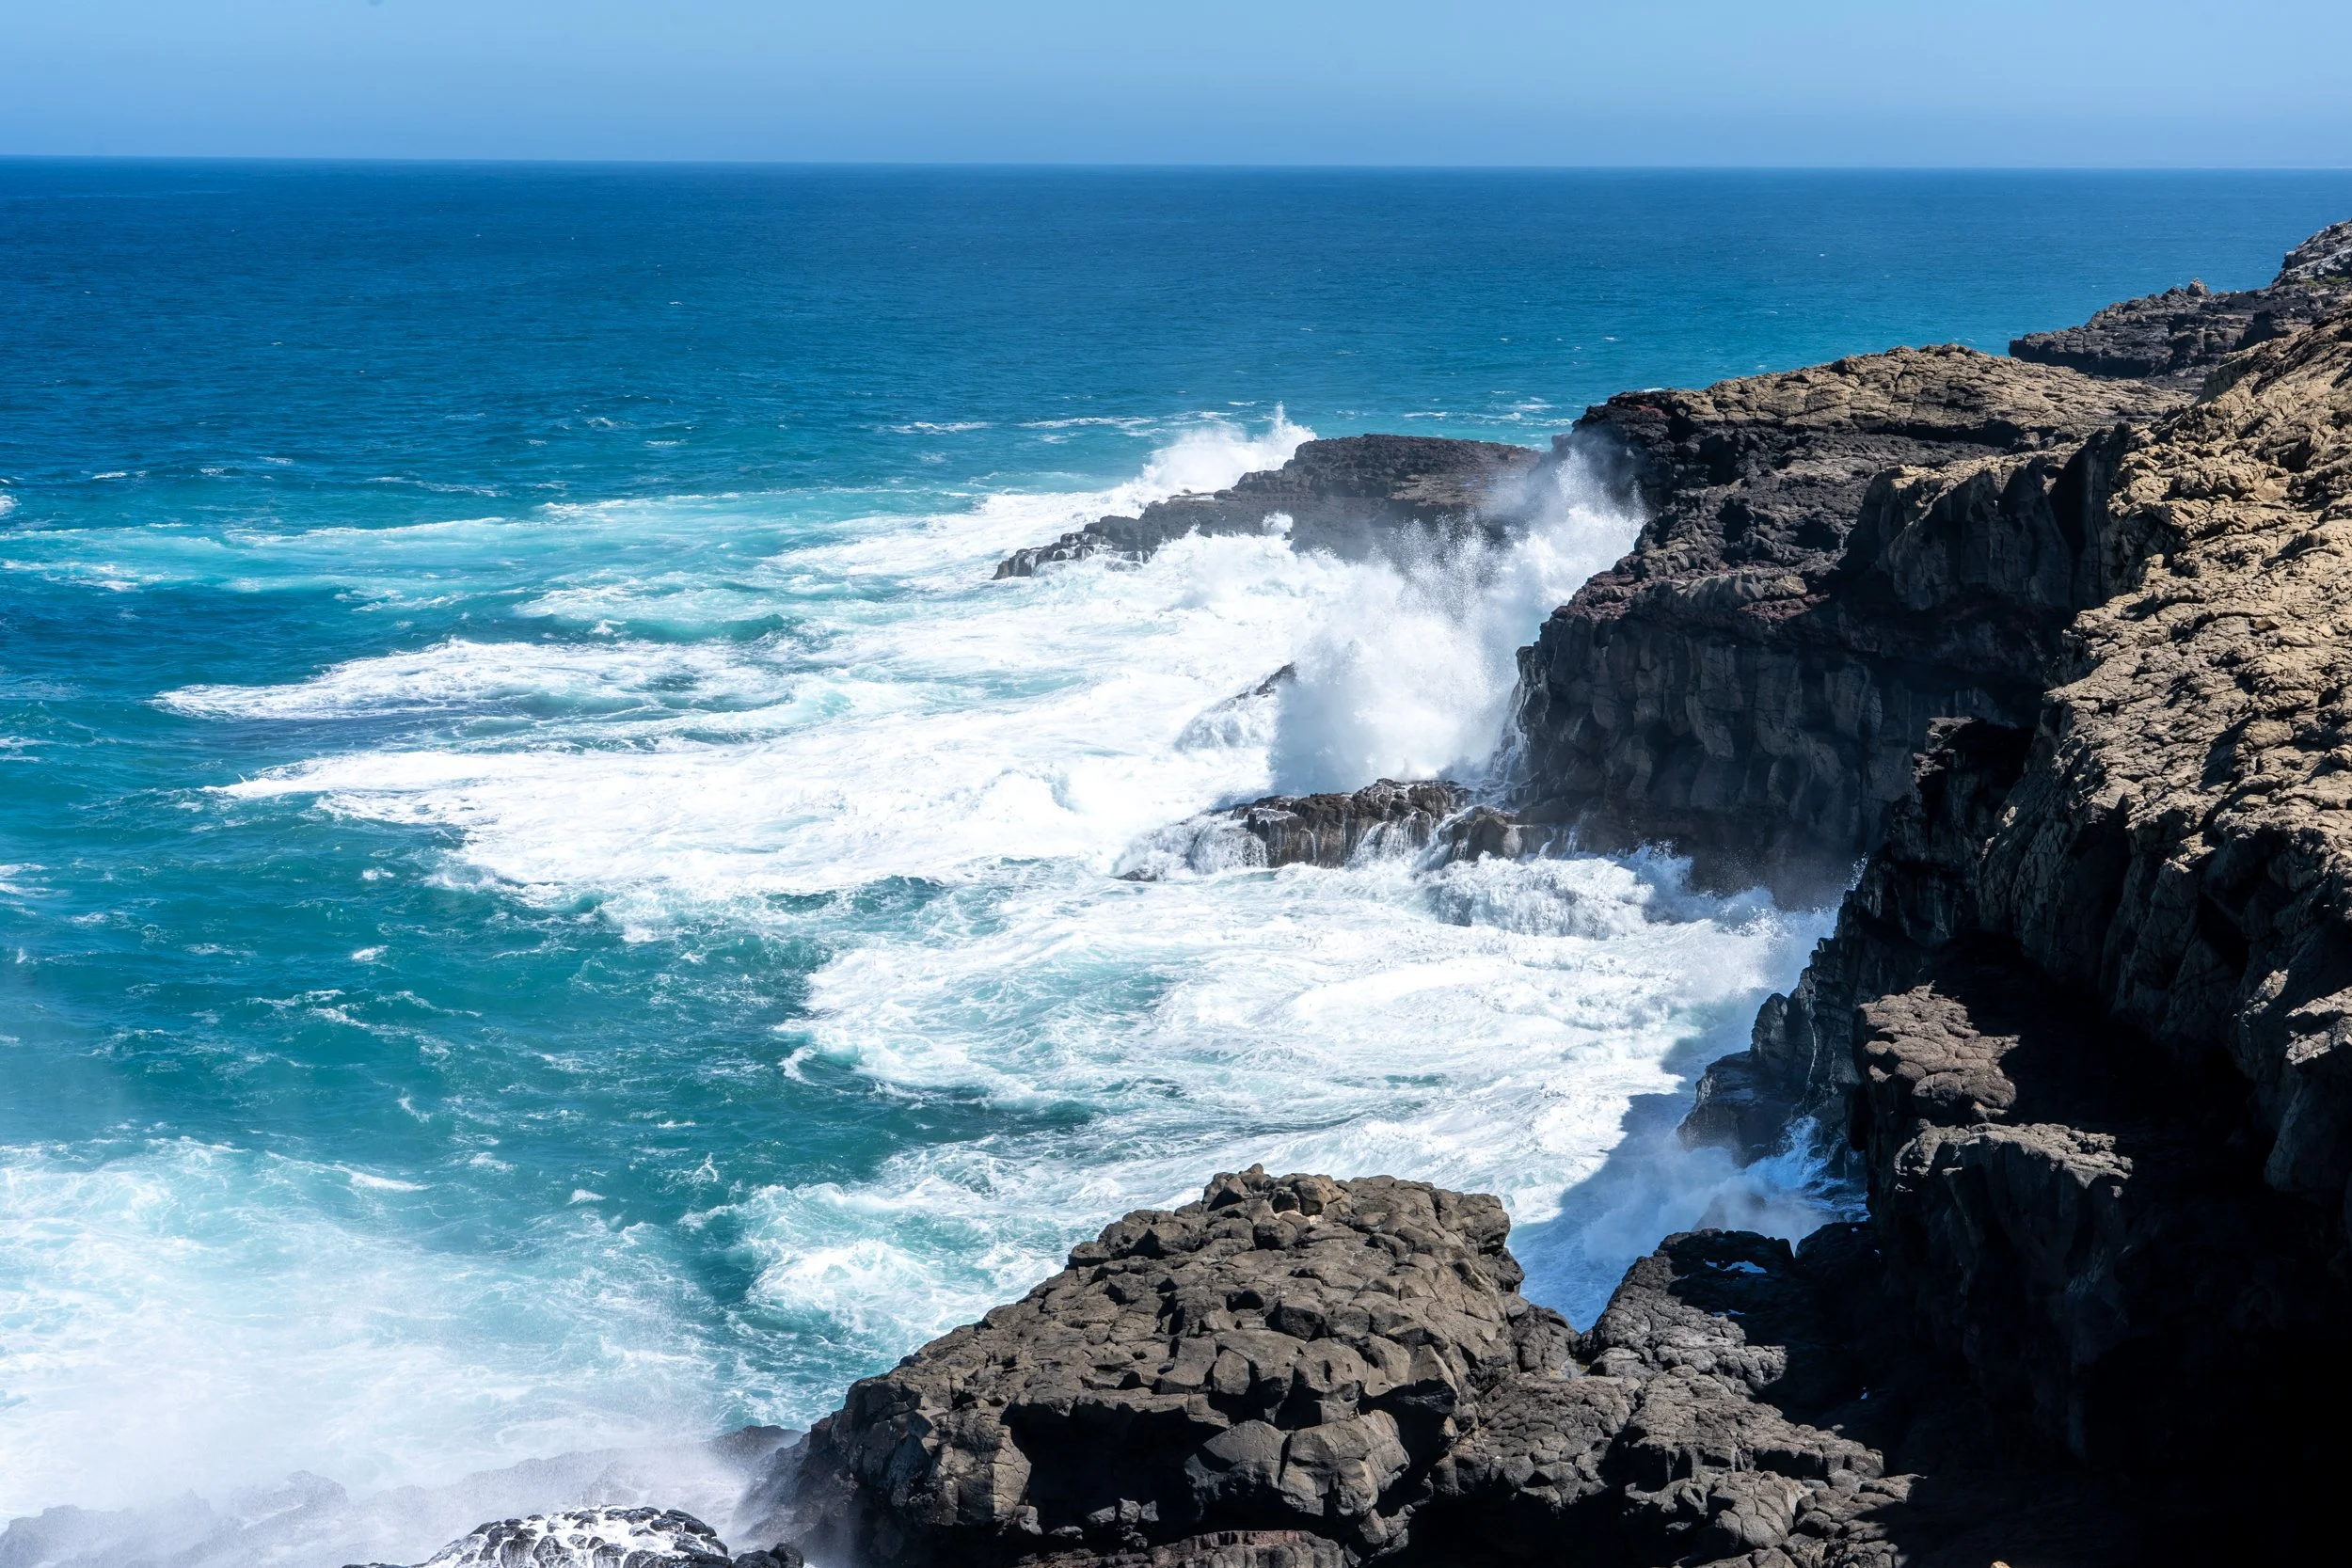
The seascape is made up of rugged cliffs that drop straight down to rocky outcrops that meet the ocean below. It’s quite mesmerizing to watch the waves bound against the volcanic rock. There are a number of blowholes carved out by aeons of pounding waves. In the swell, you will see big plumes of sea spray shooting up into the air.
There is ample parking here, but with no facilities on site. There is a lookout straight ahead where you can watch the sea below, and a trail to the right where you can hike for as long as you like to a series of lookouts above various blow holes and natural features.
In places the cliffs level out to hills and it is possible to walk down closer to the rocks whilst keeping quite safe, however you need to be physically fit, and be aware that you are leaving the trails. I wouldn’t go anywhere near the water, as one freak wave and that’s it. It can get quite hot here, and there is no cover, so make sure you have a hat, sunscreen and some water.
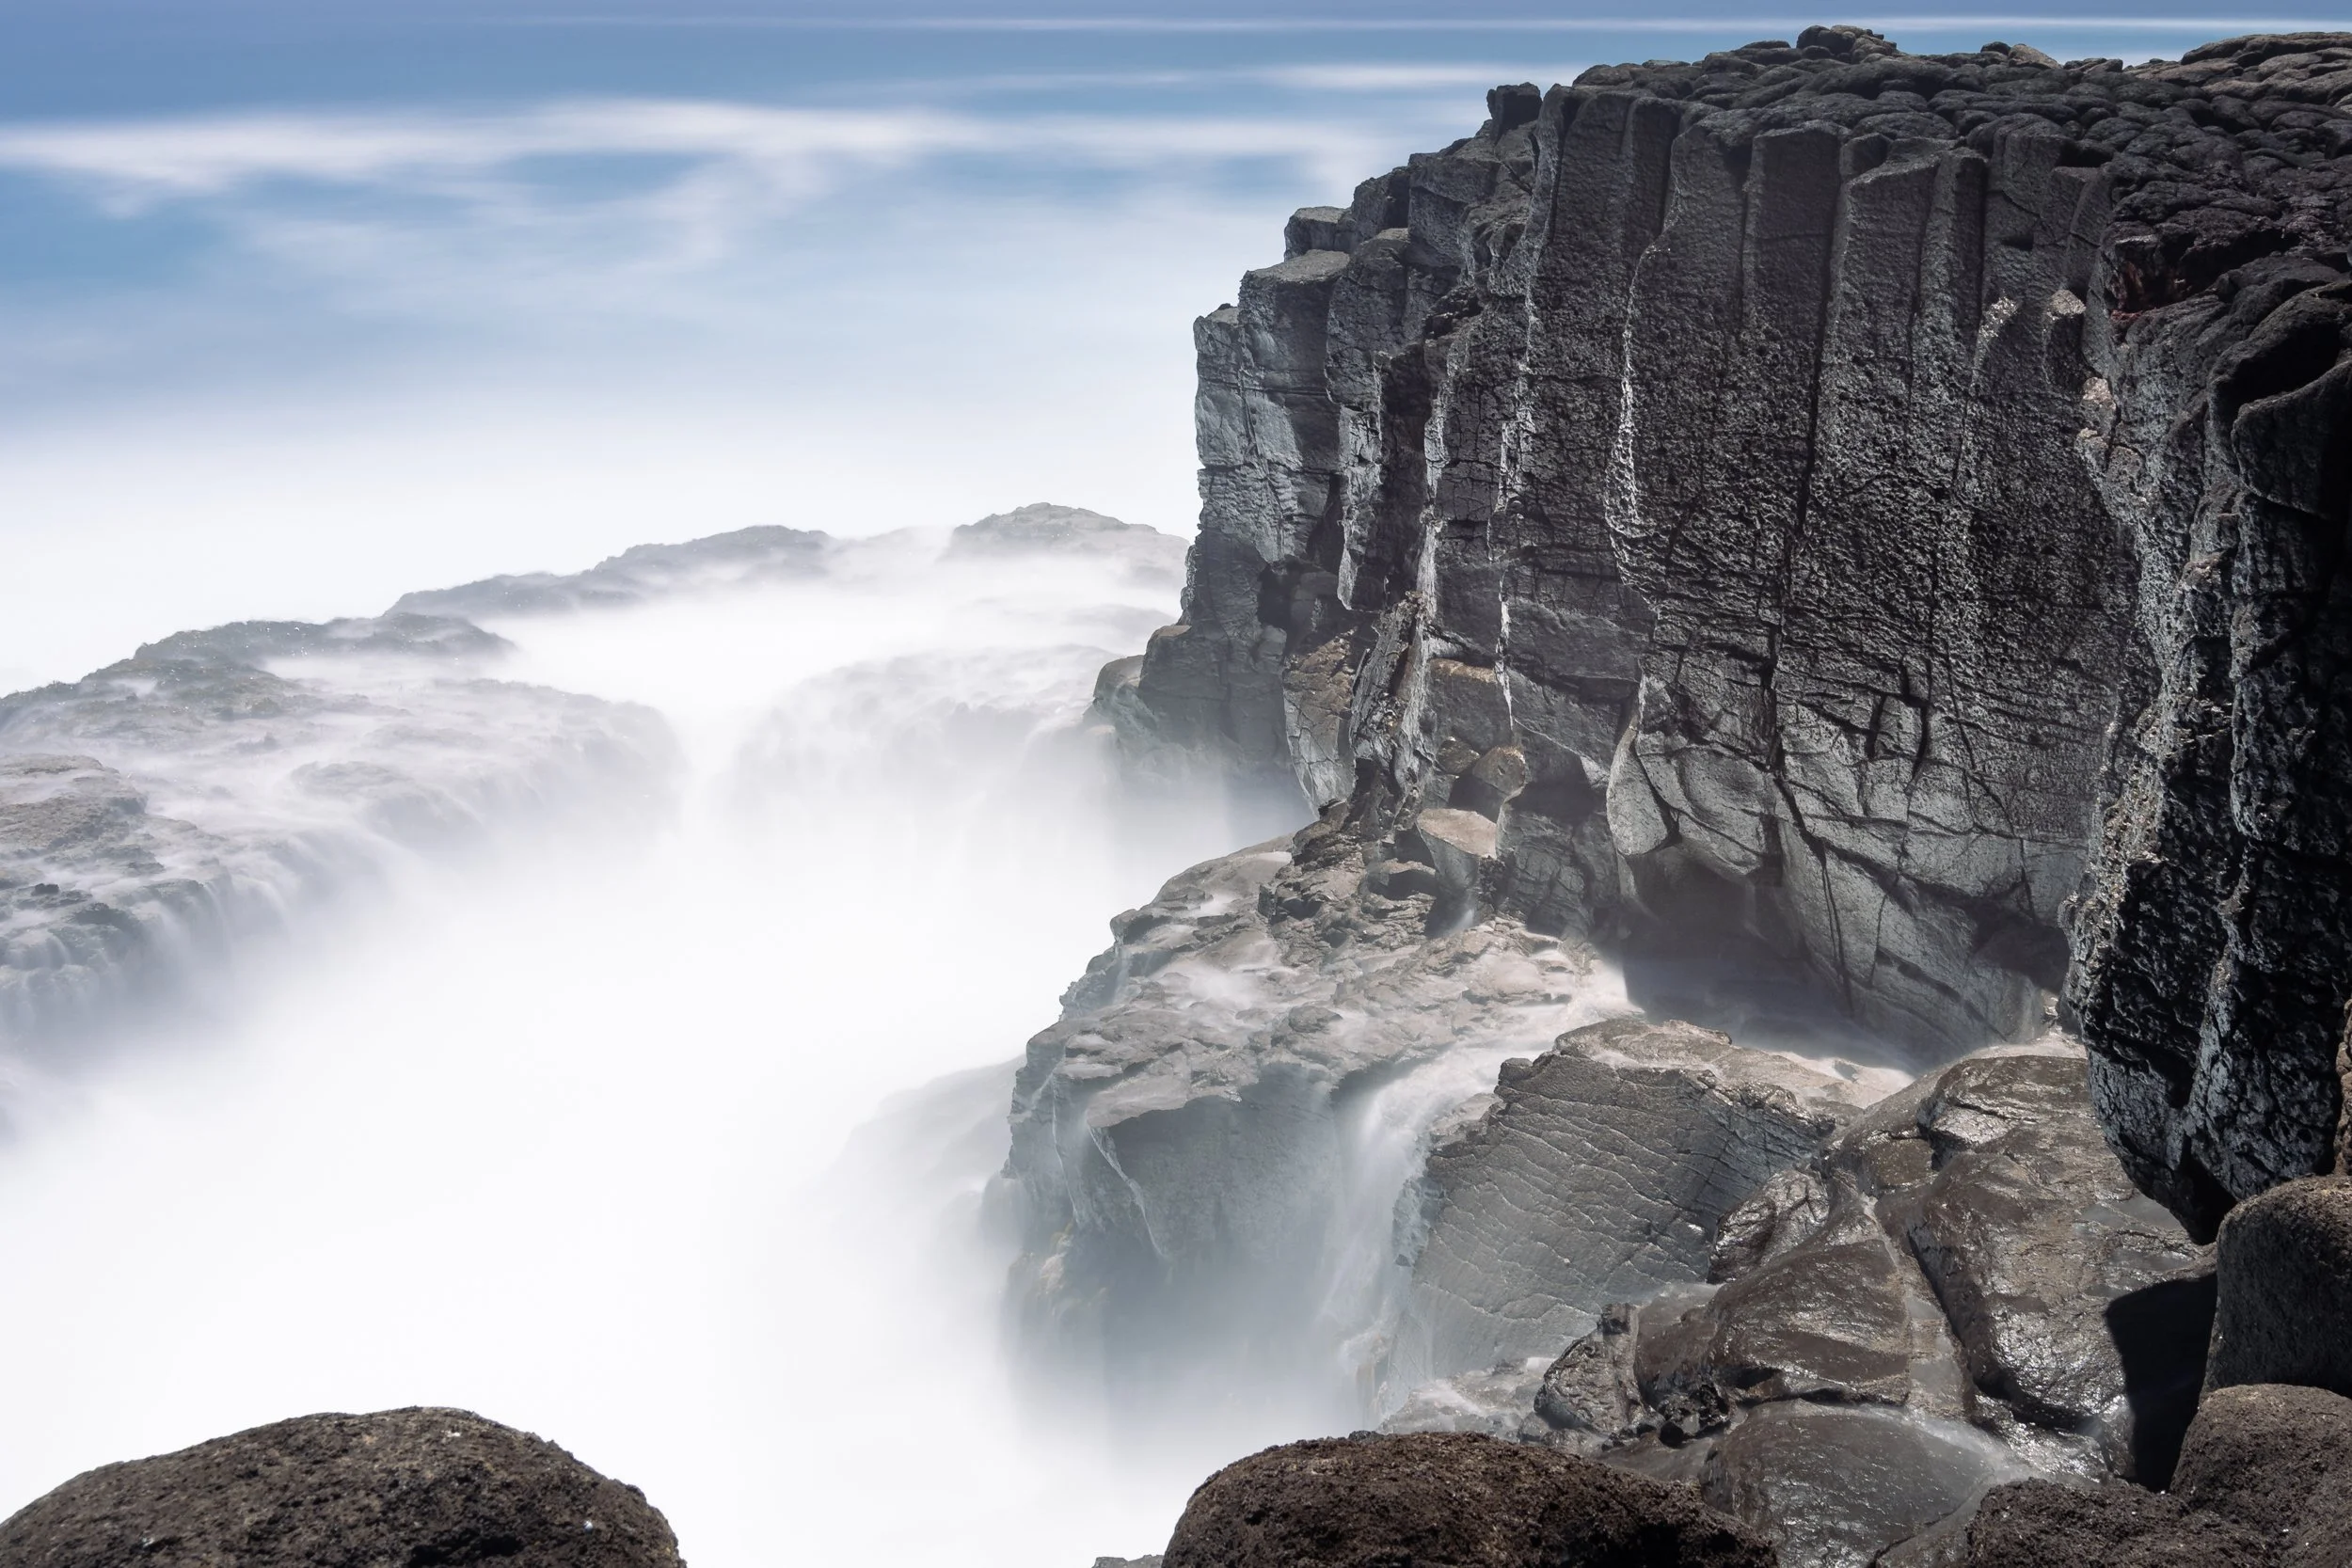
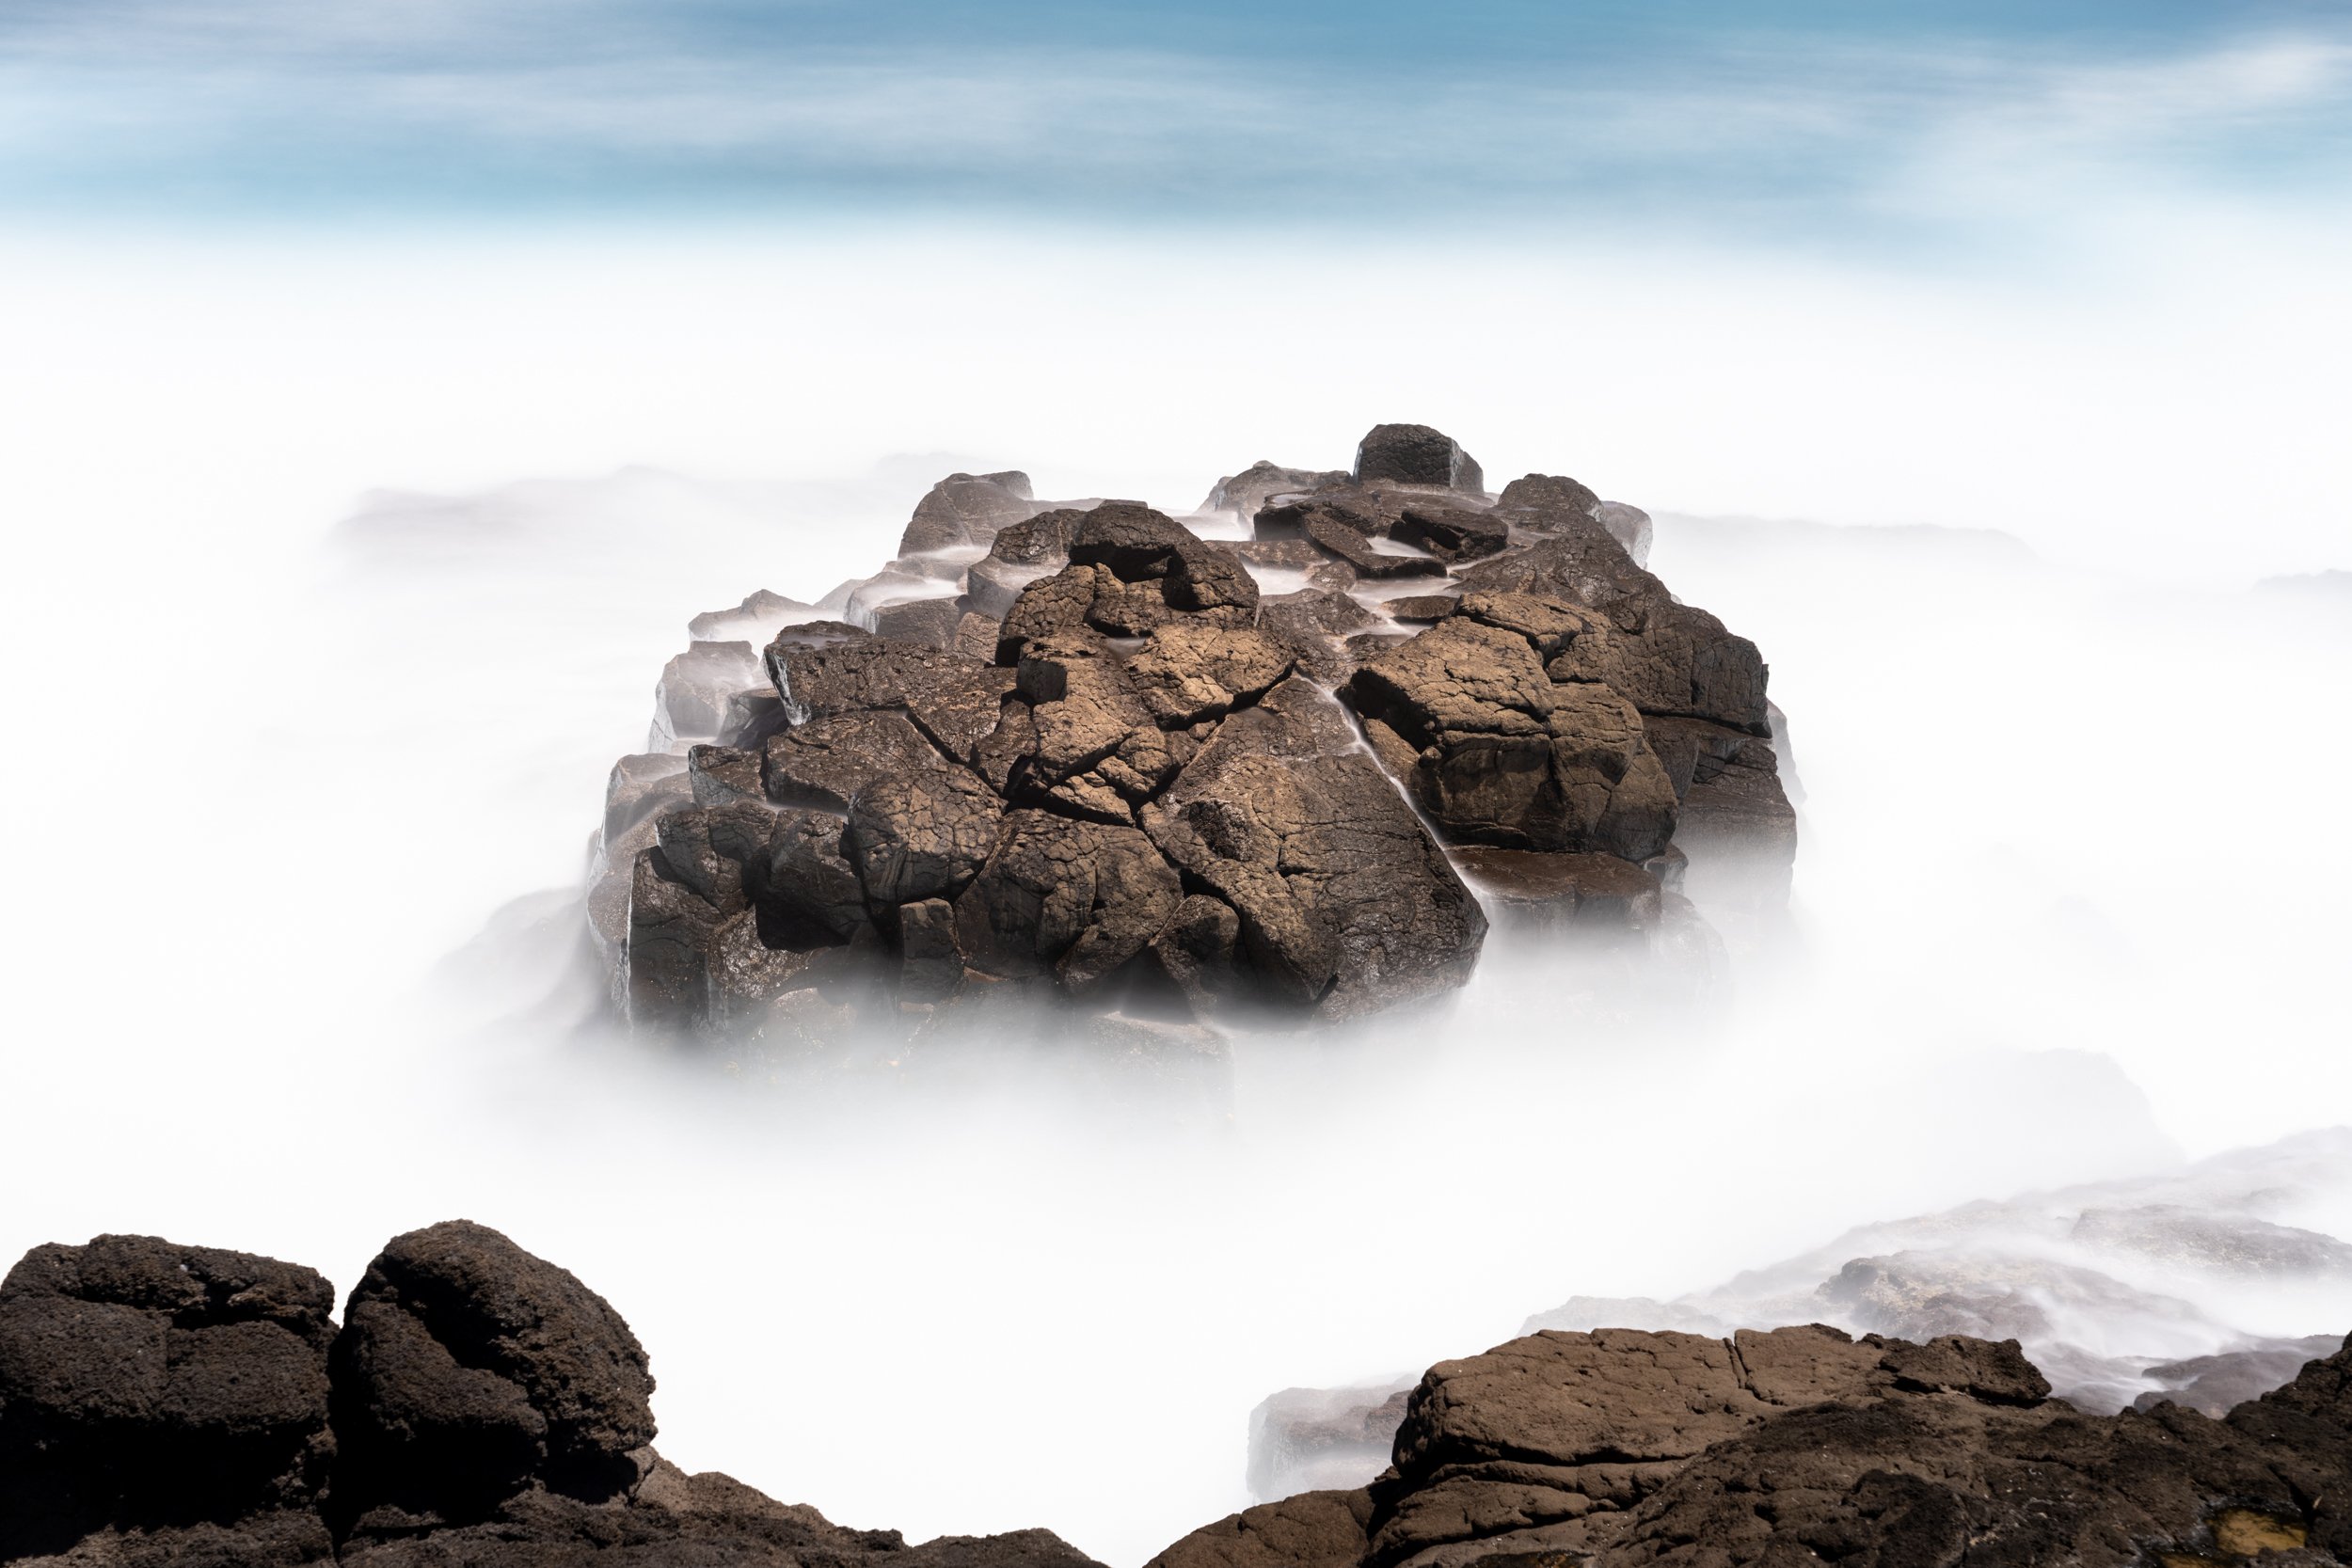
Naturally you would only really be shooting here with a longer lens to focus in on particular details of the rocks and action of the waves. Bring along your tripod and ND filters and you can create some beautiful images that belie the incredible force of the raw ocean. I spent hours here watching the waves in two different spots. I was also taking 4 minute+ long exposures using 15 stop ND filters, so time really seemed to disappear for me.
Below are some 4.5 minute long exposures taken of rocks and areas on the shoreline.
The Petrified Forest
To the left of the car park, it’s a very short walk to the petrified forest. This is an area that is fenced off, and is said to be the petrified remains of giant trees once smothered by sand dunes. A more recent theory is that these are hollow tubes of limestone, slowly dissolved by rainwater. I think the tree theory is far more evocative, so let’s go with that.
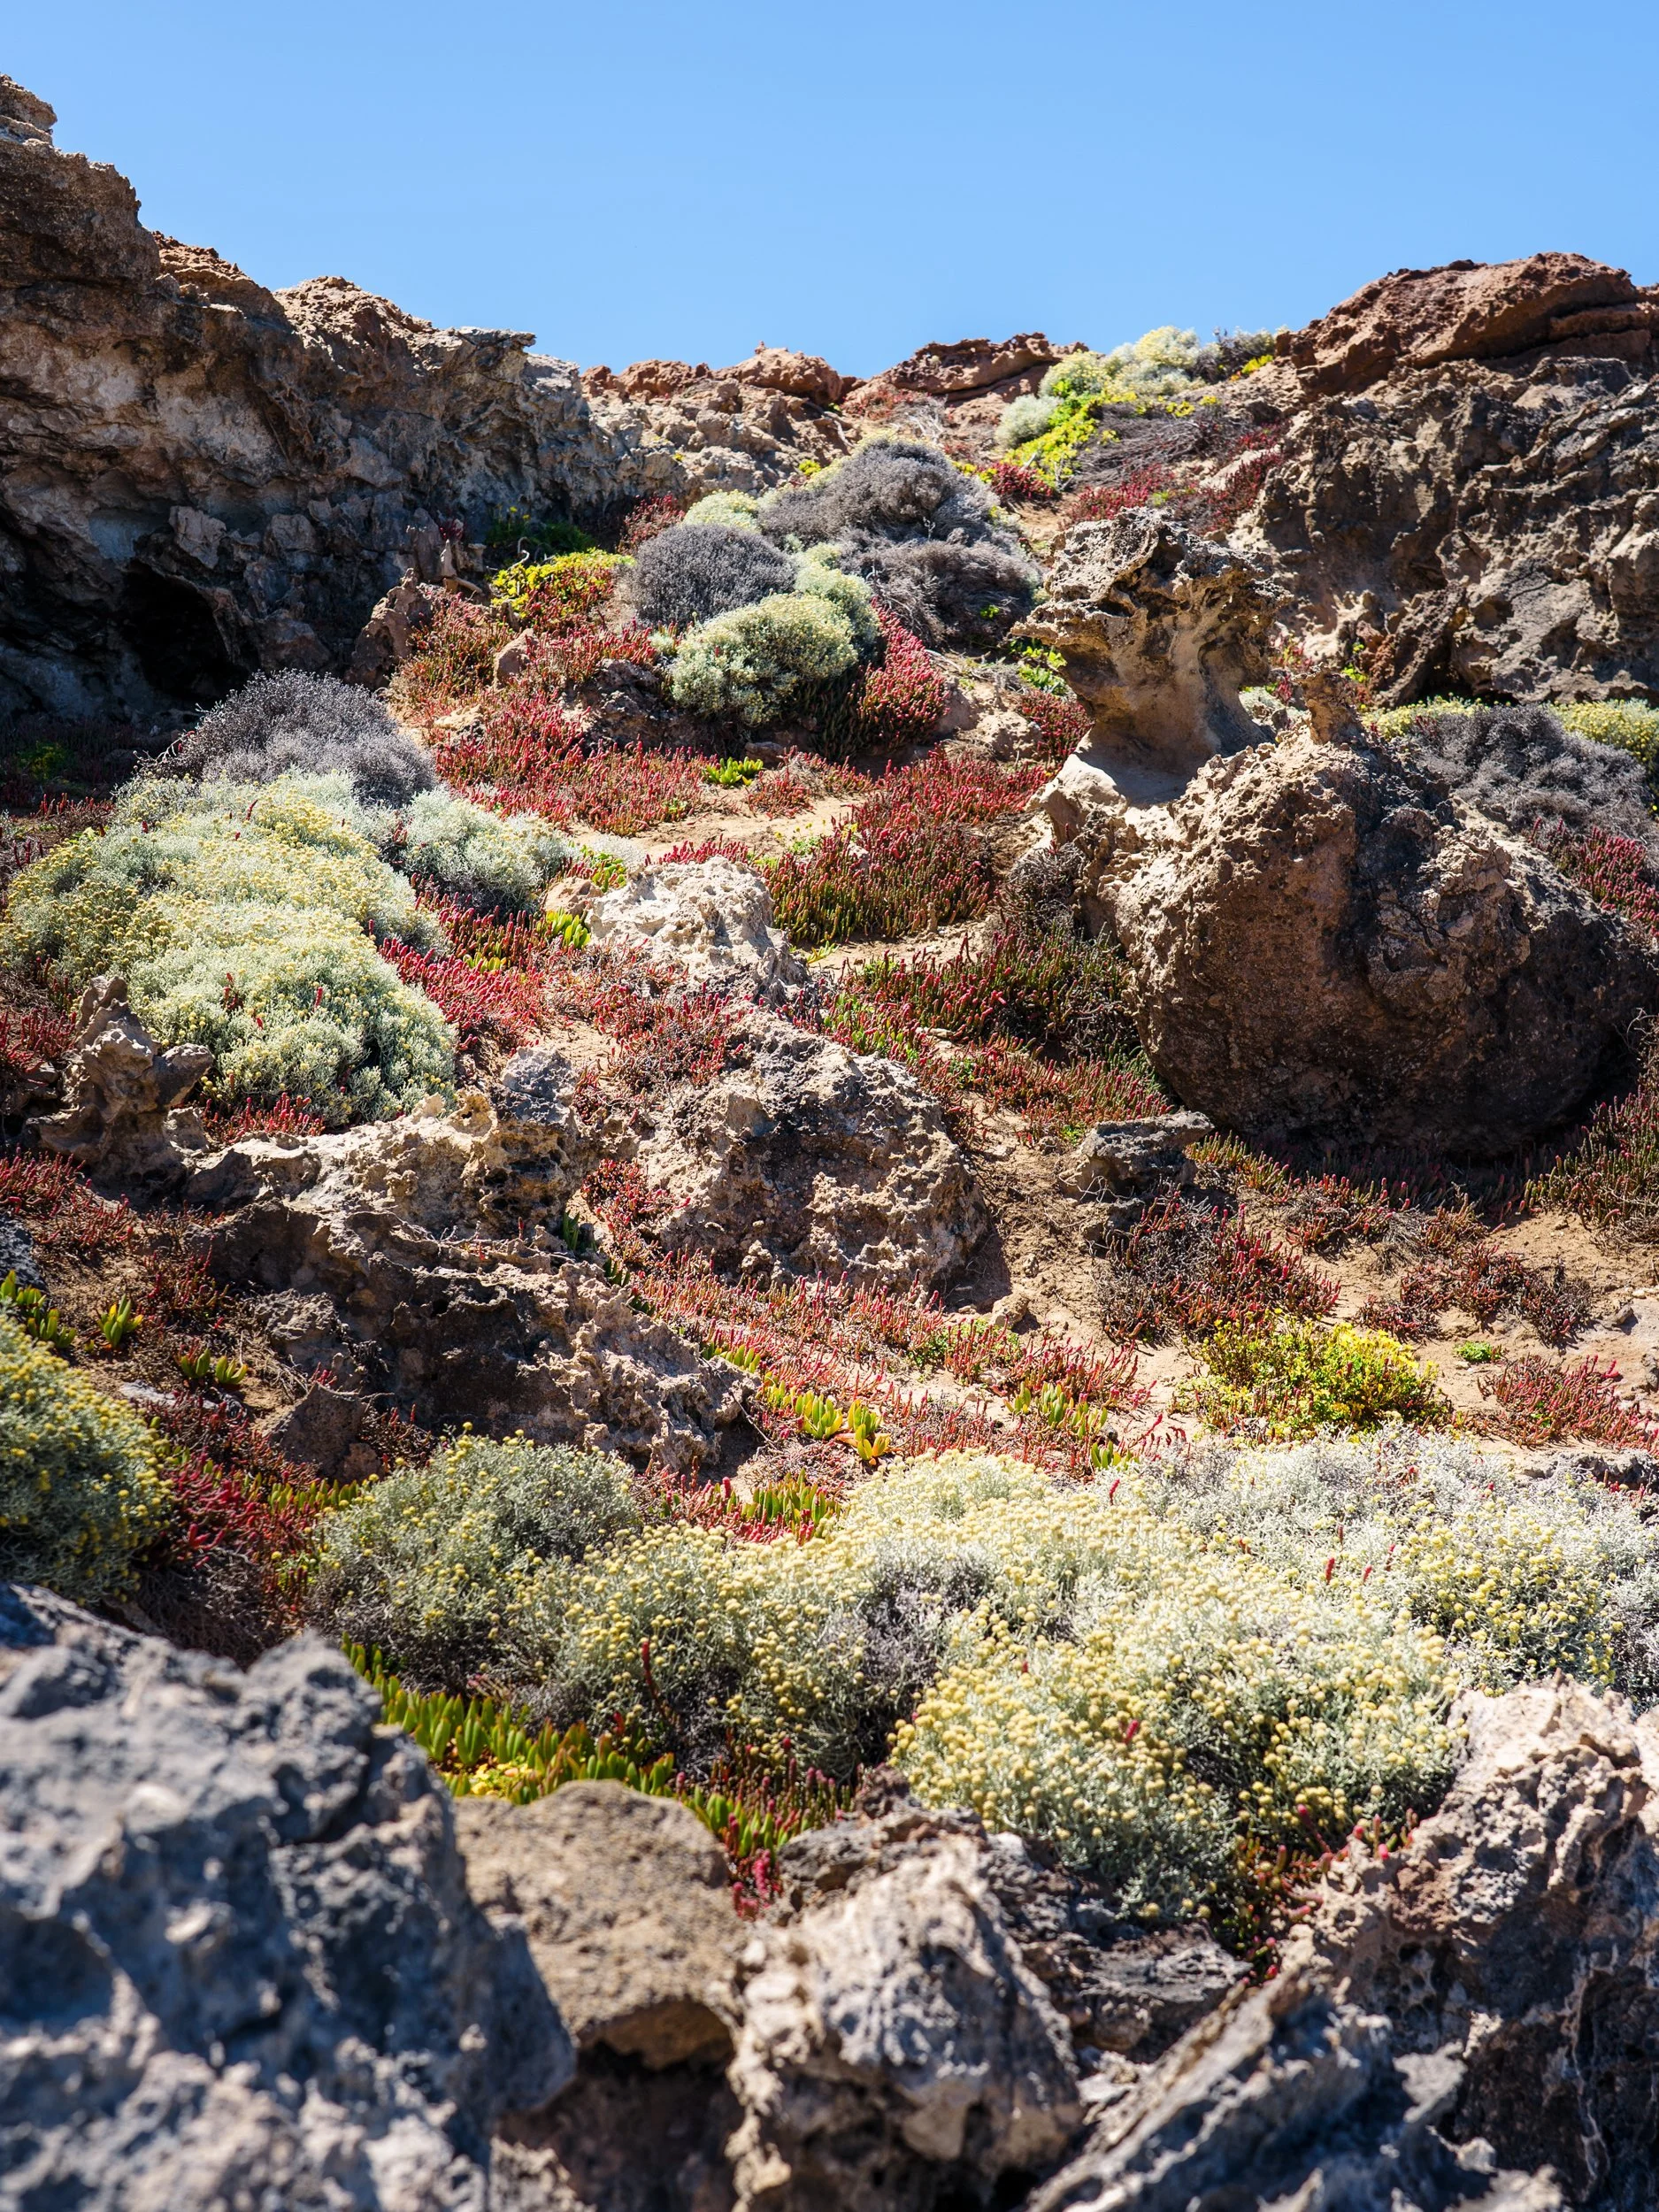
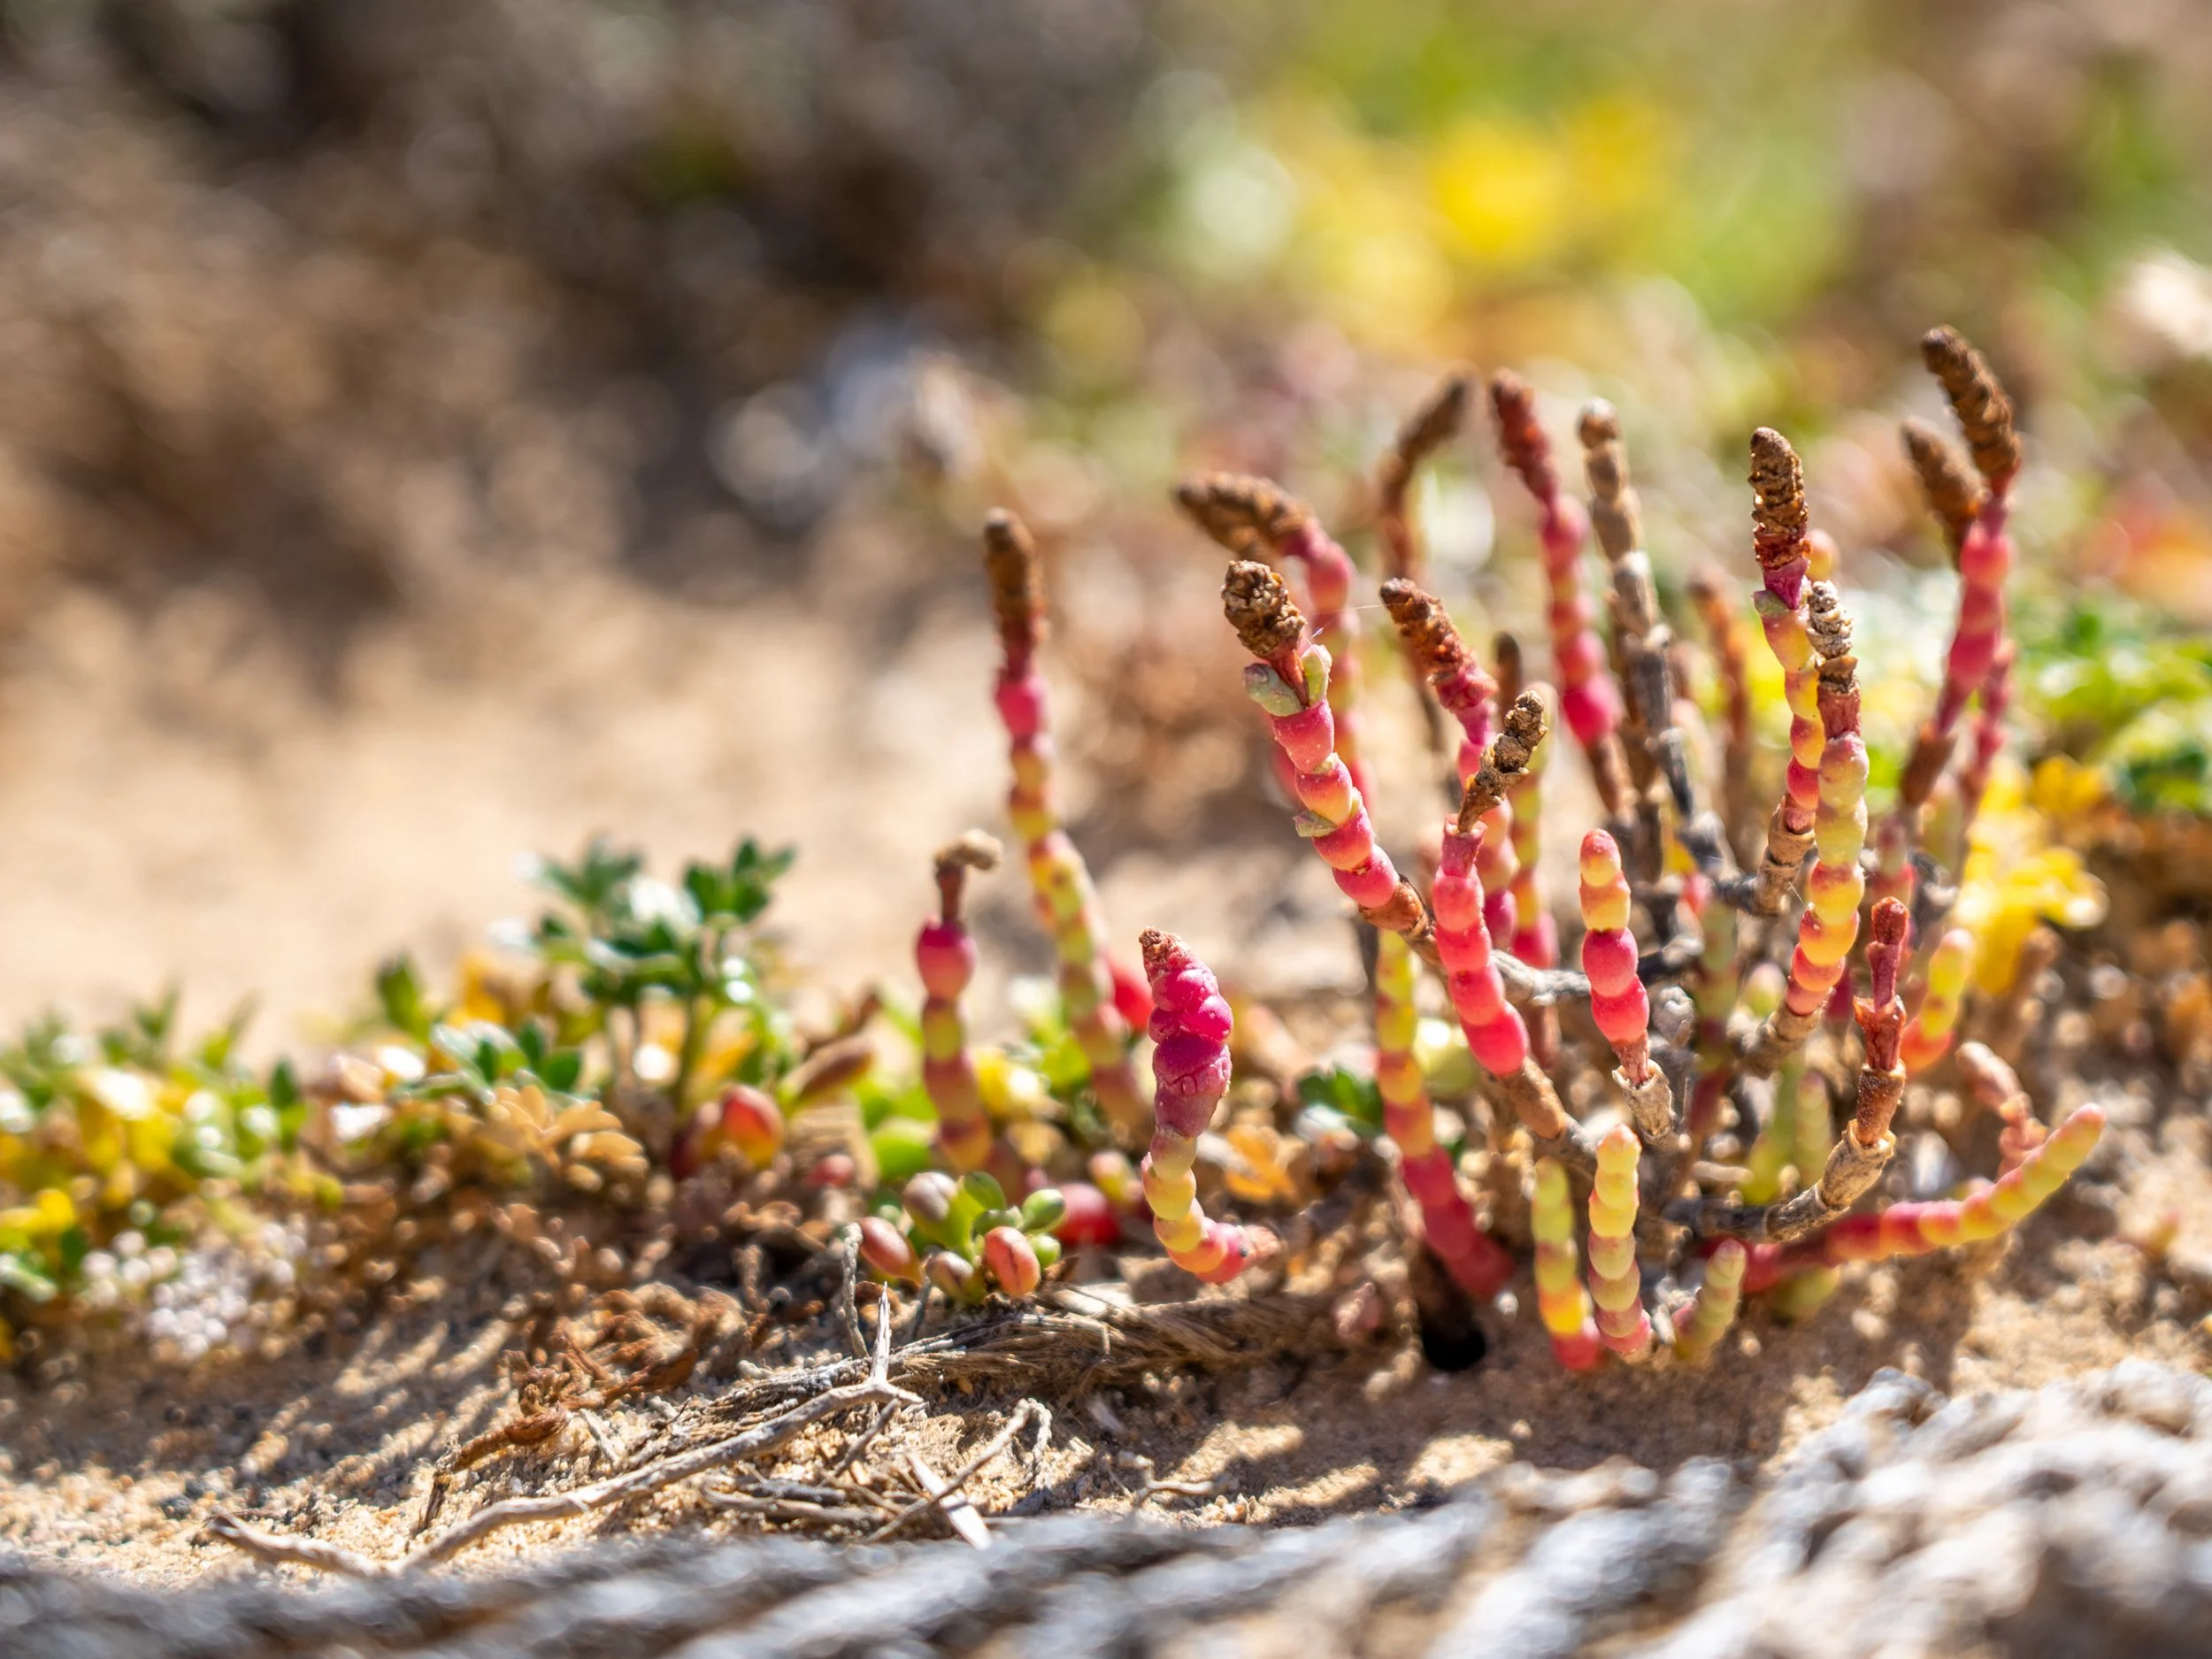
The landscape on the walk from the petrified forest to the blowholes is quite stunning. The coastline is stark with interesting rock formations generated by erosion. There are beautiful little coastal plants hugging the ground, and quite a lot of conservation work designed to encourage these plants to take hold. The colour in the vegetation is really quite pretty against the stark rock.
